Introduction

  1. NgWQnXgXPBX1IIyE
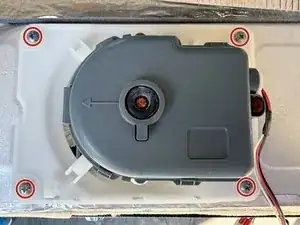
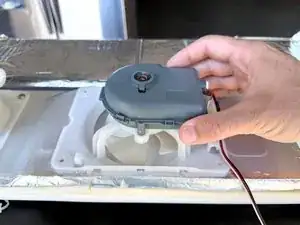
    • Use a #2 Phillips driver to remove the screws securing the evaporator fan assembly to the evaporator cover.

  2. GVrQZHPS4RSUIOWi
    GVrQZHPS4RSUIOWi
    sDXAFKjR15opNpUt
    yuCFmSCaJqIw1sX6
    • Lift the evaporator fan assembly off of the evaporator cover.

  3. joQT6ROMSPccpOQM
    joQT6ROMSPccpOQM
    Ayn3TMJykM5Ni2Va
    NHkvlfDHRaOPDfow
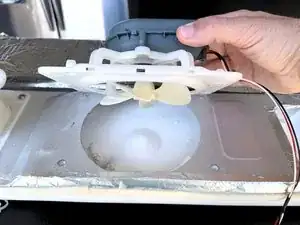
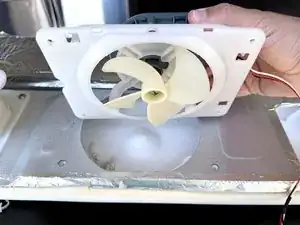
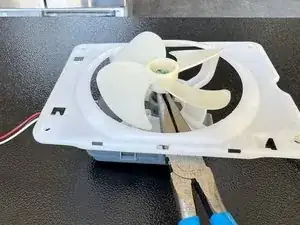
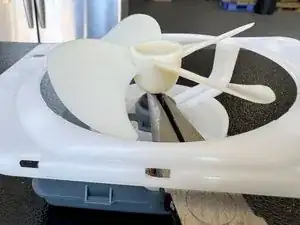
    • Turn the fan assembly over so it rests on the motor case.

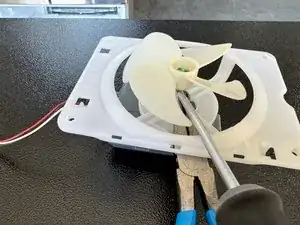
    • Use a pair of long nose pliers to grasp the fan shaft gently.

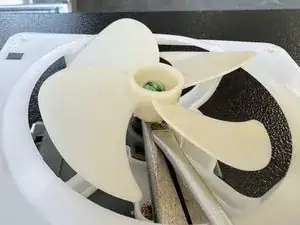
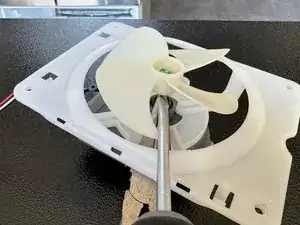
    • Insert a 1/4" flat blade screwdriver between the side of the pliers and the fan hub.

    • You want the screwdriver blade to be as close to the motor shaft as possible.

  4. UpneBOFoN6NOQcoQ
    UpneBOFoN6NOQcoQ
    KXr5H5rgQgIBGsy5
    jiJlHR2Zo5KTTboq
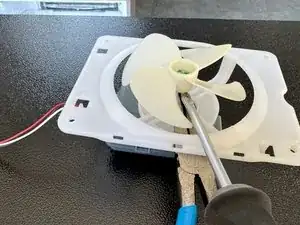
    • Rotate the screwdriver to pry upward on the fan blade hub to push it upward on the motor shaft.

    • The pliers serve to protect the motor housing and provide a fulcrum close to the fan hub for the screwdriver. They also allow you to hold on to the fan assembly.

    • The frame of the fan assembly is not strong enough to use a straightforward upward prying motion. You will likely damage the assembly if you do that.

  5. xOeHqtAHpxc2udYW
    xOeHqtAHpxc2udYW
    dOEAHphx4lcbpH2U
    qrTWdvKSaC1qtPvc
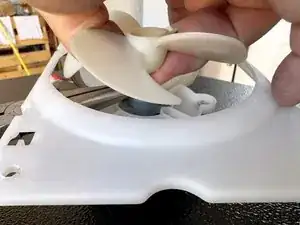
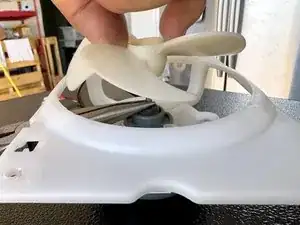
    • While continuing to hold the motor shaft with the long nose pliers, pull the fan blades straight upward off the motor shaft.

Conclusion

To reassemble your device, follow these instructions in reverse order.

Bill Gilbert

Member since: 30/06/22

37443 Reputation

0 comments