Introduction
If your Samsung StormWash DW80R5061 is displaying a LC code and you have ruled out other possibilities through this Samsung Dishwasher LC Code guide, you may discover you need to replace the inner pump hose. This hose, Samsung part DD81-01502A, connects the drain pump to the water panel. This part is normally available online and may take a few days to ship to you.
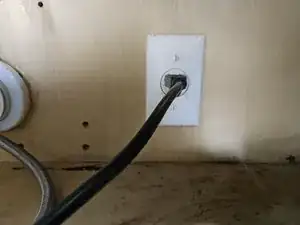
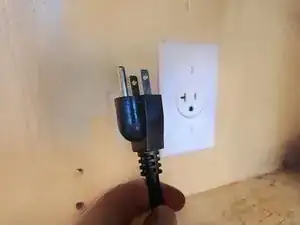
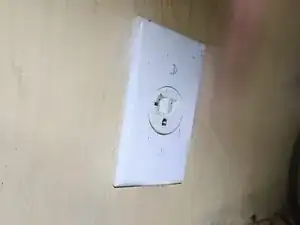
Since the LC code (Leak Check) will cause your dishwasher to go into a constant drain cycle, you may want to disconnect it from the power source immediately. If your dishwasher is hard wired directly to your home, Step 1 will be different for you. You could refer to the dishwasher's installation guide or other iFixit guides for information on that process.
When you disconnect your dishwasher from the water source and when you tip it over, water may spill onto your floor. Be careful, don't slip! It is helpful to have towels on hand to absorb this water.
Parts
-
-
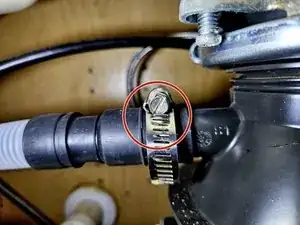
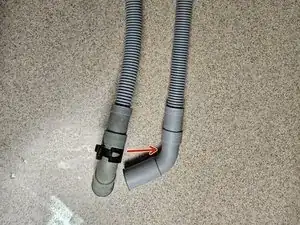
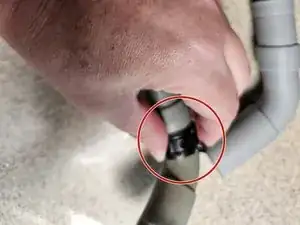
Use a flathead screwdriver to loosen hose clamp that secures the drain hose.
-
Disconnect the drain hose from the sink or garbage disposal unit.
-
Push the drain hose out of the cabinet, threading through the hole the hose is located in.
-
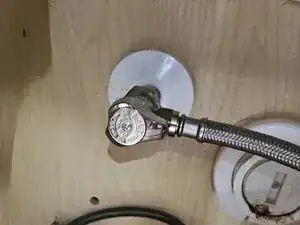
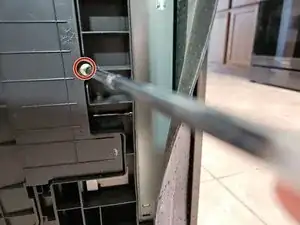
Use a 5/8 inch or 24mm wrench to remove the water supply line from the dishwasher rear.
-
-
-
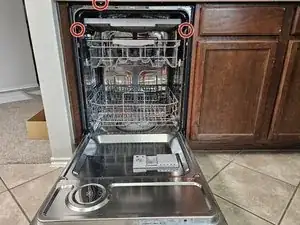
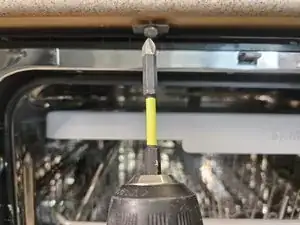
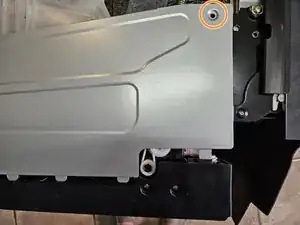
Open the dishwasher door, and use a Phillips screwdriver to unscrew the mounting bracket screws from under the table top on the left and right.
-
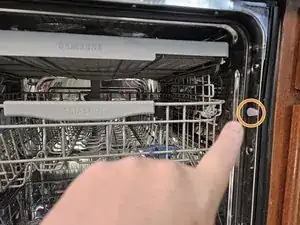
Use a Phillips screwdriver to remove the screws along the left and right sides of the dishwasher.
-
-
-
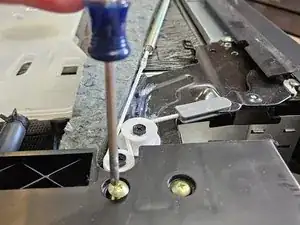
Rotate the levelers, the circular feet at the bottom of the dishwasher, to lower the appliance.
-
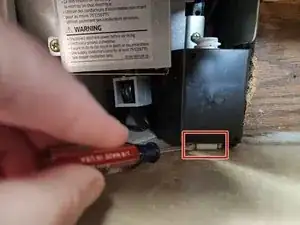
Use a hex-head screwdriver to release tension on the rear adjustment screw (leveler), located along the front bottom middle of the dishwasher.
-
-
-
Remove the dishwasher racks.
-
Pull or remove the dishwasher from the cabinet, and tip the dishwasher over onto its rear panel side, exposing the screws of the bottom panel and side panel.
-
-
-
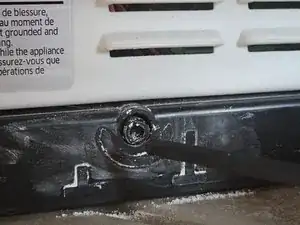
Use a Phillips head screwdriver to remove the screw that secures the bottom drip panel.
-
Open the lower panel with a flat head screwdriver.
-
Disconnect the leak sensor wire by hand.
-
-
-
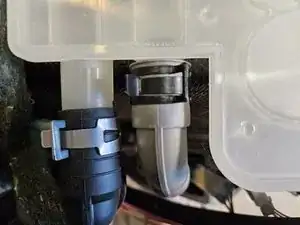
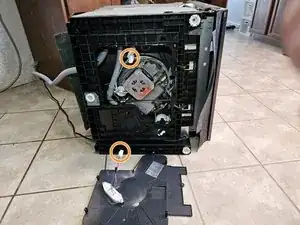
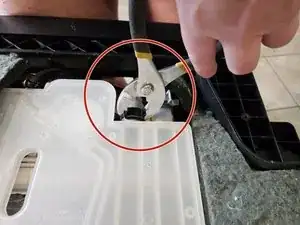
Release the spring clamps from the drain pump hose.
-
Unscrew the side panel, and remove it to reveal the inner hose.
-
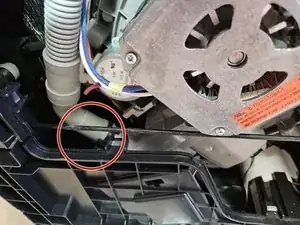
Release the spring clamps from the inner hose, and pull out the hose in its entirety.
-
-
-
Place the spring clamps from the damaged hose onto thereplacement hose.
-
Proceed to reattach the new inner hose at the side panel, with the other end attached to the drain pump.
-
-
-
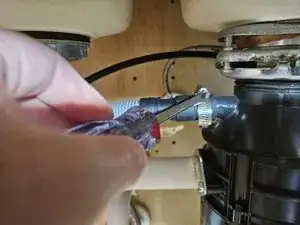
If you are having difficulty squeezing the clamps by hand, you could try using pliers.
-
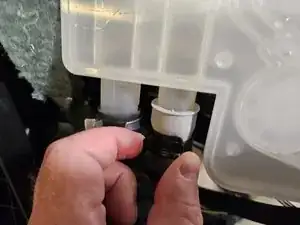
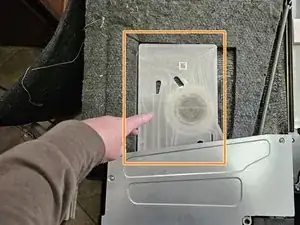
This tank on the left side of the dishwasher may contain water.
-


To reassemble your device, follow these instructions in reverse order.