Introduction
-
-
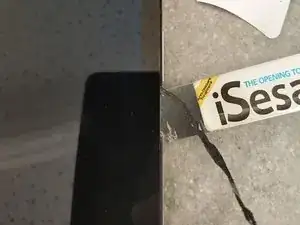
Use a heat gun or similar tool to heat around the edge of the glass.
-
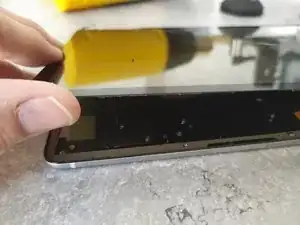
Use a suction cup to lift the glass up and insert a opening tool in between the glass and frame:
-
Work around the glass to loosen the adhesive securing the glass.
-
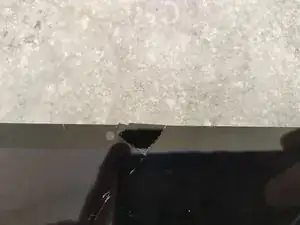
Take care when sliding the tool in front of the camera, there is also alight sensor that is hidden underneath the glass
-
-
-
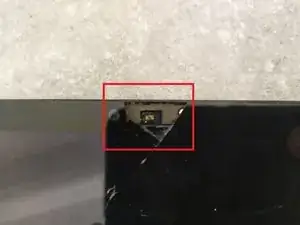
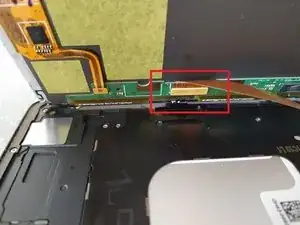
Carefully lift the display up from the right side to expose the cables underneath.
-
The display cable can be seen as marked in the red box.
-
Disconnect the cable and remvoe the old display.
-
Clean any remaining glass or adhesive from the frame.
-
To replace the display follow the steps in reverse order. Test the display before securing it to the frame.
-

To reassemble your device, follow these instructions in reverse order.