Introduction

Use this guide to replace the fan in your Shark Clean Sense HP102PET. The fan is one of the most important parts of the device and it will need to be replaced if it is malfunctioning

  1. T3ULUiIqgj5wGsbj
    T3ULUiIqgj5wGsbj
    BXqQkkVCrrb1emWN
    NUm4aqhD1oS6mPOn
    • Turn off and unplug the air purifier before beginning.

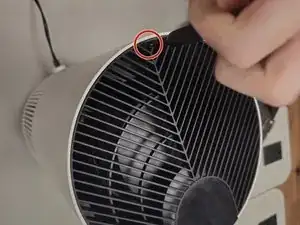
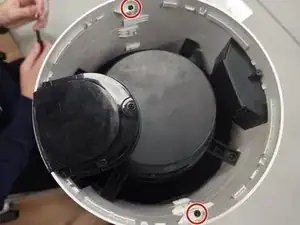
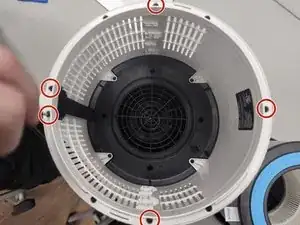
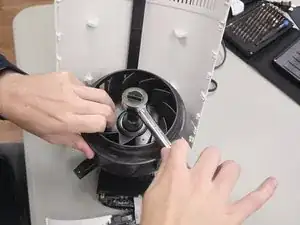
    • Unscrew the one 1.2 cm screw holding the grate at the top with a TR10 Torx screwdriver.

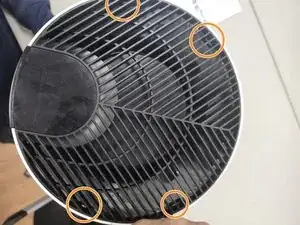
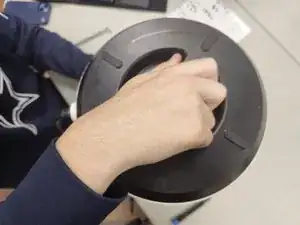
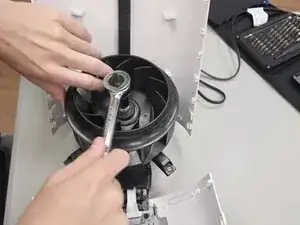
    • Use a prying tool to carefully pry along the outer edges to disengage the inner retaining clips.
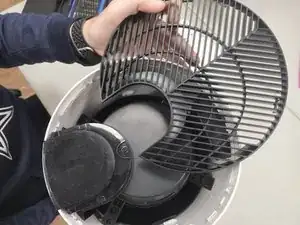
    • These retaining clips can be difficult to disengage, but releasing two clips on the same side should allow you to easily remove the grate.

    • Remove the grate.

  2. DiZZSPsNQPtUNhNn
    • Remove the two 1.2 cm screws with a TR10 Torx screwdriver.

    • Almost all screws are the same length (around 1 cm). The main difference is the bit that's used to remove them.

  3. vP2eDfodOCAnxpu1
    • Use a Phillips #1 screwdriver to remove the four 1 cm.

    • This will make the fan holder slightly loose, but this will not be a problem until you open the case completely.

  4. 4OIAKJRn52pONfYE
    4OIAKJRn52pONfYE
    wGVJIGUng3wSCWyP
    eSncBQPmPDerdQCD
    • Flip the device over and unscrew the bottom by turning it clockwise.

    • Remove the filter.

  5. 1MEEgKDX2UBj3yEj
    1MEEgKDX2UBj3yEj
    V4tAlL4sLCBpmhxx
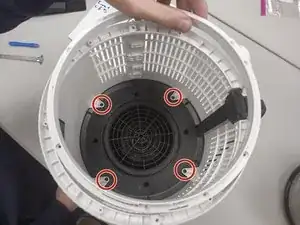
    • Remove the five 1 cm a Phillips screwdriver.

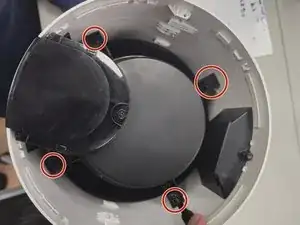
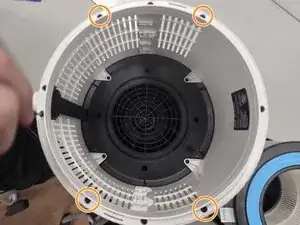
    • Unscrew the four 1.2 cm screws with a TR10 Torx screwdriver.

    • The ring will not be hard to remove, but be careful on reassembly. Make sure that the power connector is properly seated when putting the ring back on.

  6. gIc3ZslOk2FRIuSY
    gIc3ZslOk2FRIuSY
    kKBHwOQAqqML2lhv
    • Remove the four 1 cm screws that secure the fan housing.

  7. CRlnOMtE1MqXlXIM
    CRlnOMtE1MqXlXIM
    Ias56EKpKsaBWNIv
    lyGTqNNPrAessRF3
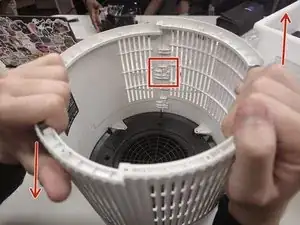
    • Make sure that you are pulling up on the side that allows, as pictured in the red box.

    • Gently slide the cases up and down, or hold one and gently pull up on the opposite side (Down on the left, up on the right for this picture).

    • The whole case will start to separate and the black disc will come loose. This is normal.

  8. YntYZiUCKrjLmGHH
    YntYZiUCKrjLmGHH
    EKrVNl4jICsdcZSZ
    4NZnNoWUOeJWMhxb
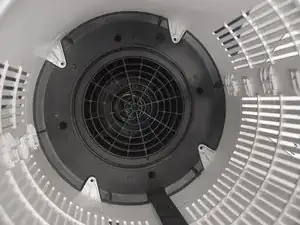
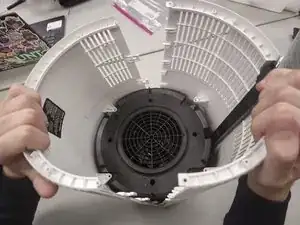
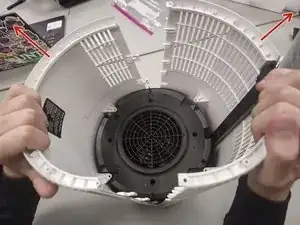
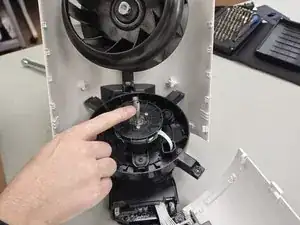
    • Gently open the case outwards as there are fragile electronics inside.

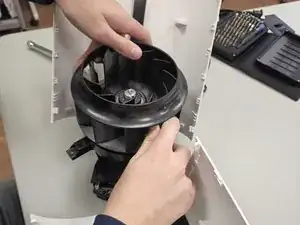
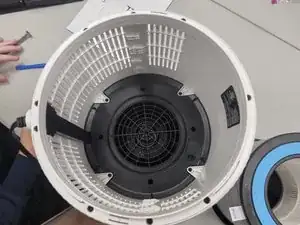
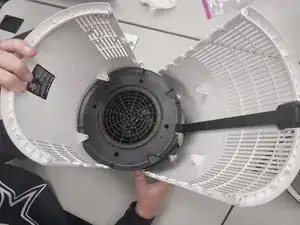
    • Remove the fan housing.

  9. eIXqWVDqXDmWxvPy
    eIXqWVDqXDmWxvPy
    xSRFubWGpiYLdVBU
    • Use a 1/2 inch wrench unscrew the bolt in the middle of the fan.

    • Note: This process is much easier if one of the shell sides is laid flat.

  10. QmMeljIZUkPbDWNG
    QmMeljIZUkPbDWNG
    lNHUneFbJma3QXcr
    • After removing the bolt, lift the fan up and out.

Conclusion

To reassemble your device, follow these instructions in reverse order.

KyreseAguilar

Member since: 28/08/24

727 Reputation

0 comments