Introduction
This guide will help reduce the chance of a child slipping when they wear a long costume dress. This guide doesn't include cutting the dress, which will be useful for when the child grows taller and you want to change it to its original length.
Tools
-
-
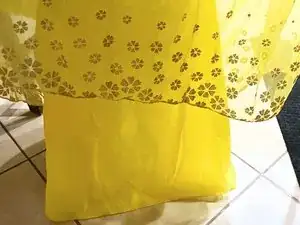
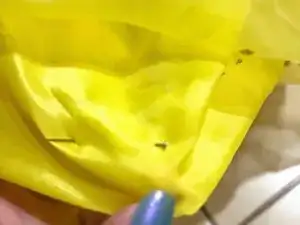
Lay the dress flat on a neat, stable surface like a table.
-
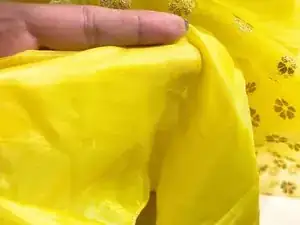
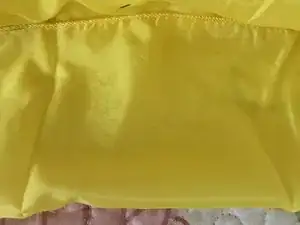
Fold each fabric layer to identical lengths.
-
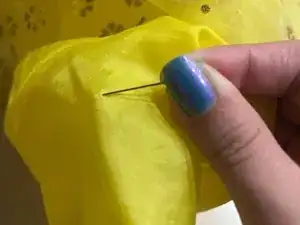
After it's the same length, you need to insert sewing pins in the middle or at the edge of the folded fabric, like in the previous step.
-
-
-
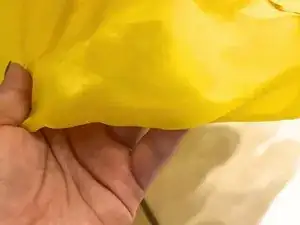
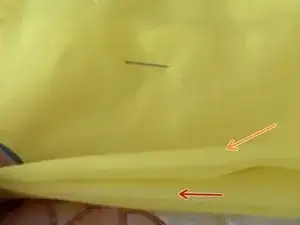
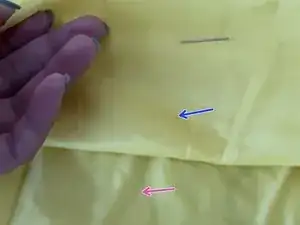
For the next side (red arrow), fold it inwards to match the length of the original pinned fabric (orange arrow).
-
Insert sewing pins like in Steps 2 and 3.
-
-
-
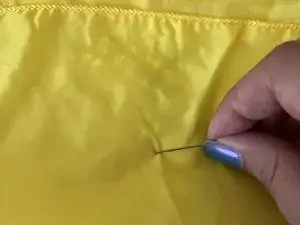
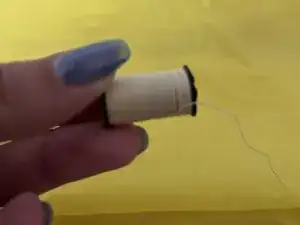
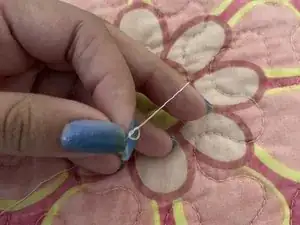
Grab a sewing needle and a thread that matches the color of your fabric.
-
Measure the thread to be the same length as the original pinned fabric, then cut the thread.
-
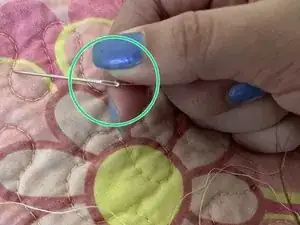
Insert one end of the thread into the eye of the needle.
-
Leave some length at the top for the next step.
-
-
-
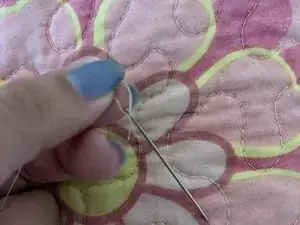
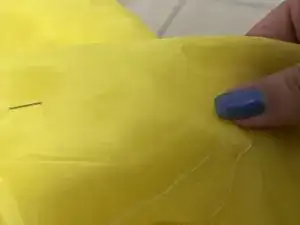
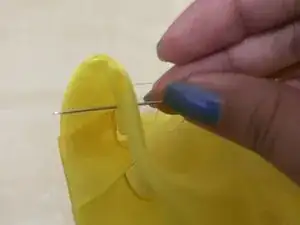
Insert the needle into the fabric following this motion: down, up, down, up, slight pull out. This creates a circle with the thread.
-
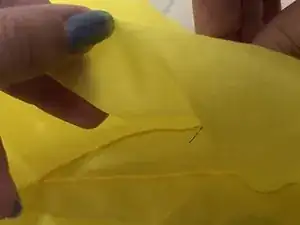
Before the circle ends, you need to pass the needle through the circle, then down into the fabric.
-
You need to pull the thread and needle through all the way.
-
-
-
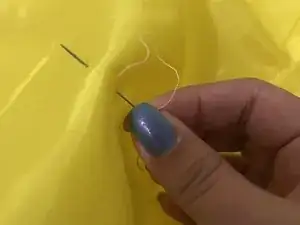
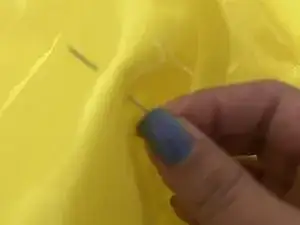
Next, you take the needle, insert into the fabric half way then go up, and pull the needle and thread through a little bit.
-
You need to repeat until two-thirds of thread is left or until you get to the start again.
-
-
-
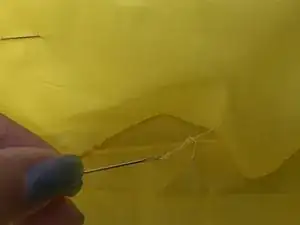
When there is 2/3 of thread left in the needle, repeat Step 8.
-
After securing it, you need to cut the thread from the needle, closest to where the needle is.
-
For the rest of the fabric or other fabrics, you need to repeat Steps 6-10.
-


To reassemble your device, follow these instructions in reverse order.