Introduction

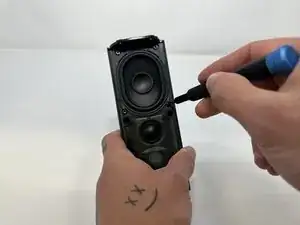
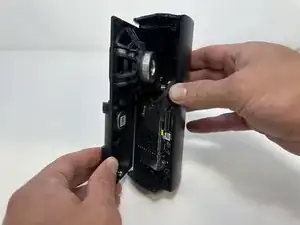
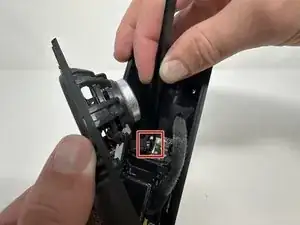
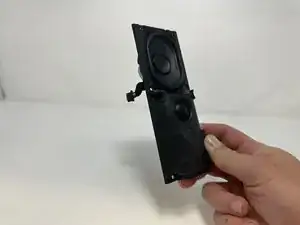
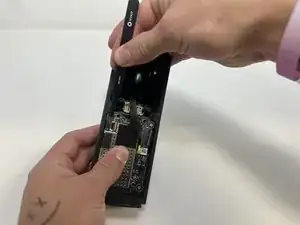
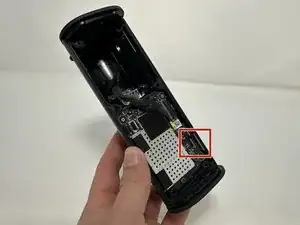
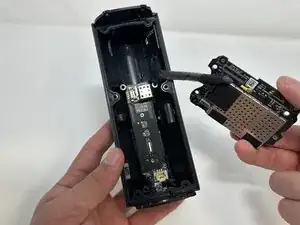
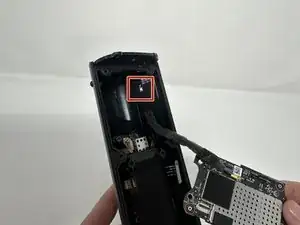
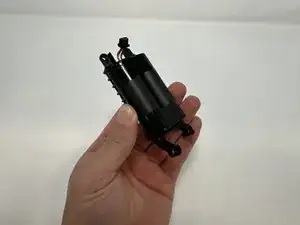
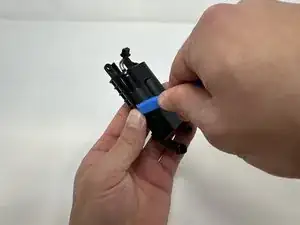
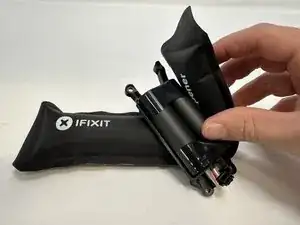
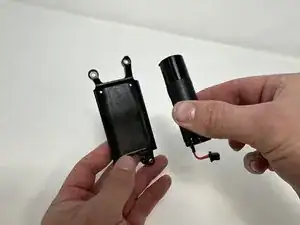
If your Sonos Roam is having battery issues such as not being able to hold a charge or not charging at all, then use this guide to replace the battery.

The battery is responsible for providing the energy that the speaker uses to function. It can be charged, store the energy, and provide energy when needed.

Before using this guide, make sure your current charger is compatible and you have the right USB cable. Also try rebooting the device.

There are steps that recommend (not require) the use of the iOpener. This will help with carefully removing the adhesive used to keep this device together. Refer to this link on how to properly use the iOpener.

  1. fQq56AbQJRPOaTYu
    fQq56AbQJRPOaTYu
    KsW2s361JCkYIJQT
    5MBYncQL2NxagpDy
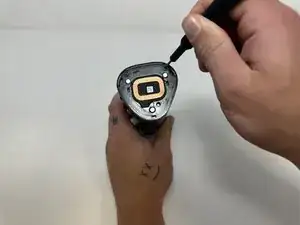
    • Power off your Sonos Roam before beginning disassembly.

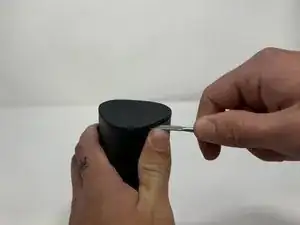
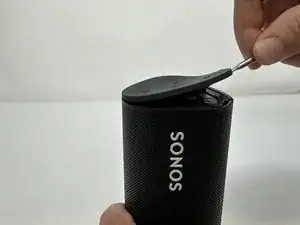
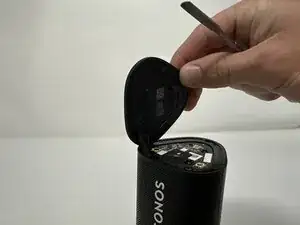
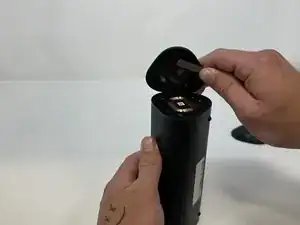
    • Use the metal spudger to pry the end cap with the buttons.

    • Pry from all sides to loosen the adhesive.

    • Use the iOpener, a blowdryer, or a similar heating device to loosen the adhesive if having difficulty.

    What about IP67 rating? Am I going to lose the water resistance rating if I do not reapply some glue or additional adhesive when reassembling things back?

    Askar -

  2. Fa1WAjLd1PTbOgJf
    Fa1WAjLd1PTbOgJf
    bjRsPyljKxuOH4NV
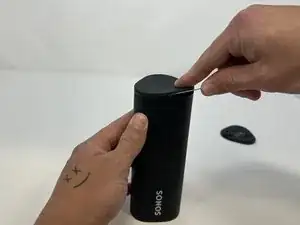
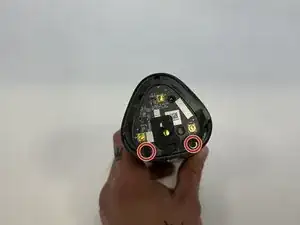
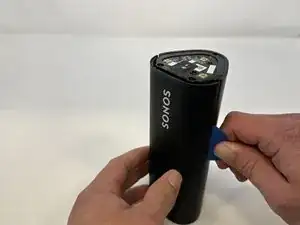
    • Flip the device to the other end cap.

    • Use the metal spudger to loosen the adhesive.

    • Use the iOpener, a blowdryer, or a similar heating device to loosen the adhesive if having difficulty.

  3. 3NJEEKwTJ3cHVylI
    3NJEEKwTJ3cHVylI
    PuNOCsS2YDgUkTLT
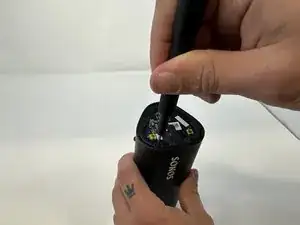
    • Flip the device so that the Sonos logo is on the top.

    • Use the Torx T6 screwdriver to remove the two 6 mm screws.

    my sonos roam sl used t7 screws here

    Arndt Kurek -

  4. 2yXndWqBYFKlbDYx
    2yXndWqBYFKlbDYx
    sNeZtEdHfKjO2uGw
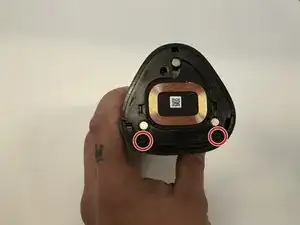
    • Flip the device.

    • Use the Torx T6 screwdriver to remove the two 6 mm screws.

  5. eqhulqqTvQLmoNXq
    eqhulqqTvQLmoNXq
    L1IKTYCJPR6WbaRs
    ufiHRMw4APQ5MnRX
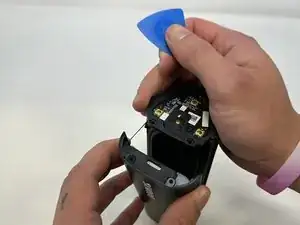
    • Flip the device so the Sonos logo is on the top.

    • Use the iFixit opening picks to wedge between the split of the grille and the back of the speaker to pry the grille apart.

    • Use the iOpener, a blowdryer, or a similar heating device to loosen the adhesive if having difficulty.

  6. u5MDFTO53QorTvph
    u5MDFTO53QorTvph
    OnmpcYbrSNVmjZpv
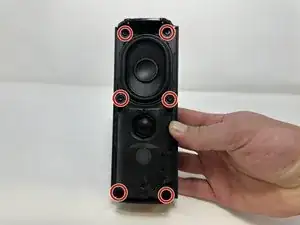
    • Use the TR10 Torx screwdriver to remove the six 7 mm screws.

  7. 4BWE6oPmMVUWrYSU
    4BWE6oPmMVUWrYSU
    NbYFWEtK2YIubaXV
    xdHkiRKIsZp413SS
    • Begin to carefully separate the speaker module from the device.

    • Firmly squeeze the middle of the plug using the tweezers to pull it out of the socket.

    • Separate the speaker module from the device.

  8. qDHExrQGCmIq1wqD
    qDHExrQGCmIq1wqD
    rPR1A2VOnUo5KwTC
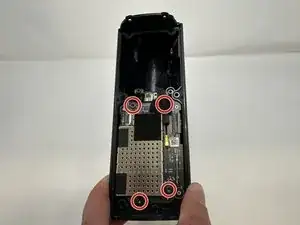
    • Use the TR10 Torx screwdriver to remove the four 7 mm screws.

  9. AhKurEl34YkSN5vw
    AhKurEl34YkSN5vw
    h2Xy5qFBO4rWYlYZ
    opEsR3fXZVtixprJ
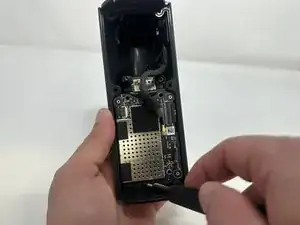
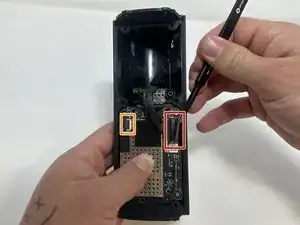
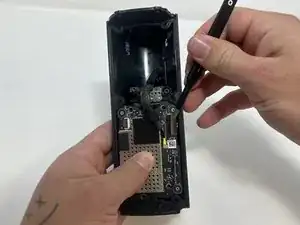
    • Use the tweezers to flip the latch holding the large ribbon in place.

    • Grab the large ribbon with the tweezers and pull upwards to remove it.

    • Use the tweezers to flip the latch holding the small ribbon in place.

    • Grab the small ribbon with the tweezers and pull upwards to remove it.

    A diagram of how the latch works would be helpful as well as the photo

    Neil Makaroff -

  10. OAnYlvoXEsNNiMBy
    OAnYlvoXEsNNiMBy
    ftRCdLC5WUgYXUaP
    fwwNFhcU1a1FKHUU
    • Grab the metal piece sticking out of the outer circuit board.

    • Pull upwards to remove the outer circuit board.

  11. XUYPSAS1fErfPgD4
    XUYPSAS1fErfPgD4
    jGi3uFKQiWVyXA2F
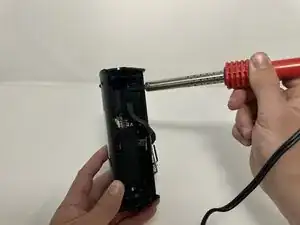
    • Soldering Iron is very hot and can cause injury if not used properly.

    • Use a soldering iron to desolder the outer circuit board from the speaker casing.

    is it necessary to desolder the board to replace the battery? it appears subsequent steps just push it to the side...

    Daniel Rodriguez -

    Same here, not sure if that is a necessary step to replace the battery

    Askar -

    I made the repair without soldering. Works without any problem

    Ze si -

    Same here. No need to desolder

    Neil Makaroff -

  12. FTnHwpJMYqaGxHW2
    FTnHwpJMYqaGxHW2
    1s3gFifHVnJAJbvf
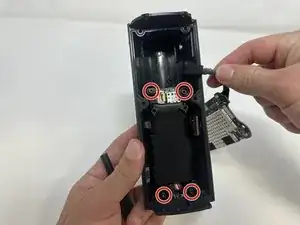
    • Use the TR10 Torx screwdriver to remove the four 7 mm screws.

  13. HgdPNQnhSsmxOINy
    HgdPNQnhSsmxOINy
    2LOcWQj3RFKkpAyI
    • Use the tweezers to firmly squeeze the middle of the plug.

    • Pull the plug out to remove it from its socket.

    • Remove the battery from the device.

  14. OqeBoOA5g2gWHayM
    OqeBoOA5g2gWHayM
    rJPZqwIOkwuEkotZ
    UPigsy2wbI2LwZoS
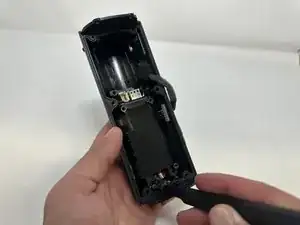
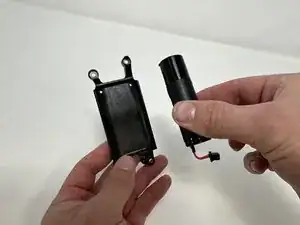
    • Use the iFixit opening tool to pry the battery out of its casing.

    • Use the iOpener, blowdryer, or a similar heating device to loosen the adhesive if having difficulty.

  15. yYF1xT5DKlVIUpMg
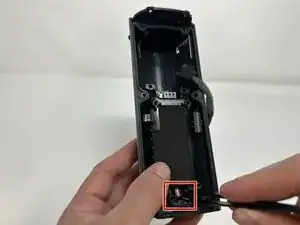
    • Remove the battery from its casing.

    Step 11 is optional. There is no need to unsolder the circuit board to get the battery out, you can pry the cable off and move the board out of the way while it is still attached to the case.

    Kristoffer Rydquist -

    Agree with prior comment, did not unsolder wire and still completed successful battery change.

    FYI, my Sonos battery most probably failed as the charger was not sufficient power. This was not in any literature but Sonos help line stated minimum power needed.

    Paul Ukrainetz -

    I also agree that step 11 is unnecessary. No need to unsolder anything, just carefully flip the board out of the way. This lead is going to one of the antennas, so I would not want to deal with resoldering this micro-coax. Hardest part is dealing with all the adhesive.

    Matt Schirmacher -

    Bravo pour les explications très claires, précise et bien illustrées !! Il est vrai que dessouder le fil n'est pas nécessaire .. de si quelqu'un peut dire à SONOS qu'un petit interrupteur à pression serait bien utile pour un hard reset des enceintes plutot que de devoir démonter les batteries :-)

    Teran -

Conclusion

To reassemble your device, follow these instructions in reverse order.

Lauren Young

Member since: 20/09/23

704 Reputation

12 comments

Great guide. Do you have information on the battery needed? I dont see one available from Sonos, so I presume a 3rd party is required?

mt -

Mit welchem Kleber befestige ich die Abschlusskappen nach Abschluss des Akkutausch am besten wieder?

DocHofer -

Fantastic instructions, saved my roam from being a brick. iOpener is worth every penny! Not a paid advertisement

msdavis4 -
The teardown was easy with these instructions, as was the re-assembly. I replaced the battery with one from AMAZON (they have a lot of them) but no joy - the problem appears too be with the PC board or defective switch - so I bought a new Sonos ROAM 2. Oh well - everything eventually obsoletes and Sonos offered no solutions out of warrantee. Next stop - rep[lace a 3TB fusion drive on an iMac.

Richard -

Just completed this and speaker back to working - only issue i had was step 11 and the wire became disconnected form the board end, not the case - end. All good though as a resoldered it to the board. Was a little nervous about that as I know some boards can't take the heat from resoldering directly to the board. So far so good - enjoying my Jazz channel right now :)

avro57 -

Completed the guide and replaced with battery from Amazon - nice and easy to follow instructions, skipped step 11 though.

But alas, the Roam is just flashing red slowly which means it has a fault somewhere. I don't want to bother reaching out to Sonos service as the Roam has already reached it's 2 year warranty, and since I opened it up they'll probably reject any claim anyway.

Thx for the guide!

Alex Tingkær -

Thanks so much! It was my first time attempting an ifixit repair.. Success!

Neil Makaroff -

Thank you for this great tutorial !!

Teran -

Thanks for this excellent article and pictures. The iFixit plastic tool kit was also helpful - $8 on Amazon and will be useful for future projects. Replacement battery was $21 on Amazon, and the pigtail and connector fit perfectly. I already had the two sizes of Torx drivers needed for the screws. There is no need for Step 11, that is, don’t de-solder anything. Instead use painters tape to temporarily secure the main circuit board while finishing the project. I used a heat gun (carefully) to warm up the glue areas to aid in removal, then used the heat gun to warm up the glue during re-assembly - thus I did not have to apply new glue. Took 20 minutes - hardest part was prying the speaker grill off. Using metal pry tools instead of plastic would be risky - at least cosmetically. The thick plastic guitar pick tool in the iFixit kit did a great job prying things loose. Just be patient and use finesse. My Roam turned on even before I finished re-assembly and automatically connected itself to my Sonos system.

DIYr -

The specs printed on the OEM battery are: Terminal Voltage 3.6 VDC; Charging Voltage 4.2 V; 5000 mAh, 18.0 Wh. Replacement battery should have the same voltage specs, but it’s ok if the replacement has higher capacity. That is, the replacement can be higher than 5000 mAh and 18.0 Wh. There are several models to chose from on Amazon. Just do a search for ‘Sonos Roam replacement battery’. Also exercise buyer caution - there are some unscrupulous battery sellers on the internet who re-label old batteries, and/or exaggerate with false capacity claims. I’ve not yet run into such problems on Amazon, fortunately.

DIYr -

This was very helpful! My gen 1 roam bricked per everyone else’s problem with the battery. Got replacement from Amazon, followed the guide, skipped the desoldering and resoldering at my own peril, but it still worked great. Thank you for the step by step!

adgrey -

The tutorial is very helpful and clear. I would only suggest including the part number of the battery in the instructions, so that users can order it online in advance. This would avoid the inconvenience of having the device disassembled while waiting several days for the battery to arrive.

César Díaz -