
Introduction
This replacement guide will address how to remove a faulty motherboard from a Sony Alpha a7s II camera. The motherboard acts as the brain of the camera. It serves as the centralized hub to connecting all other processes inside the camera together.
The LCD screen and memory card are examples of other parts that rely on the motherboard. Provided in this replacement guide are the steps needed to properly remove the motherboard.
-
-
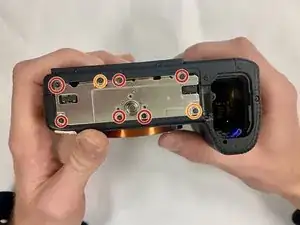
Remove the six 4mm screws located at the bottom of the camera using Philips #000 (Circled in red).
-
Remove the two 3mm screws remaining on the base plate using Philips #000 (Circled in orange).
-
Remove the base plate.
-
-
-
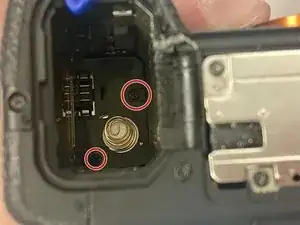
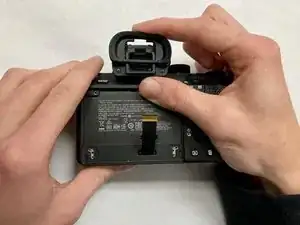
Use the Philips #000 to remove the two 4mm screws located inside the battery holder.
-
Next, remove the two 4mm screws using the Philips #000 located on left side of the camera.
-
Remove one 4mm screw on the right side of the camera using Philips #000.
-
-
-
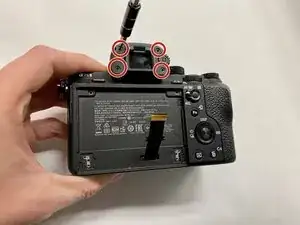
Remove the rubber viewfinder cap by sliding it upwards.
-
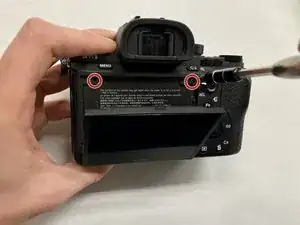
Remove the four 3mm screws behind the cap.
-
-
-
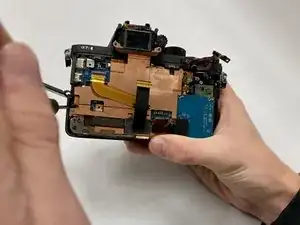
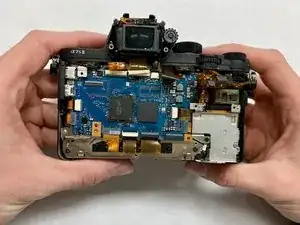
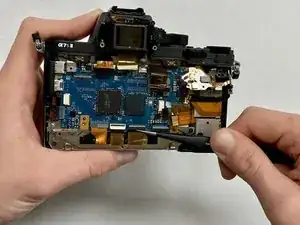
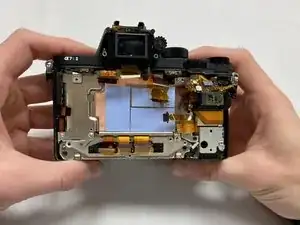
Remove the outer case.
-
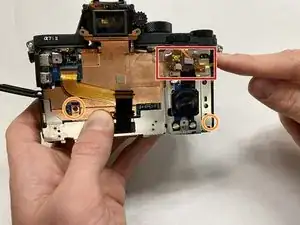
Unhook the component outlined by the red square.
-
Next, unscrew the two 4mm screws circled in orange using the Philips #000.
-
Remove the button outlined with the yellow square.
-


To reassemble your device, follow these instructions in reverse order.
2 comments
Where can I order the motherboard for this camera?
You can find replacement parts on Aliexpress.
Also the 2 4mm srews on the right
Michael Dorniak -