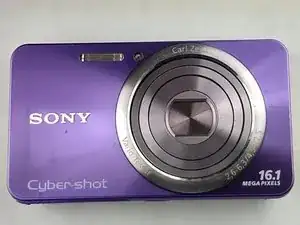
Introduction
Outline what you are going to teach someone how to do.
-
-
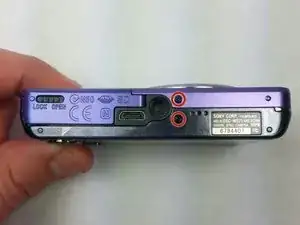
Begin by facing the camera bottom side up to reveal the two 2.93 mm long screws
-
Remove these two screws using a Philips #00 screwdriver
-
-
-
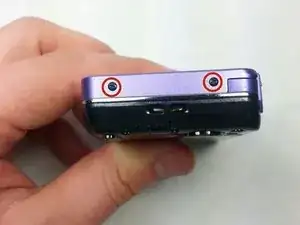
Turn the camera sideways on its left side making sure the two 2.93 mm long screws are facing upwards
-
Remove the two 2.93 mm long screws using a Phillips #00 screwdriver
-
-
-
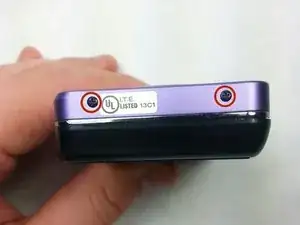
Turn the camera on its right side making sure it is facing upwards
-
Remove the last two 2.93 mm long screws using a Phillips #00 screwdriver
-
-
-
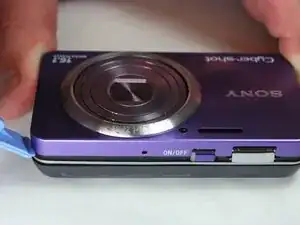
Face the device with the camera lens facing upwards
-
Gently pry off each corner of the cover to remove it
-
Once all corners are pried off, gently lift off the cover and place it on the side
-
-
-
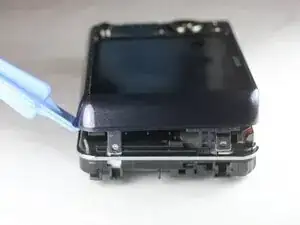
Flip the device, making sure the screen is facing upwards
-
Use the plastic opening tool to gently pry all along the corners and sides of the camera.
-
Gently lift off the entire back cover and place it on the side
-


To reassemble your device, follow these instructions in reverse order.