Introduction

  1. ZDyB1NhGPV5bC4Yl
    ZDyB1NhGPV5bC4Yl
    bf5RfpKnguhNL1XP
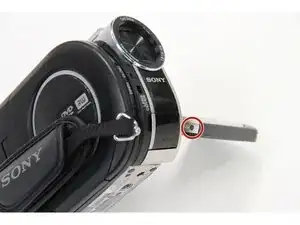
    • Remove the first screw located on the bottom of the LCD screen by using a cross tip screwdriver.

  2. WLpiHGuJhYdCpaZq
    • Turn the LCD screen either clockwise or counterclockwise for a better view of the screw.

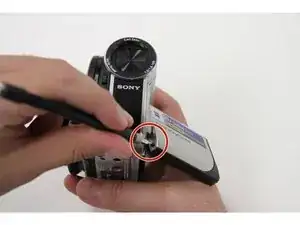
    • Remove the second screw.

  3. GHdB4PwsK34BvuYc
    GHdB4PwsK34BvuYc
    gY63631ZSPsqswVf
    • Place a plastic opening tool along the outside of the touchscreen.

    • Follow the path to remove the panel.

  4. b4m6aa1Cx1qVC6Wx
    b4m6aa1Cx1qVC6Wx
    14j2kVtTwtsjheib
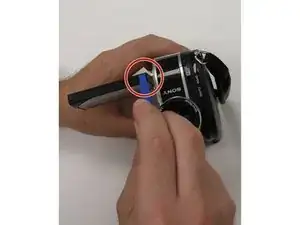
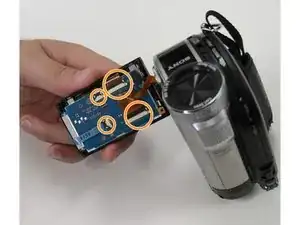
    • Remove each of the ribbon cables off by lifting up on the black tab.

    • Remove all ribbon cables before continuing unto the next step.

  5. NLyXFmXu3CHSPtqx
    NLyXFmXu3CHSPtqx
    U1OKiPXmjF1sBws6
    • Unscrew the final screw located on the top left corner.

    • Remove the screen.

Conclusion

To reassemble your device, follow these instructions in reverse order.

santos guitron

Member since: 24/09/15

144 Reputation

0 comments