Introduction
This is a moderately difficult step-by-step guide to replace a Sony ICF-C1T Speaker. Major steps are removing the exterior top of the speaker, separating the motherboard, and replacing the internal speaker.
Make sure the battery is removed and the speaker is unplugged before performing steps 1-7. Also, be gentle and cautious during Step 3 and 6 to avoid damage.
-
-
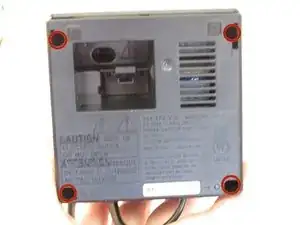
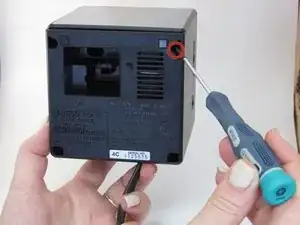
Locate the underside of the device. Use the Phillips #00 screwdriver to remove the four 14mm screws.
-
-
-
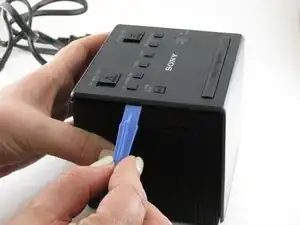
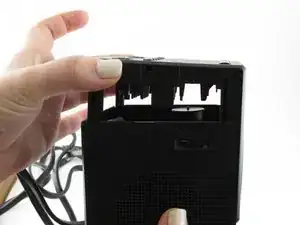
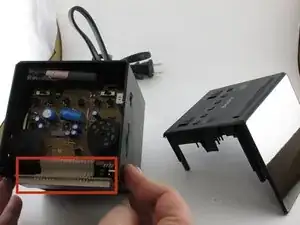
Locate where the top-side of the speaker connects with the sides and use the iFixit Opening Tool to gently pry the top-side off.
-
-
-
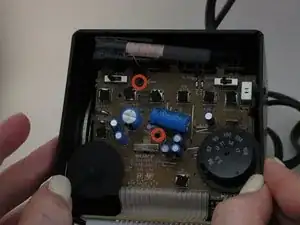
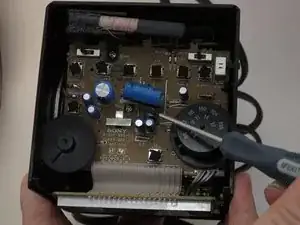
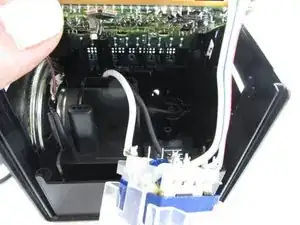
Using the Phillips #00 screwdriver, remove the two 14mm screws from the top of the motherboard.
-
-
-
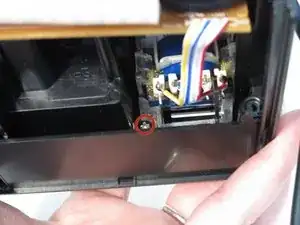
Remove the Phillips #00 screw from the bottom of the white and blue box.
-
Remove the Phillips #00 screw from behind the white and blue box.
-
After unscrewing the white box, gently pull it out. This will allow for more room to access the speaker.
-
-
-
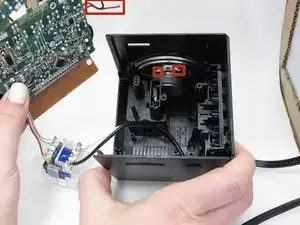
To separate the motherboard completely, you can cut the red and black wires that are attached to the speaker. This will allow you to access the speaker fully.
-
-
-
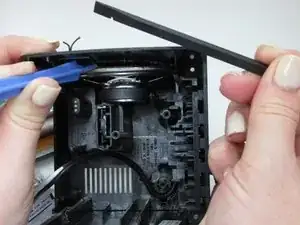
Use the plastic opening tool and the spudger to separate the speaker from the device by tracing its outline and loosening the glue.
-

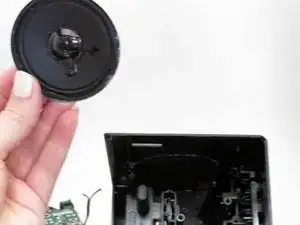
To reassemble your device, follow these instructions in reverse order.
One comment
can I connect aux out port to speaker?