Introduction
Following these steps will probably make the speaker less water-resistant.
Thanks to Anup Sharma on YouTube, whose teardown video provided some hints for this guide.
Tools
-
-
Turn the speaker upside down.
-
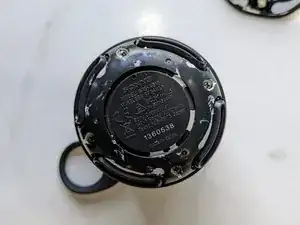
On the underside, you'll find a layer of flexible black plastic. Peel this off. You may encounter a layer of white paste underneath.
-
-
-
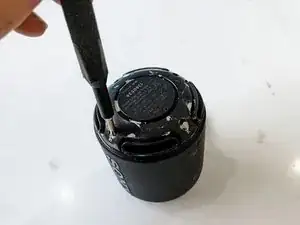
Remove four 8mm Phillips #1 screws from the base.
-
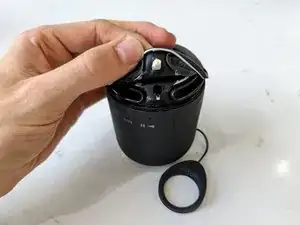
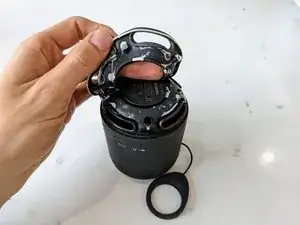
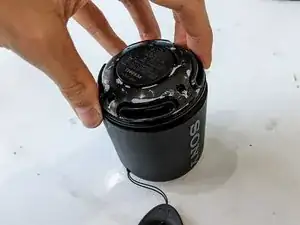
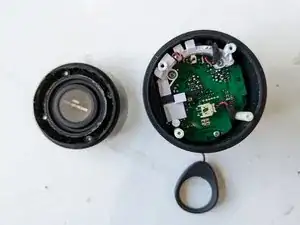
Grip the base by the vents and lift it off.
-
-
-
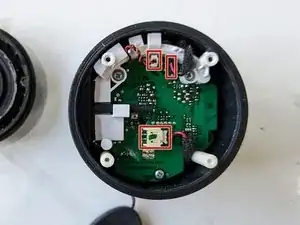
The circuit board is very tightly fitted inside the casing. The easiest way to remove it is to squeeze between the white plastic cylinders attached to the circuit board and the opposite side of the casing (as shown in the first picture). This will allow you to start angling the board.
-
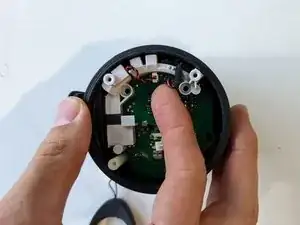
As the board starts to lift out, it can catch on the inside of the casing. At this point, it can be helpful to squeeze the casing, with your thumb next to the ports (see second picture), to free the board.
-
-
-
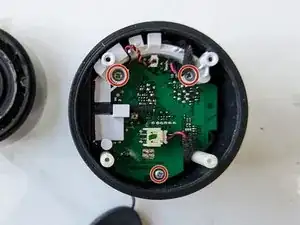
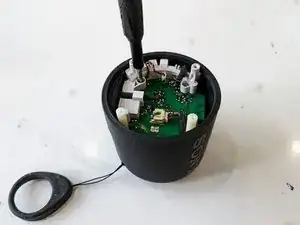
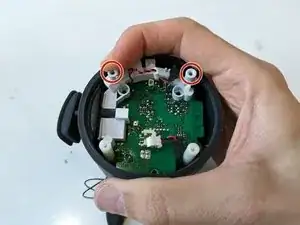
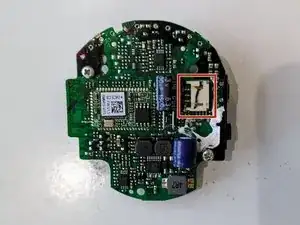
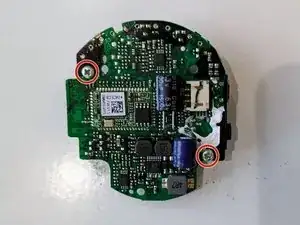
Undo the two 8mm Phillips #1 screws on the underside of the circuit board.
-
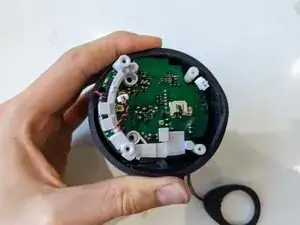
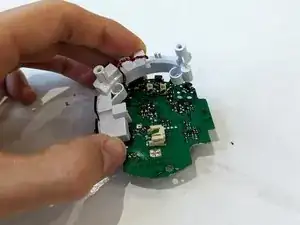
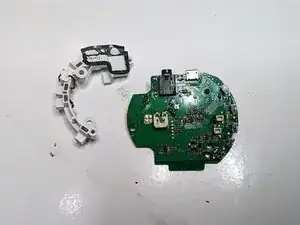
Lift the white plastic component cover off the circuit board.
-
The USB and audio ports are surrounded by a black sticky-back layer. Peel this layer off carefully, as you'll want to stick it back down in one piece when reassembling.
-
To reassemble your device, follow these instructions in reverse order.
