
Introduction
The optical drive in your Sony Vaio VPCCB 290 X is an internal option on the laptops that is used in reading and writing disc s like CD DVD or Blue Ray. Occasionally this drive can fail due to wear and tear, dust, or mechanical breakdown.
If your laptop cannot read discs that are fine on other machines, then the optical drive should be replaced. This guide demonstrates how to replace the optical drive of your Sony Vaio VPCCB 290 X and bring functionality back into your device.
Before you begin this repair, power down your device and unplug it from the charger.
-
-
1. Shut down the laptop through your operating system's power options. Wait until all indicator lights are off.
-
2. Disconnect the power adapter from the laptop.
-
3. Remove all peripheral devices, such as USB drives, external displays, or connected storage devices.
-
4. Close the laptop lid and flip the device over to access the bottom panel.
-
-
-
Locate the battery compartment on the underside of the laptop. Identify the battery release latch and slide it into the unlock position. Push the release lever gently to disengage the battery. Lift the battery from its compartment carefully and place it in a safe location.
-
-
-
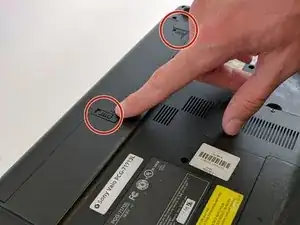
Importance: Removing the hard drive cover is necessary to access screws and components beneath it.
-
1. Locate the hard drive cover on the laptop’s underside, typically secured with four Phillips-head screws. 2. Use a properly sized screwdriver to remove these screws. Keep them in a secure container to prevent loss. 3. Gently lift and remove the hard drive cover.
-
-
-
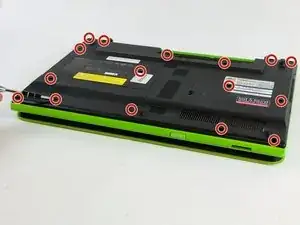
Identify and unscrew all visible screws securing the bottom panel to the chassis.
-
Inspect areas near vents, ports, and hinges for hidden screws. These screws are often overlooked and can cause resistance when prying the panel off.
-
Remove screws holding the hard drive in place (if present) to facilitate panel removal.
-
-
-
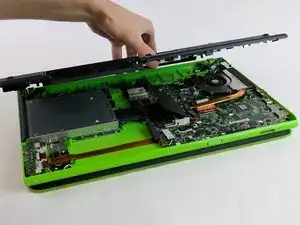
Use a plastic opening tool or spudger to gently pry around the edges of the bottom panel. Start at a corner or near a seam for easier leverage.
-
If the panel resists lifting, pause and double-check for missed screws, especially near the edges or hidden compartments.
-
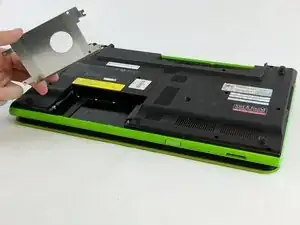
Once loosened, carefully lift the panel off the laptop and set it aside. If the hard drive is installed, slide it out of its compartment carefully and store it safely.
-
-
-
Wear an anti-static wristband and attach it to a grounded metal object to discharge static electricity from your body.
-
If you don’t have a wristband, touch an unpainted metal surface, such as a doorknob, to ground yourself before handling components. Work on a clean, static-free surface to further reduce the risk of static buildup.
-
-
-
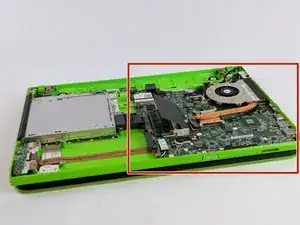
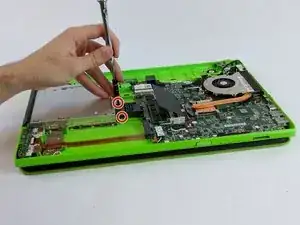
Locate the screws securing the optical drive to the laptop chassis. These screws are typically positioned near the drive bay, accessible once the bottom panel is removed.
-
Unscrew these screws with a Phillips-head screwdriver. Set the screws aside in a safe container.
-
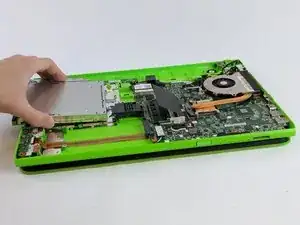
Gently push or pull the optical drive to slide it out of the bay. Use even pressure to avoid damaging the drive or surrounding components.
-

To reassemble your device, follow these instructions in reverse order.