Introduction
This repair guide will help you learn how to locate, remove, and replace the battery for the Sony WH-CH720N. The battery is in the right side of the headphones. This is necessary in the event the headphones stop accepting a charge or refuse to power on despite charging.
DO NOT puncture the battery, as it might explode. Dispose of the battery in the proper receptacle.
-
-
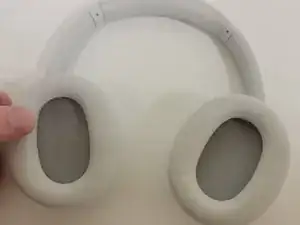
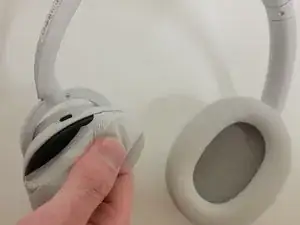
Remove the earmuff.
-
Check introductions to ensure you remove the correct side earmuff for each repair guide!
-
-
-
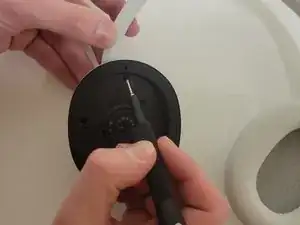
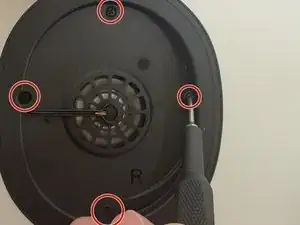
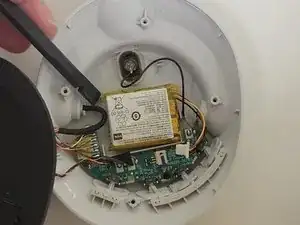
Remove the four 5 mm screws in the right using a Phillips #00 screwdriver.
-
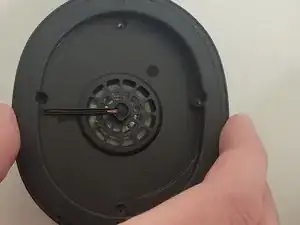
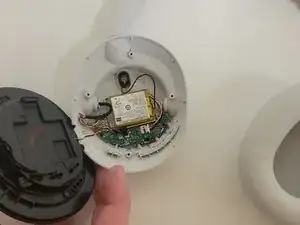
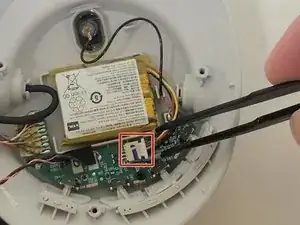
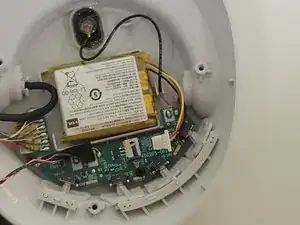
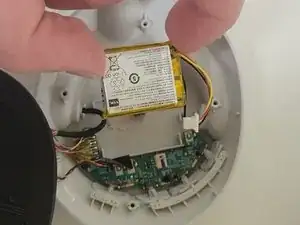
Remove the speaker panel to reveal the battery.
-

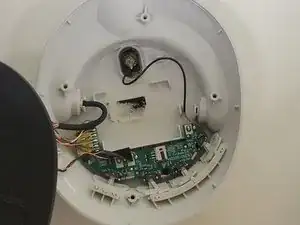
To reassemble your device, follow these instructions in reverse order.

One comment
Followed this, and all good, thank you. The wires attaching the speaker to the board are very thin and not very long, so super caution needed. Replacement battery was 15 Euro, and was advertised as for 1000MX4 charging case, but fitted and works perfectly. Insane that you have to take the thing apart just to replace the battery though...