Introduction
This guide demonstrates how to replace the earpad cushions on your Sony WH-H900n headphones in just six easy steps. If you've noticed wear and tear on your current earpad cushions and want to give your headphones a fresh look and feel, the replacement is straightforward and hassle-free.
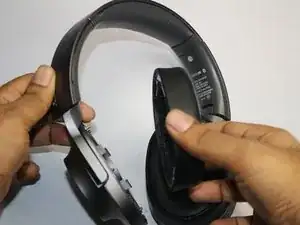
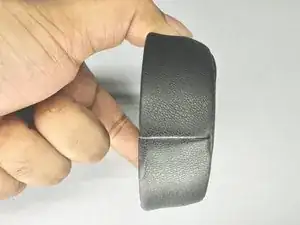
Ensure you've acquired replacement earpads specifically designed for the Sony WH-H900n model. Additionally, use a plastic prying tool to safely separate the old earpad cushions from the headphones to avoid causing damage to your headphones.
Before you begin, turn off your headphones and disconnect from the charger.
Tools
Parts
-
-
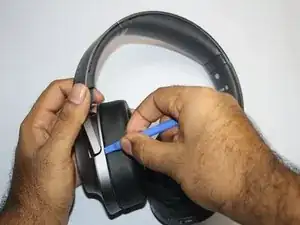
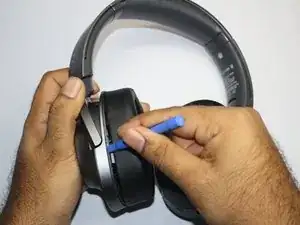
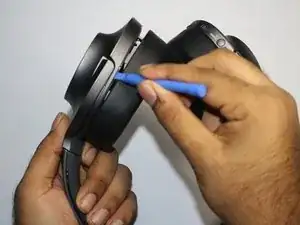
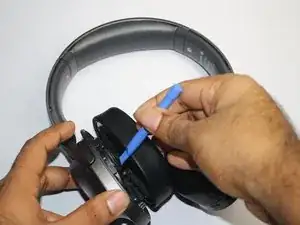
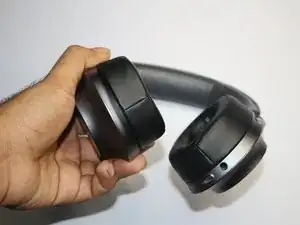
Place the edge opening tool between the headphones and earpad cushion, gently pry upward to release the clips securing the earpads.
-
-
-
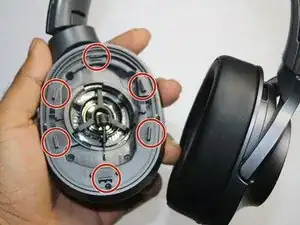
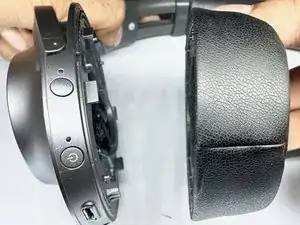
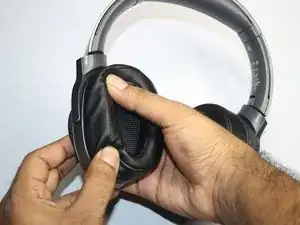
Line up the back of the new earpad cushion with the six hooks on the inside of the headphone cup.
-
-
-
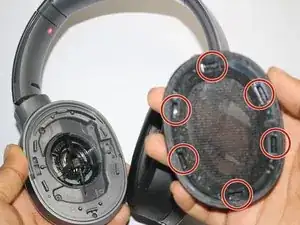
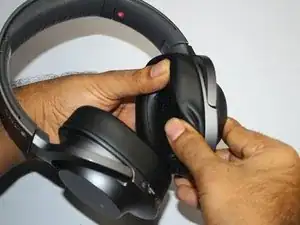
Align the back of the earpad with the inside of the headphone cup.
-
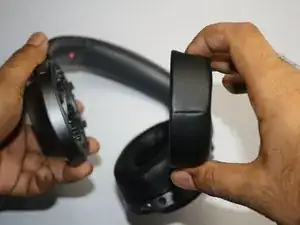
Slide the earpad cushion onto the hooks in the ear cup.
-
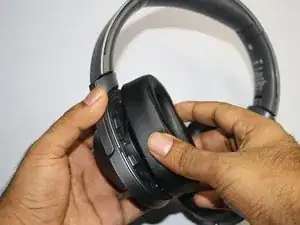
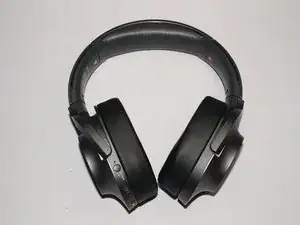
Once you have completed the steps for both sides you are now able to enjoy your headphone just like when it was new.