Introduction

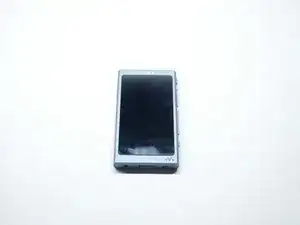
Use this guide to remove and replace a worn out or dead battery in a Sony Walkman NW-A45.

For your safety, turn on your Sony Walkman NW-A45 and allow the battery to fully discharge before starting this procedure. A charged lithium-ion battery can be very dangerous if accidentally punctured.

Remember: follow general electrostatic discharge (ESD) safety procedures while repairing your device.

Don't reuse the battery after it's been removed, as doing so is a potential safety hazard. Replace it with a new battery.

  1. 6XihkQJD1UuRYovs
    • Turn on your Walkman and allow the battery to discharge below 5% before starting any repairs, as a charged Lithium Battery can be dangerous if accidentally punctured.

    • Turn off the device.

  2. a2ScgDntBXZjG4hH
    a2ScgDntBXZjG4hH
    NvBBrS62a1qYVxOm
    IvGMuboSIgWCegSP
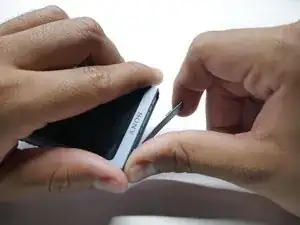
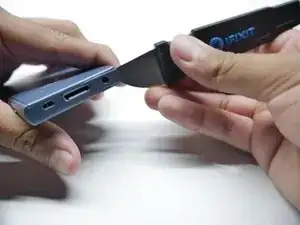
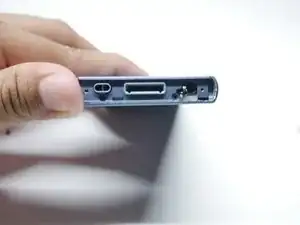
    • Insert a Jimmy into the thin gap between the shell and the side of the top cover, along the edge of one of the panels.

    • Pry up on the top cover to release it from the adhesive.

    • Once the adhesive doesn't stick from one edge, the rest disconnects easily. It will take a couple tries.

  3. g5msKPqxMg5SlcAX
    g5msKPqxMg5SlcAX
    2CWGfQM1vjYe3J3Z
    PhBUbgnsOTwQFosr
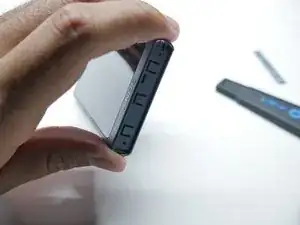
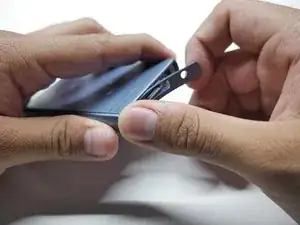
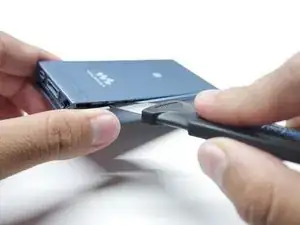
    • Insert a Jimmy into the thin gap between the shell and the side of the bottom cover, along the edge of one of the panels.

    • Pry up on the bottom cover to release it from the adhesive.

    • Once the adhesive doesn't stick from one edge, the rest disconnects easily. It will take a couple tries.

  4. Vj1kmNXaZJfGQwAy
    Vj1kmNXaZJfGQwAy
    QJVUyqqDqsSx2rG3
    • Remove the two bottom screws holding the chassis using a Phillips #00 screwdriver.

  5. FwUjRZoK5wfVJbPe
    FwUjRZoK5wfVJbPe
    rAIcBMQiryfkqYCc
    ICyrPHXUiCJFYfLC
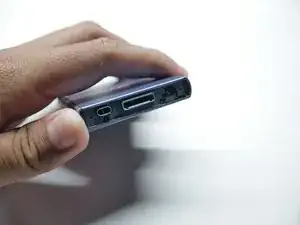
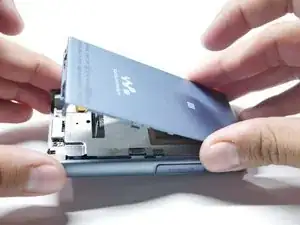
    • Flip the walkman on its screen.

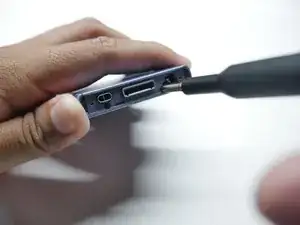
    • Insert a Jimmy into the thin gap between the side panel and shell, along the edge of the panel.

    • Slowly pry up the back cover to release it from its adhesive.

    • If you have difficulty keeping the gap up, insert opening picks to prop it open.

  6. snXZCPtD5iSfHDF3
    snXZCPtD5iSfHDF3
    STjqdQeMMMUgkFHu
    cXLInSOPvBmGwltx
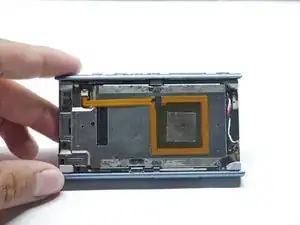
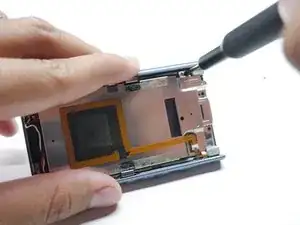
    • Remove the five screws holding down the battery and NFC Module using a Phillips #00 screwdriver.

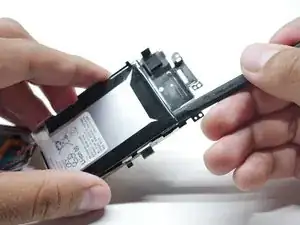
    • Detach the ribbon cable connecting the NFC Module by pulling outward.

    • Don't pull too hard or else the ribbon cable will rip.

  7. UcNh6kkRRt4pHy4Y
    UcNh6kkRRt4pHy4Y
    yxtDcopaTBk2sAOR
    i21UvubQZojc31WD
    • Lift up the metal chassis carefully.

    • There will be a block piece which holds the wires. Pull it up carefully and it should come off.

  8. tWIkUQuQi3ZstkNH
    tWIkUQuQi3ZstkNH
    TZXmQHgluHLMBd6b
    ZQFvdpueAJDhNhau
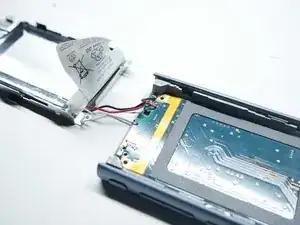
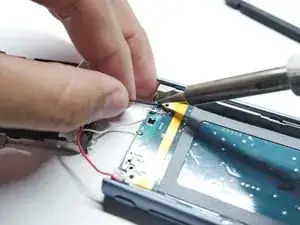
    • Heat a soldering iron to 420 degrees Celsius.

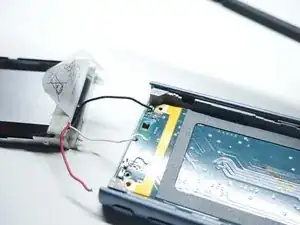
    • Heat up the old solder in the Walkman and remove the wire from its terminal.

    • This process will take time to remove the wires.

  9. 2bVcIASpkR6lF2Rb
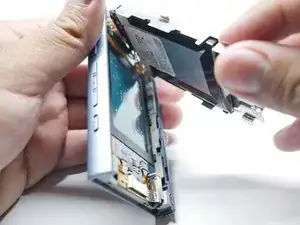
    • Loosen the battery adhesive by using isopropyl alcohol.

    • Use Isopropyl Alcohol 90% or greater.

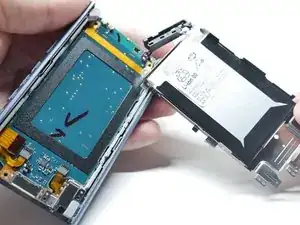
    • Pry out the battery using plastic cards.

    • Make sure to NOT bend the battery, Take your time during this process.

    • Remove the battery.

Conclusion

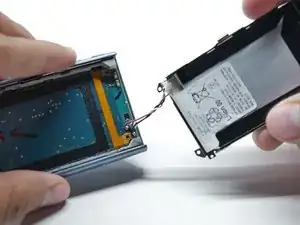
To reassemble your device, follow these instructions in reverse order.

Edwin Ruiz

Member since: 25/10/24

169 Reputation

0 comments