Introduction
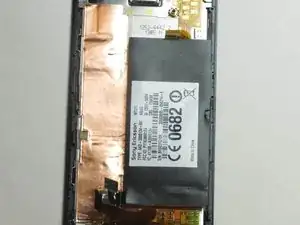
This guide will assist you in replacing the battery of a Sony Xperia Sola.
Tools
Parts
-
-
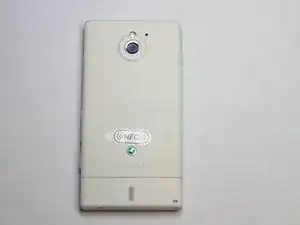
Place phone down with screen side down and camera side facing up as shown.
-
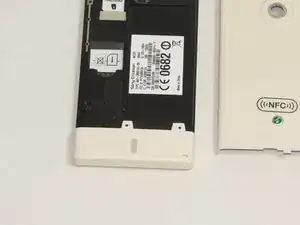
Push on cover away from you. You should hear a snap or pop. This will let you view the battery and sim/sd card slots. Then lift the cover off.
-
-
-
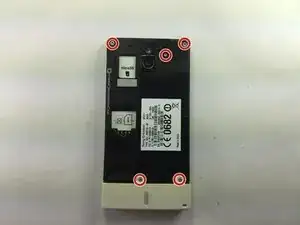
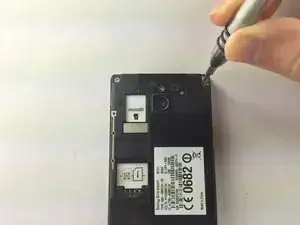
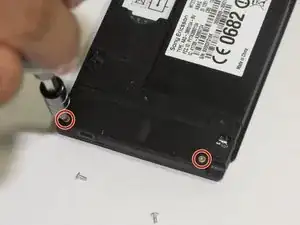
Locate and remove the five (5) screws on the phone, using a screwdriver. The screws are at the top and the bottom of the phone as shown.
-
-
-
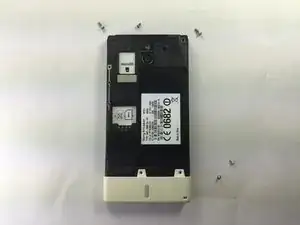
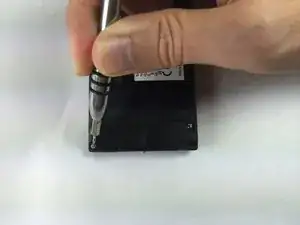
Locate and remove the 2 additional screws, using the Torx screwdriver, that are revealed. These are marked as shown.
-
-
-
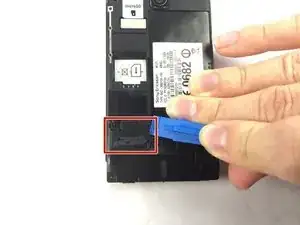
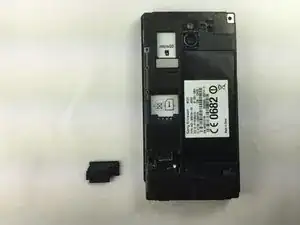
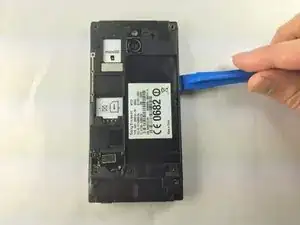
Locate the black cover on the bottom left of phone. Use an opening tool to pry up and remove the black cover.
-
-
-
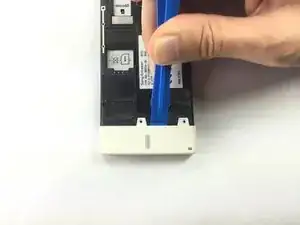
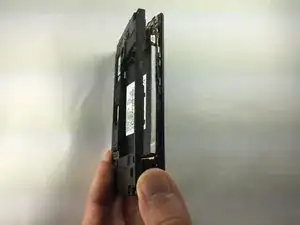
Turn the phone onto its side, insert plastic opening tool into seam, and gently remove cover. You can also slide the spudger in from the top.
-
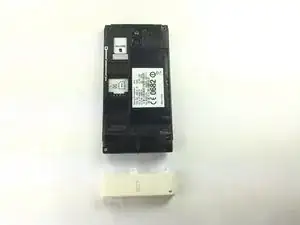
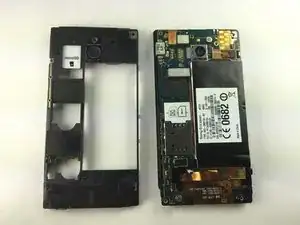
Once the cover is loose, lift it off the phone. The side buttons may feel a bit sticky, but this is normal.
-
-
-
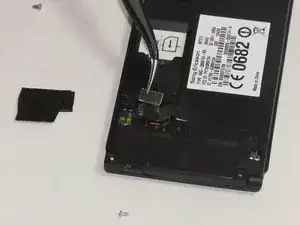
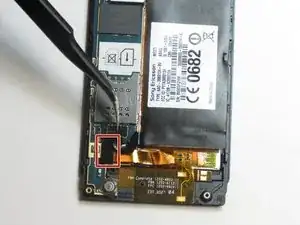
Locate the additional circuit at the bottom left. Using the tweezers, remove it gently by pulling up.
-
-
-
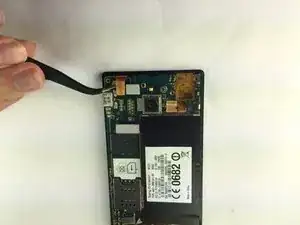
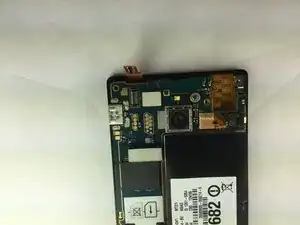
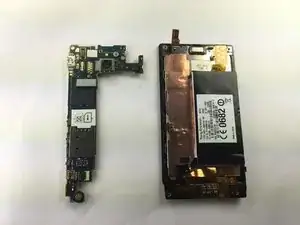
Use the spudger and slide it under the top left of the board then lift the board straight up. The board should come up very easily.
-
-
-
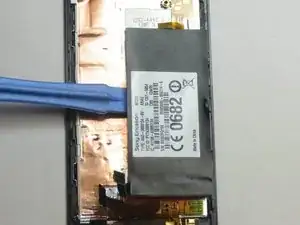
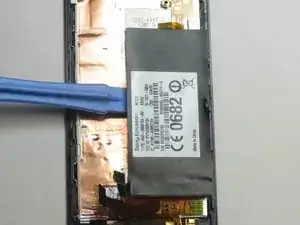
To remove battery, slide a flat object under the battery and lift. The plastic opening tool will be the best tool for this.
-
It is possible that the battery may be glued onto the phone. If this is the case, use isopropyl alcohol or adhesive remover underneath the battery to soften the adhesive, then use a suction cup to lift the battery out.
-
To reassemble your device, follow these instructions in reverse order. Take your e-waste to an R2 or e-Stewards certified recycler. For optimal performance, calibrate your newly installed battery after completing this guide.
3 comments
Thanks, battery successfully changed :-)
Thanx will do that when i get areplacement battery!
hello where i can find a new battery ?
