Introduction

This is a guide to help you safely teardown your Super Mario Bros. 35th anniversary Game and Watch! (This guide is not professionally made! This means there may be a better way to do a step!)

  1. iaGc2NoUmdCRC5DA
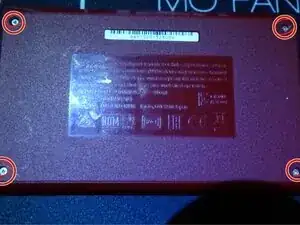
    • Remove the 4 Y00 screws on the back.

    • Don't worry! These screws are all the same size.

  2. pHEQEkYBeKjCDYKV
    pHEQEkYBeKjCDYKV
    mBRTARMiDoXQNWZW
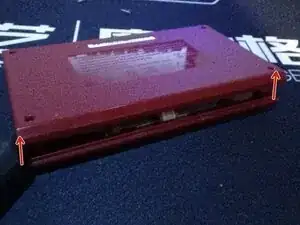
    • Carefully pry off the back case from the main unit

    • Be careful to not snap the 4 clips on the top and bottom!

  3. sOYJcAkuQahIdaKs
    sOYJcAkuQahIdaKs
    raZLEt11KNMkQj63
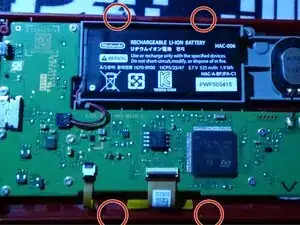
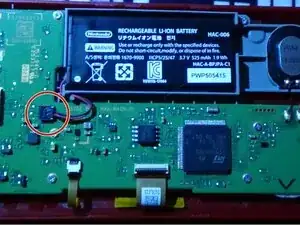
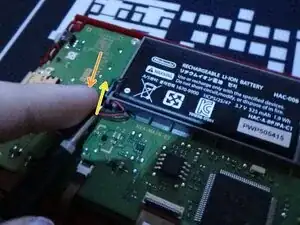
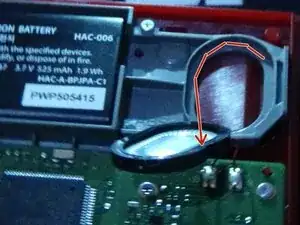
    • Carefully disconnect the battery connector.

    • You will have to set the time again after reassembly.

    • You can use a spudger or the Y00 bit. If you use the bit, press down on the connector while pulling the bit upwards underneath the cables.

    • If it hasn't been removed before, it may be hard to disconnect. Be extremely careful to not short anything out if you use the bit method.

  4. XjScZQDNkWVqKuG2
    XjScZQDNkWVqKuG2
    EKTV3rcrYdxsfMDi
    wej5sGOxfApDmD1J
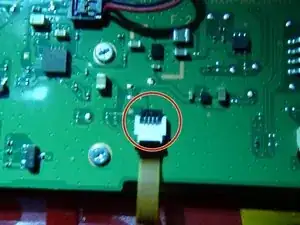
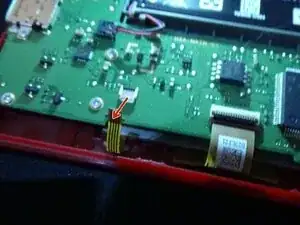
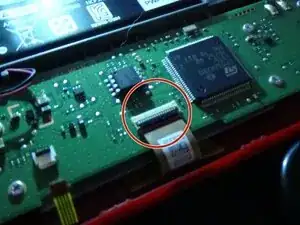
    • For the smaller ribbon cable (Backlight ribbon), Lift the small black bar upwards lightly with your nail or a small flathead bit.

    • The ribbon should be able to be pulled out after.

  5. GpGGuJYWfnWOhJhT
    GpGGuJYWfnWOhJhT
    XUnCQD4OdhmTPN6Z
    y1UXQ6ZlsZyBJoNZ
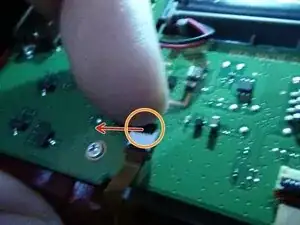
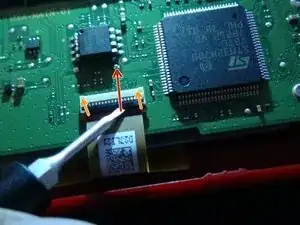
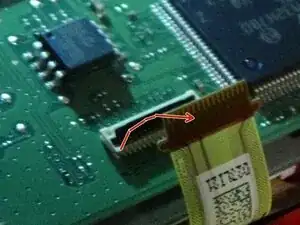
    • With either a small flathead or spudger, pry up the black bar on the wide ribbon cable.

    • Be very careful to not damage the cable. Especially when using a small flathead.

  6. RhPLXmmd5UC52YwQ
    RhPLXmmd5UC52YwQ
    AgItw2x5TDd4XUHU
    BB22ZnjkBqOKRNbK
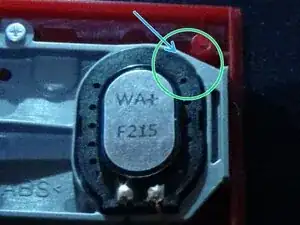
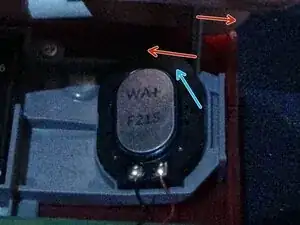
    • Using a small flathead, Pry upwards from the top right of the speaker.

    • You may hear a small pop. This is just the speaker adhesive peeling off the plastic.

  7. RCnxnvuOaDqPQZXS
    RCnxnvuOaDqPQZXS
    VYdVIGqNr1AJQPXX
    QoqCkjFQE6gqWH1t
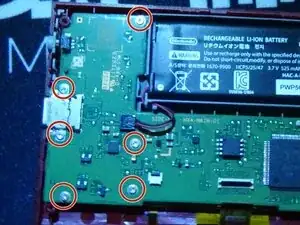
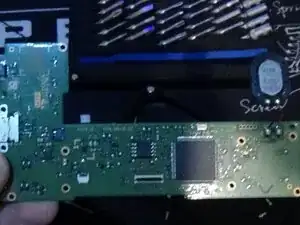
    • Remove the 10 screws on the motherboard.

    • Keep these screws separate and organised.

    • Carefully remove the motherboard. The speaker is soldiered onto the motherboard.

  8. OcRMLC6R1QansRNT
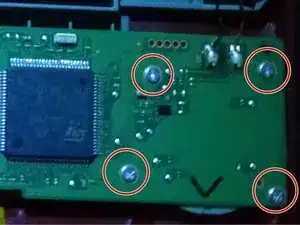
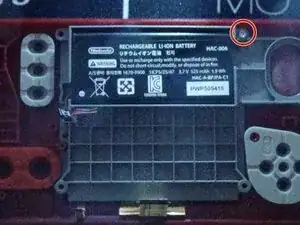
    • Remove the 1 screw in the top right (this is the last screw on the system) and lift up the housing.

    • There is only 1 more step after this!

  9. mje3GBomcg2okcBx
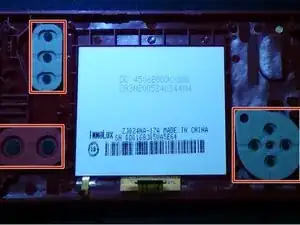
    • You should be able to lift out the buttons.

    • Congrats! You made it to the end! Just follow the steps in reverse to rebuild the unit.

Vincegamer

Member since: 27/02/25

13 Reputation

0 comments