Introduction
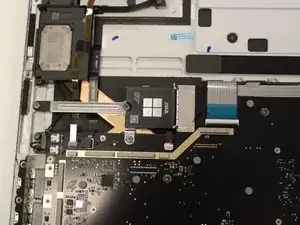
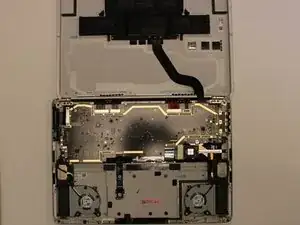
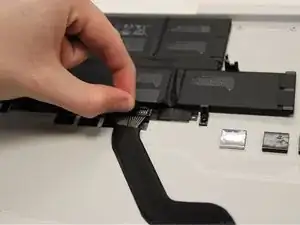
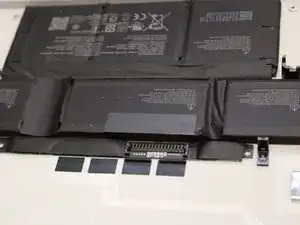
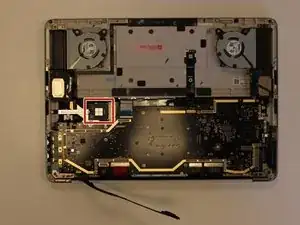
This is a guide to replace the SSD in a Microsoft Surface Laptop Studio. You may need to replace the SSD if your computer is slower opening or using files. A bad SSD may also cause files to disappear. This is a very simple guide that only requires a few tools. It should only take 15-20 minutes.

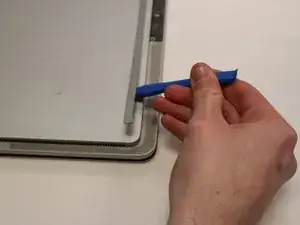


To reassemble your device, follow these instructions in reverse order.
4 comments
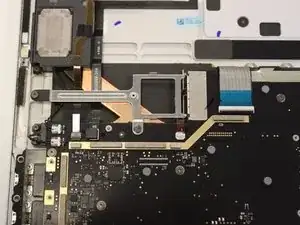
Is this strip tape or it metal? Is there replacements for it? I habe been trying to find it but I can only find tape as an alternative to this part.
I tried the SSD upgrade with two different WD products (1TB black and 1TB blue) and with both I had problems: Random blue screens and after some time, computed could not find the SSD anymore. Looks like it has something to do with drive consuming too much power but I am not sure. I am now back on original 256 GB SSD, since I can't find what is causing compatibility issues.
Try this, it will help.
Is this strip tape or it metal? Is there replacements for it? I habe been trying to find it but I can only find tape as an alternative to this part.
Luis Ruiz -
It appears to be thin plastic with an aluminum coating on the outside. It's easy to remove by poking into the corner by the hinge with a set of tweezers-- the tweezers will pass right through.
Michael Montalban -
Ok and how do you reattach it when you're done? I mean is it glued on or how does that work?
Rika -