Introduction
Thermoelectric coolers are commonly used in wine refrigerators. These coolers are less expensive and lighter than the compressor driven units commonly used in refrigerators. The units manufactured in China are of similar design so the recommendations in this document are applicable for any of the units sold.
Tools
Parts
-
-
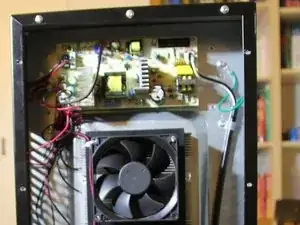
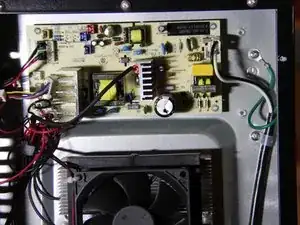
Remove the screws from the back of the cooler then remove the metal plate from the back of the unit to expose the circuit board.
-
-
-
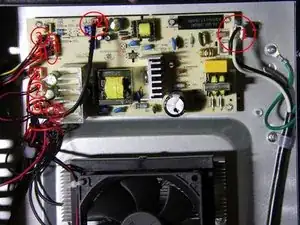
This board has 9 connectors. Some of the connectors are at obvious locations such as the power input connector on the right side of the board labeled 1. Other connectors are color coded to their female receivers. My board has extra female connectors indicating this board is used on various units.
-
I label any connectors that need identification to eliminate improper placement.
-
-
-
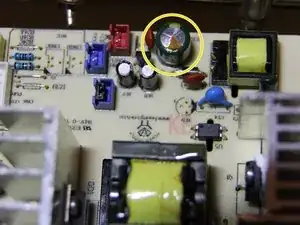
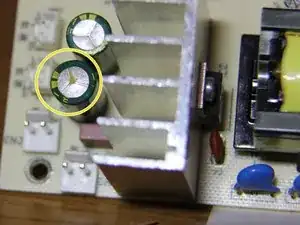
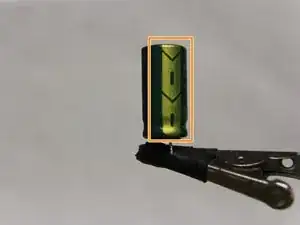
Two capacitors show electrolyte deposits that have leaked through the top of the component. That is a typical indicator of a bad capacitor.
-
-
-
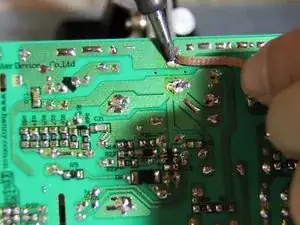
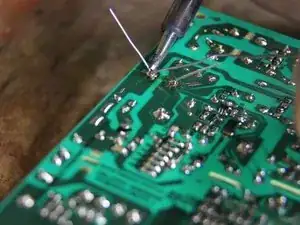
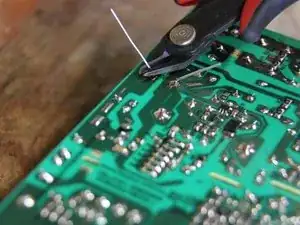
Remove the faulty capacitors using a solder iron and a copper solder wick.
-
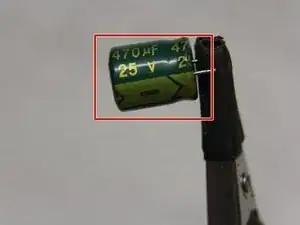
One of the failed capacitors is 25 volt 470 µf.
-
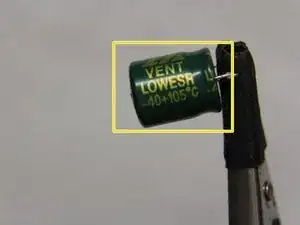
Capacitors are temperature sensitive and are frequently marked with an acceptable temperature range. Capacitors generate heat as they operate which contributes to their eventual failure.
-
-
-
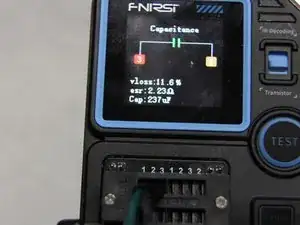
I tested the 470 µf capacitor and found that it had a reading of 237 µf. It isn't really necessary to test the removed capacitor. If its leaking it needs to be replaced.
-
-
-
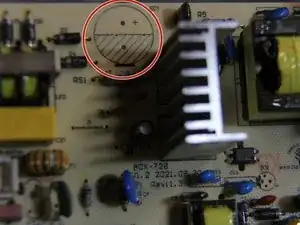
Not all capacitors are polarized but polarized capacitors clearly identify the negative connector.
-
The correct orientation is usually indicated on the circuit board.
-
-
-
Put the circuit board back, properly connect the wires and with luck you will again be cooling wine.
-

To reassemble your device, follow these instructions in reverse order.
