Introduction

In this tutorial, I demonstrate how to remove/replace the USB charging port.

  1. rfigSmQOtcJFrevW
    rfigSmQOtcJFrevW
    qVQJwryEcdjjbZhB
    AbYxVysPMFrnAw6A
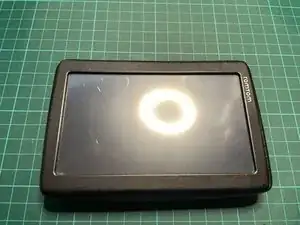
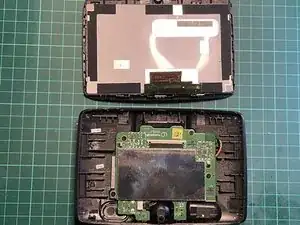
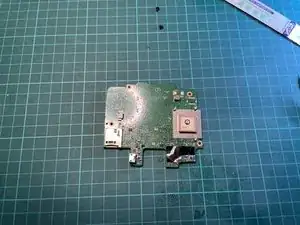
    • Turn the device upside down

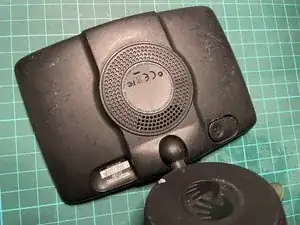
    • Remove the suction cup by pulling away from the back of the device

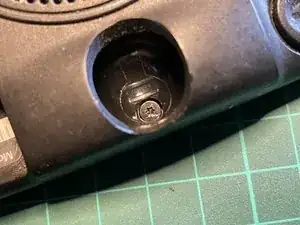
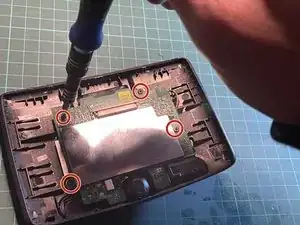
    • Locate the screw underneath the suction cup ball

  2. ZRE6muYFTFtUmUGO
    ZRE6muYFTFtUmUGO
    IHXrlaA5gwMQfNNf
    QviyfAYUePLhEkXj
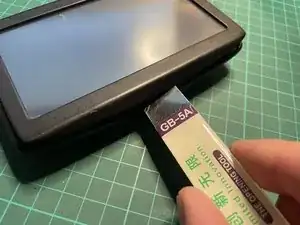
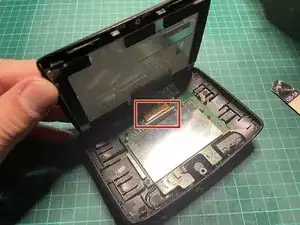
    • Insert the prying tool at the bottom corners of the device and carefully pry it open

    • Gently run the prying tool along both sides to unclip the frame

    • Do not try to separate the screen from the bottom of the device as it is still connected to the base and you can potentially rip the flex cable.

  3. 454IU3jisS5cWBjT
    454IU3jisS5cWBjT
    VAAd6vIQQmtxaVMv
    lVgrSEwFrLn4gKdG
    • Push the grey plastic upwards on both sides to release the flex cabe and then pull it apart.

  4. crZOxM3JDLyCFapN
    crZOxM3JDLyCFapN
    LDxdGn4BLUfqPo2m
    VLjhmNejREwWgtMj
    • Unscrew the 4 screws that hold the motherboard to the casing

    • Detach the speaker cable

  5. iSwjdZIfjh2odLSs
    iSwjdZIfjh2odLSs
    dMiKdu4QDBIlGivL
    • Disconnect the battery

    • Separate the motehrboard

  6. ifRIt6CjApxPNCXx
    ifRIt6CjApxPNCXx
    Z6iUIdtpaJbNECN4
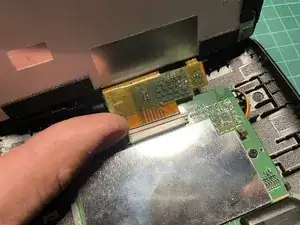
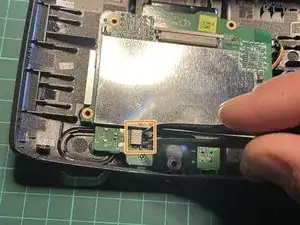
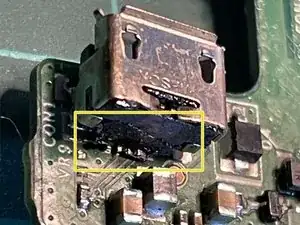
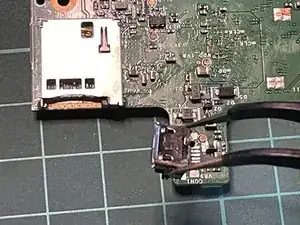
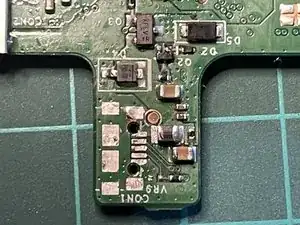
    • Common fault on these devices that the factory solder breaks off and provides an intermittent fault, either not charging or charging when the cable is moved around.

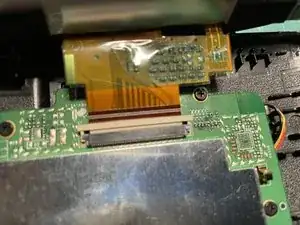
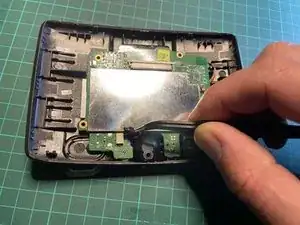
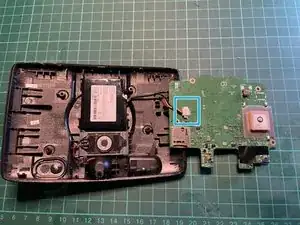
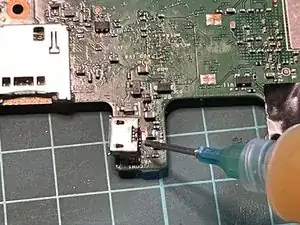
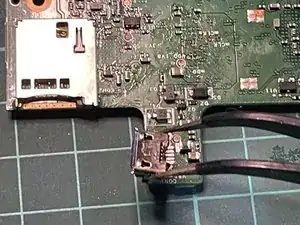
    • Apply flux to the base of the connector to help reflow or removal of the port

  7. qCWHSPQaDAQNkJxR
    qCWHSPQaDAQNkJxR
    YVGcUsI52cXWGEET
    aih3pqQc1ZYrbphL
    • Apply heat with the heat gun 350Celsius mid airflow

    • Remove the faulty port with tweezers

  8. NeFGqImt1gvsvPwJ
    NeFGqImt1gvsvPwJ
    wYQINOrMbGUAsyIR
    • Clean the flux residue with isopropyl alcohol

    • Apply solder to the fresh pads

Conclusion

To reassemble your device, follow these instructions in reverse order.

honakrisi

Member since: 28/01/20

3730 Reputation

0 comments