Introduction
Use this guide if one of the ears has stopped working.
If your button is not broken and only the cable has been torn off, skip the steps to replace the button.
If your button is broken but your cable is not torn off, skip the steps to repair the cable.
Tools
Parts
-
-
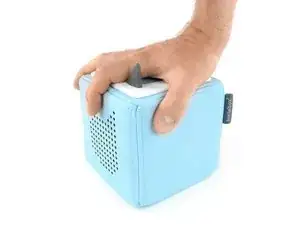
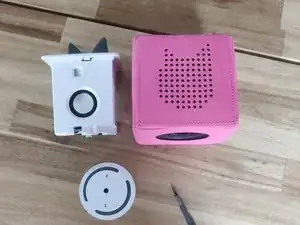
Put the Toniebox on a flat surface (e.g. a desk or a workbench).
-
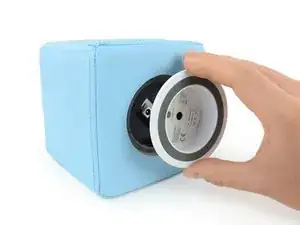
Apply some pressure and turn the Toniebox counterclockwise to unlock the two clips beneath the bottom plate.
-
-
-
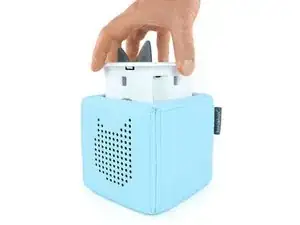
Pull the inner-plastic part out of the body
-
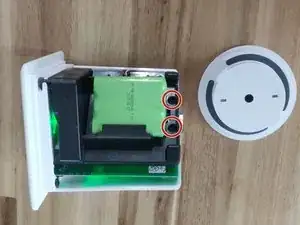
Loosen the two screws on the battery compartment and then carefully remove the battery compartment.
-
-
-
Remove the ears from the Toniebox according to the basic instructions for the Toniebox Teardown. Be especially careful not to damage the connector on the PCB.
-
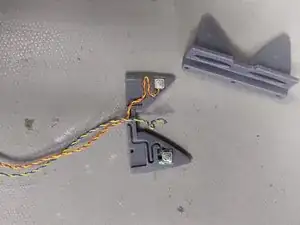
Gently pull the inner ears down and out. Do not pull on the cable!
-
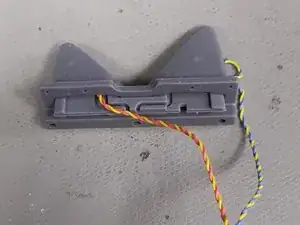
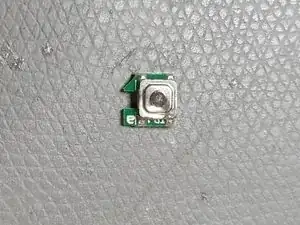
Use a pair of tweezers to carefully pull the defective button and PCB out of the silicone ear. If the cable is not torn off, be careful not to damage it.
-
-
-
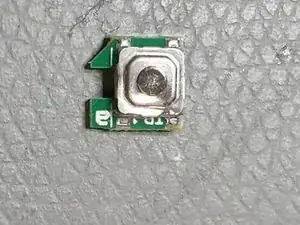
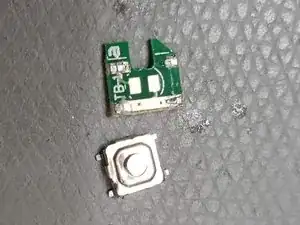
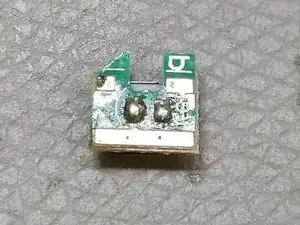
Solder the defective button from the PCB. The best way to do this is to use a hot air gun/ soldering iron around 360 ° C
-
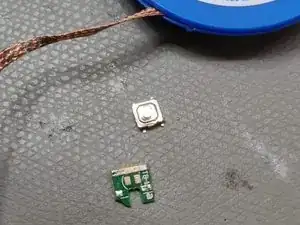
Remove the excess solder with desoldering braid.
-
-
-
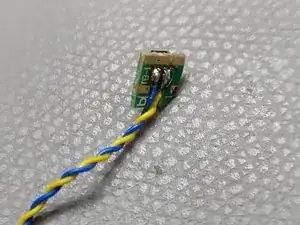
Remove the remains of the torn strand from the solder pads with the soldering iron
-
Isolate approx. 3mm from each wire of the line
-
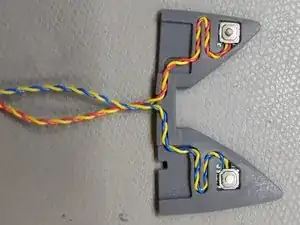
Tin each pad and solder them on the back of the PCB. One wire on each pad. Be careful that the wire has no contact with outer copper surfaces.
-
-
-
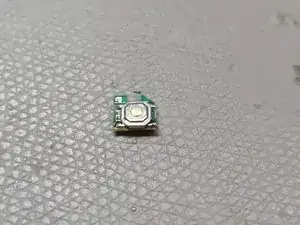
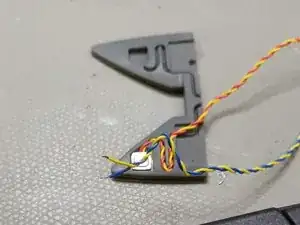
Carefully put the circuit board back into the ear.
-
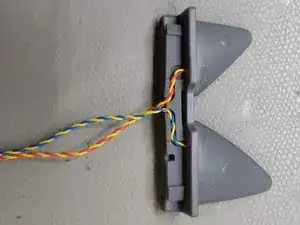
Lay the strand in the designated channels.
-
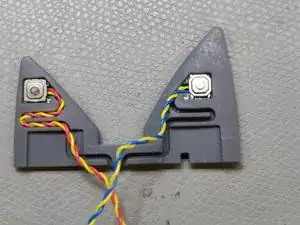
Push the inner ears back into the ear sleeve using the buttons.
-


To reassemble your device, follow these instructions in reverse order.

16 comments
Bei unserer Box ist der Schalter samt Platine weg. Kann man das Kabel auch direkt am Schalter anlöten oder hat die Platine eine Funktion?
Hi,
die Platine hat keine elektrische Funktion. Sie dient nur mechanisch dazu den Taster zu stützen. Wenn du es schaffst den direkt anzulöten geht das auch, ich weiss allerdings nicht wie gut das Veralten beim drücken ist oder ob das wider kaputt geht. Hier habe Ich neue Platinen gesehen die man allerdings selbst noch etwas bearbeiten muss:
Hier gibt es auch neue Platinen:
http://www.ebay-kleinanzeigen.de/s-anzei...
Ansonsten hat die keine Funktion. Ihr könnt die Kabel auch an die Taster direkt löten.
Moin
Bei uns sind die ohren durchgeknabert. Ich will nur die orhen erneuern wo kann man die kaufen?
Ich kann gerne einige 3D-Drucken und sie verschicken.
Benoit74 -
würdest du mir auch welche drucken? unsere sind auch durch. was würde das kosten?
gruss mirjam
Guten Abend,
kann man die lautstärkeregler samt Kabel kaufen?
Bin nicht so der Bastelfreund :)
MFG
Offiziell kannst du die nicht kaufen. Wenn du nicht gerne bastelst, hier die Möglichkeiten: 1. lasse deine Ohren offiziell reparieren. Ehrlich gesagt weiß ich aber nicht, ob da die Lautstärkeregler mit dabei sind. 2. Kaufe die Ersatzteile bei ebay kleinanzeigen. Macht preislich keinen Unterschied. Viel Erfolg beim reparieren!
Danke für die Tipps, aber das Öffnen hat bei mir leider, so nicht geklappt. Ich habe dann ein breites Gummiband eines Einmachglases seitlich um den äußeren Rand des Bodendeckels gespannt und dadurch einen besseren “Grip” hergestellt”: somit konnte ich den Deckel doch noch aufdrehen, ohne mir die Finger “aufzuschlitzen”.
(Im Moment versuche ich gerade neue “Ohren” aus Bausilikon zu “giessen”… in ein paar Tagen werde ich sehen, ob es mir gelungen ist, ansonsten werde ich wohl oder übel einfache Drücker in das Oberteil einbauen.)
Luc Emering -
I found the easiest way to open it was to do like described, but to increase leverage it helps turning back and forth a few times each time trying to go a little faster when turning counterclockwise until you got enough speed to release two clips.
Mackie72 -
Danke! Hat gut funktioniert: auf glatter Tischoberfläche leicht von oben angedrückt und langsam gedreht bis zum „Klick“
MircoMaker -
I needed a hard grippy surface to make this work, I used a wooden table.
gingerling -