Introduction
If your Toshiba Satellite L305-S587 is not allowing you to type, use this guide in order to replace the keyboard. The keyboard allows you to enter information into the computer by pressing buttons, or keys. Things like physical damage, spills, or simply wear-and-tear may cause a keyboard to need to be replaced. No special skills are needed to replace the keyboard.
Before beginning this guide, shut down your computer. Inspect the keyboard to ensure that the cause of the malfunction is not debris stuck under or around the keys. Additionally, make sure that no parts of the keyboard are loose that may be causing it to malfunction.
Tools
-
-
Close the laptop lid and flip the laptop over.
-
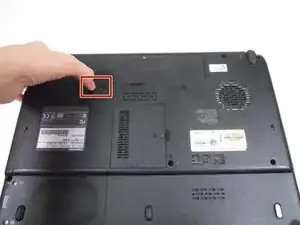
Switch the lock button on the left to the unlock position. (The unlock position is to the left side.)
-
-
-
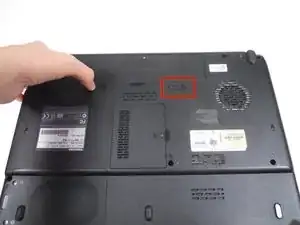
Push the release button to the right.
-
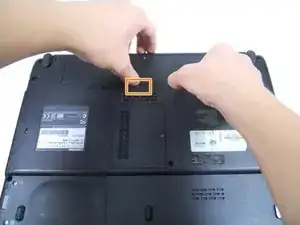
Hold the release button to the right and lift the battery out of its housing.
-
-
-
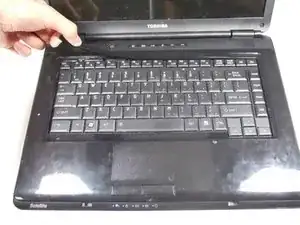
Open the laptop so the keyboard is facing you.
-
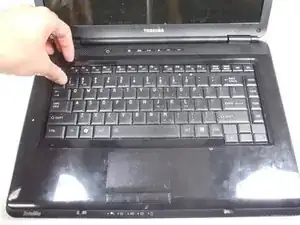
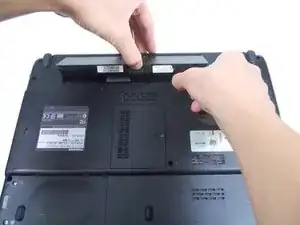
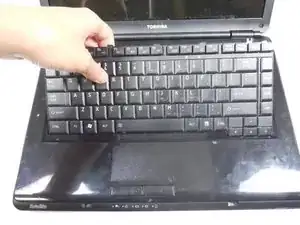
Using your fingers, remove the thin plastic cover above the keyboard.
-
-
-
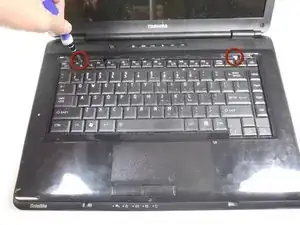
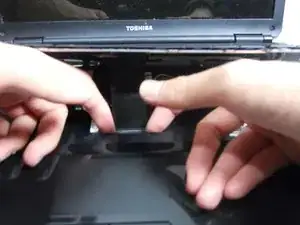
Remove the two 4.8 mm screws from underneath the plastic cover piece using a Phillips #00 screwdriver.
-
-
-
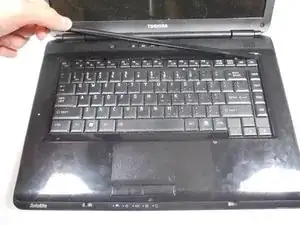
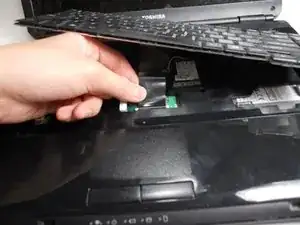
Locate the data cable that is connected to the motherboard.
-
Pull the white ZIF connector towards the screen to remove it.
-
Pull the black ribbon cable away from the screen.
-

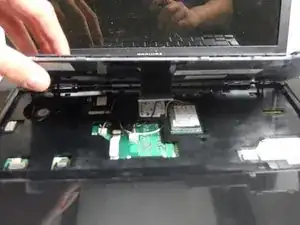
Congratulations, you have removed the laptops original keyboard and can now replace it with a new one.
To reassemble your device, follow these instructions in reverse order with the new keyboard.
One comment
It's not so easy to do step 3.