Introduction

If the speakers of your Toshiba Satellite L305-S5875 laptop lose their sound quality or stop working, it is possible to replace them.

In step 6, it is possible to strip the threading on certain screw holes if the screws are not fully removed before the computer cover is removed.

Before you begin this repair, turn off your laptop and unplug it from the charger.

  1. nEfBoSkBBWo1mOKx
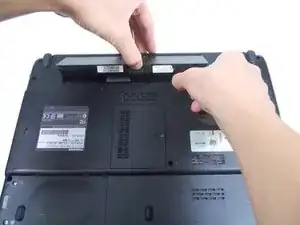
    • Close the laptop lid and flip the laptop over.

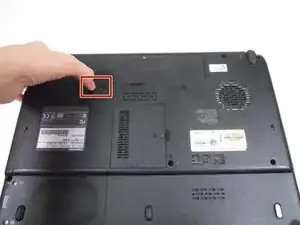
    • Switch the lock button on the left to the unlock position. (The unlock position is to the left side.)

  2. 6GLEJZnfpyYaryPR
    6GLEJZnfpyYaryPR
    iUjBMLGrfQDITDLB
    jfCuMikclAnyPRub
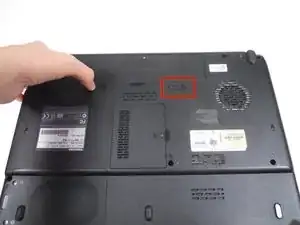
    • Push the release button to the right.

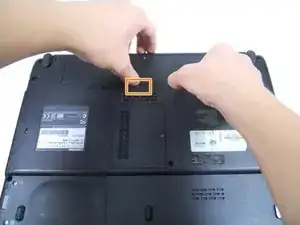
    • Hold the release button to the right and lift the battery out of its housing.

  3. yejh3jFHUrdkNXh4
    yejh3jFHUrdkNXh4
    pPi1MkgMjSHIptcH
    vEVUuBaaXGXXBk5L
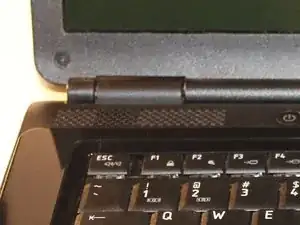
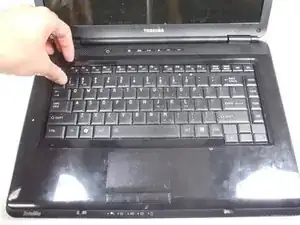
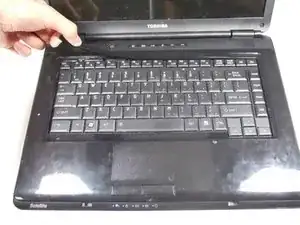
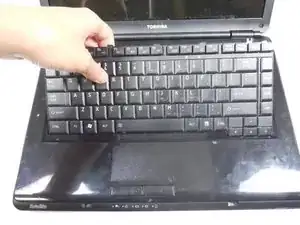
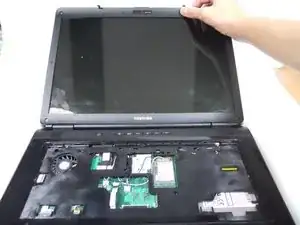
    • Open the laptop so the keyboard is facing you.

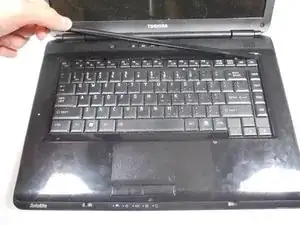
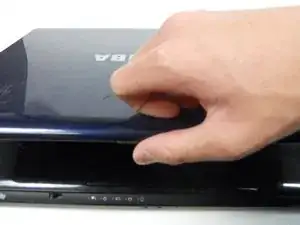
    • Using your fingers, remove the thin plastic cover above the keyboard.

    • Potential for device damage: Do not apply too much force when removing the cover piece as it can break.

  4. B1GedYpFtrkYDVHm
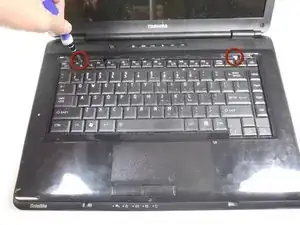
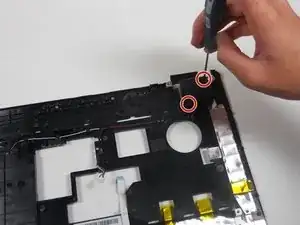
    • Remove the two 4.8 mm screws from underneath the plastic cover piece using a Phillips #00 screwdriver.

  5. WfvqpotmeAIPigdR
    WfvqpotmeAIPigdR
    1VxPFcNFR4QvMPsg
    • Starting at the top, gently raise the keyboard enough to remove it from the socket.

    • Potential for device damage: DO NOT pull out the keyboard after it's out of its socket. The keyboard is connected to the hard drive through a data cable and removing forcefully could damage the cable and laptop.

  6. V5KRspVUlA5esLrg
    V5KRspVUlA5esLrg
    BMJ4P2LLaIk1ysRB
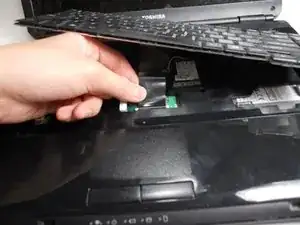
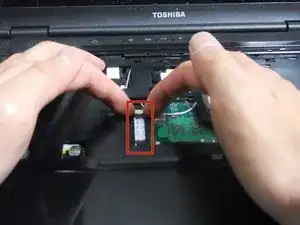
    • Locate the data cable that is connected to the motherboard.

    • Pull the white ZIF connector towards the screen to remove it.

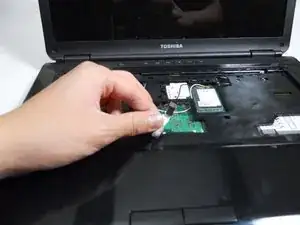
    • Pull the black ribbon cable away from the screen.

  7. h1PThA5SvAZQhe3Y
    • With the black ribbon cable now disconnected, remove the keyboard from its housing.

  8. hsoTQgm1iIvi3TH4
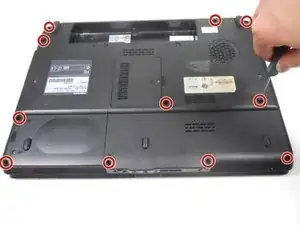
    • Close the laptop and flip it over onto its back.

    • Remove the eleven 6.6 mm Phillips #00 screws along the perimeter and in the center of the laptop.

  9. GovmbF6XY3ZUyDaL
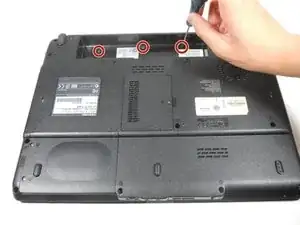
    • Use a Phillips #00 screwdriver to remove the three 3.7 mm located in the battery compartment.

  10. HnxLaHKMpwJyKooM
    HnxLaHKMpwJyKooM
    VJeGHDjHj4oFhbvG
    • Flip the laptop back over again, and open the screen as far back as it can go.

  11. KwoTPpDV6Qkl5xtO
    KwoTPpDV6Qkl5xtO
    2OPFyHfhUgtRxbID
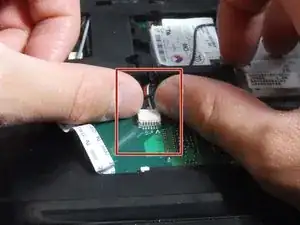
    • Use a spudger, or a clean fingernail to flip up the locking flap—this is the unlocked position.

    • Once the flap is in the unlocked position, use tweezers or your fingers to gently pull the cable out of its socket.

    • To reconnect, make sure the locking flap is flipped up and gently reinsert the cable. Then, flip the locking flap down to secure the cable. The cable should slide into the socket with little to no force. If you're having trouble, remove it, check that the flap is fully unlocked, and try again.

  12. oWNHt5kwyqOJVOHJ
    oWNHt5kwyqOJVOHJ
    jcEpGfaBJJjmB3Pu
    fDZIFU2W451BJjKC
    • To disconnect, use the point of a spudger to push on alternating sides of the connector to "walk" it out of its socket.

    • It may take a lot of alternating before the connector comes out. Be patient, and don't pull on the cables.

    • To reconnect the cable, align the connector and use a spudger or clean fingernail to push it fully into the socket.

    • Don't push on the cables themselves, or you may damage the connector.

  13. DP5EcaXDUEpDVkLZ
    DP5EcaXDUEpDVkLZ
    Ib2bvAu2JKBZ2tYC
    ZKVkmANWNR2KaKg5
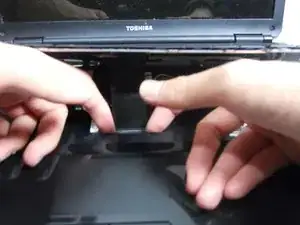
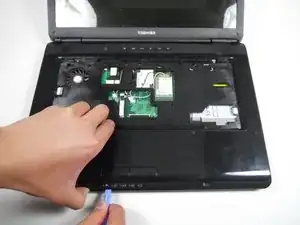
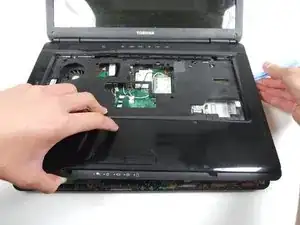
    • Use the iFixit opening tool to begin removing the cover.

    • After creating enough space, you can use your hands to completely open the cover.

    • Make sure all the screws have been removed before attempting to open the cover, or else the screw threads might strip if too much force is applied.

  14. YqUU1oNqKPMy2W4X
    YqUU1oNqKPMy2W4X
    TSBLZ3HDQKAZcyia
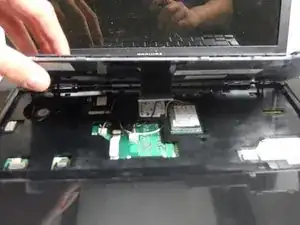
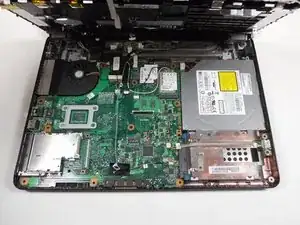
    • Open the laptop cover all the way and fold the cover over.

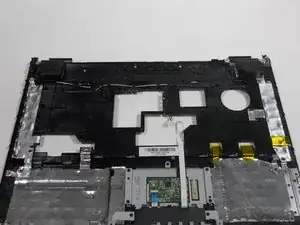
    • Remove the two 3.6 mm Phillips #00 screws from each speaker.

    • Remove the old speakers from the laptop and undo the cable from the cable holders before removing the it all.

Conclusion

To reassemble your device, follow these instructions in reverse order. Take your e-waste to an R2 or e-Stewards certified recycler.

Juan

Member since: 11/01/13

109 Reputation

0 comments