Introduction
If your computer has become very slow, crashed frequently, or you simply do not have enough RAM to run a program, this guide will show you how to access and replace RAM sticks.
Tools
-
-
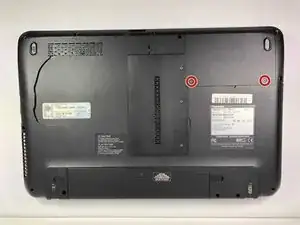
Loosen the two 3mm Phillips #0 screws securing the hard drive panel. The panel will retain the screws, so do not remove them completely.
-
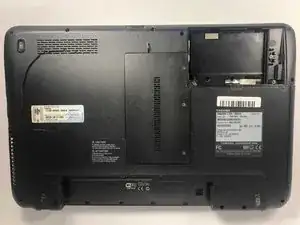
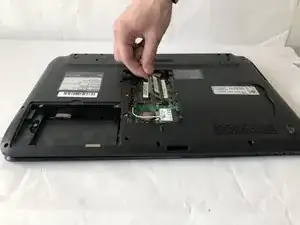
Remove the panel from the laptop (the hard drive does not need to be removed).
-
-
-
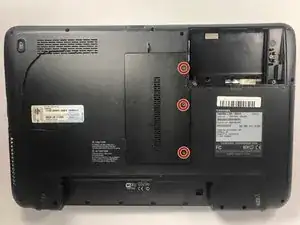
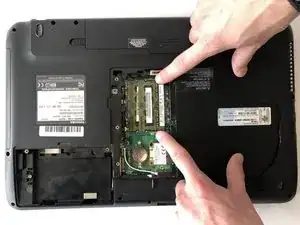
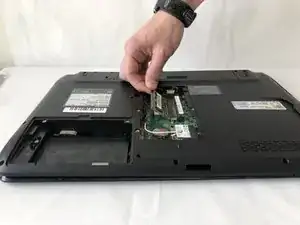
Loosen the three 3mm Phillips #0 screws that secure the center panel. The screws are retained by the cover, so do not remove them completely.
-
Remove the panel by pulling out to the right.
-
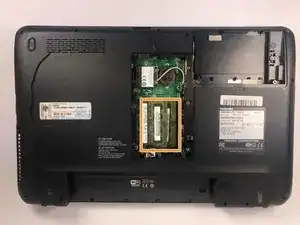
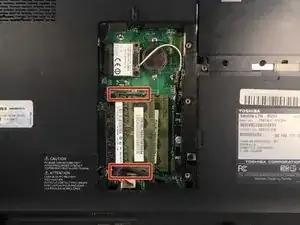
The two RAM sticks are stacked, one on top of the other.
-
-
-
Each RAM stick has two (2) snap locks, one on each end. In the image the bottom snap is obscured by the cable.
-
-
-
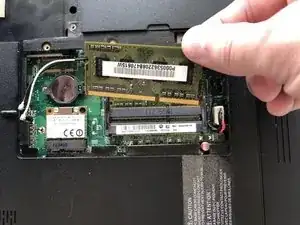
Move the retaining clips out of their locking position, allowing the RAM stick to pop up.
-
Lift the free end of the RAM stick until the stick can be freely removed from its slot.
-
To reassemble your device, follow these instructions in reverse order.
One comment
Nice article, Carter.
Parenthetically, we hoped to find the maximum RAM capacity, as well,
but that is not directly related to the process you illustrate.