Introduction

  • The motherboard of a laptop is a vital piece of your computer, if you find that the performance or functionality of your device is limited, then it may be time for the part to be replaced.
  • If you are positive that the motherboard of your Toshiba Tecra z50-a is damaged or causing issues, then it’s time for it to be replaced. Follow this guide to learn how to replace the motherboard of the laptop.
  • Before disassembling the laptop, ensure it is powered off and nothing is plugged into the device.
  • Remove any rings, bracelets, or any other metal objects from your hands.
  1. RacYrT4ldNtotZen
    • Turn off the laptop.

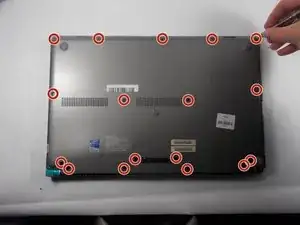
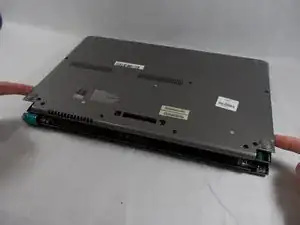
    • Flip the laptop over so the bottom is facing upwards and the hinges are closest to you.

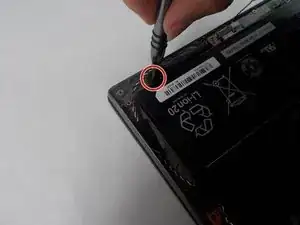
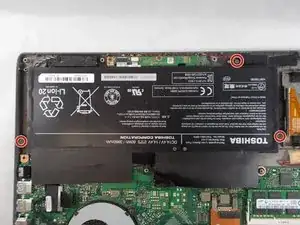
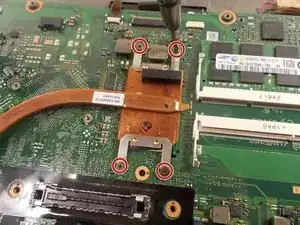
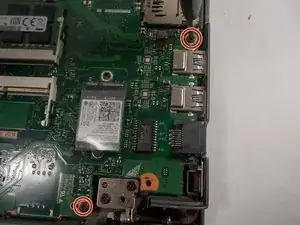
    • Remove the fifteen 5 mm screws from the back panel using a Phillips #0 screwdriver.

  2. mmyLxxRmCQ4kccxM
    • Lift up back panel using your hands and remove it from the rest of the laptop.

  3. 1emejiB4NGAcmQih
    • Lift the plastic covering over the battery plug.

  4. WARAXXQ25wmF4JOR
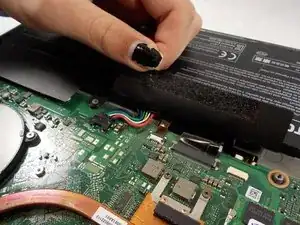
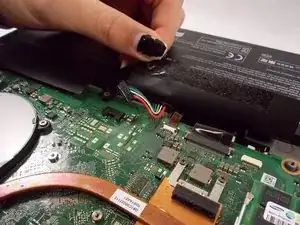
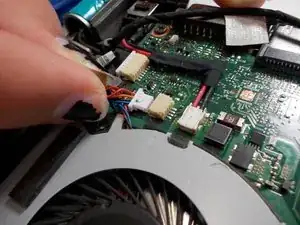
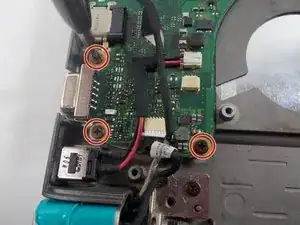
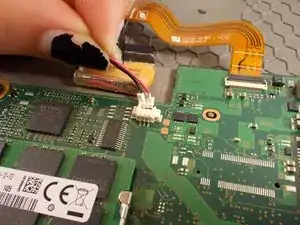
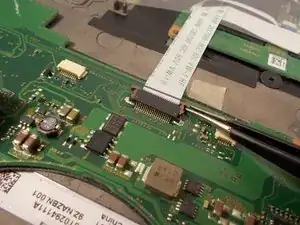
    • Pull the wired cable up towards the top of the laptop to disconnect it from its socket on the motherboard.

  5. YQ6JmMEYEyUSUTbI
    • Remove the single 2 mm screw from the corner of the laptop using a Phillips #0 screwdriver.

  6. Pj21i1PEUNGbaLZP
    • Remove the three 3 mm screws from the battery using a Phillips #0 screwdriver.

  7. Y5hQ5ubZOX6ivlpW
    • Lift up on the battery with your hands and remove it from the laptop.

  8. RuLfWRCiGHocvyVU
    • Remove the four 3 mm screws from the heat sink using a Phillips #0 screwdriver.

  9. 3DqOeTiEFmraPJAy
    • Remove the two 4 mm screws from the fan using a Phillips #0 screwdriver.

  10. ugPrfGFcIhgGJdwL
    • Remove the heat sink from the laptop.

  11. adyJGNpn1QuDSNPf
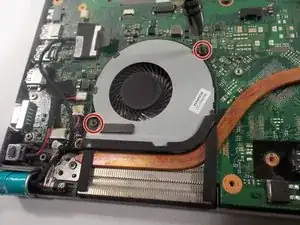
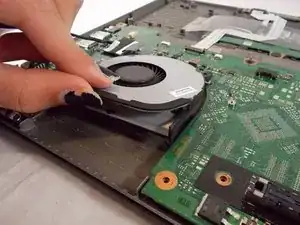
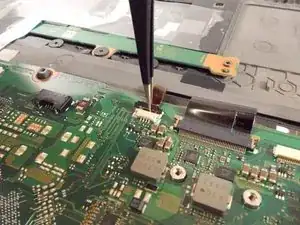
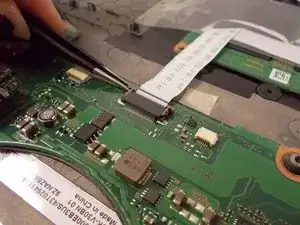
    • Pull towards the bottom of the laptop to disconnect the fan cable from its connector on the motherboard.

  12. VGvCwmnlYtv3JOp5
    • Lift up on the fan and remove it from the laptop.

    • When replacing the fan and heat sink, be sure to reapply thermal paste.

  13. wsXPwFd3pKclDHZu
    • Remove the two 5 mm screws using a Phillips #0 screwdriver.

  14. D2iqsVYPHerwaBiA
    • Remove the three 5 mm screws using a Phillips #0 screwdriver.

  15. ZHvIYCFeJnFsdLK2
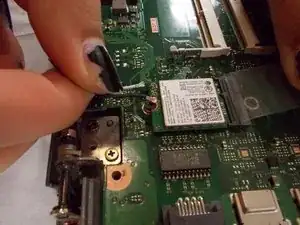
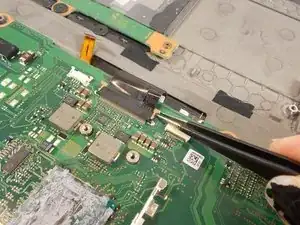
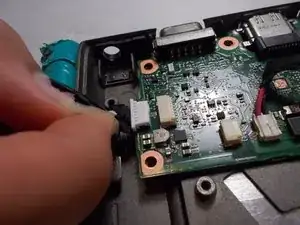
    • Lift up on plastic covering over the Wi-Fi card.

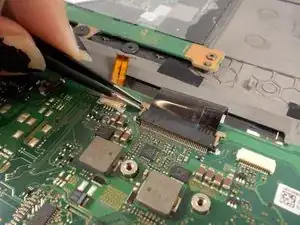
    • Disconnect the black and white coaxial cables from the Wi-Fi card.

  16. WRh4qOVAgwtXwHUp
    • Unplug the bundled red and black cable from its connector on the motherboard.

  17. Ws4dyTwIgSu3FPjq
    • Lift up on the black retaining flap using a pair of tweezers.

  18. fEijN3HovVQlgfYn
    • Push the tab on the right toward the top of the laptop.

  19. SZrQ2keZsQufXuRc
    • Push the tab on the left toward the top of the laptop.

  20. cJLjIhvI1rjLOfIj
    • Push the tab on the right toward the top of the laptop.

  21. SldjrGqeneOxQXrt
    • Push the tab on the left toward the top of the laptop.

  22. niTwxrR3yPUJ6NAu
    • Lift up on the charging port with tweezers.

  23. BSMhjIYLYGgKrjw4
    • Lift up on the plastic tab.

  24. gVeqJvwLANuve4C2
    • Pull plug towards the bottom of the laptop.

  25. 3QXyKVPK6plLv26V
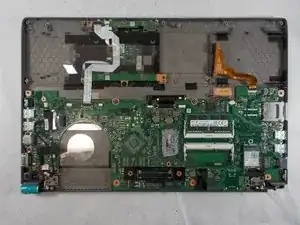
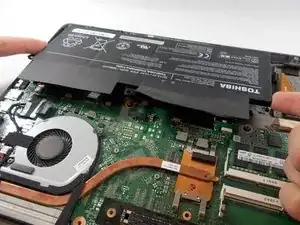
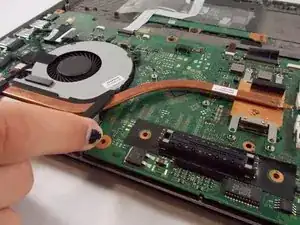
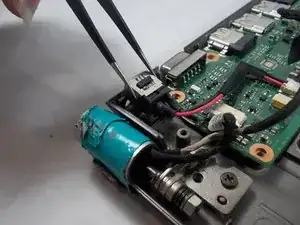
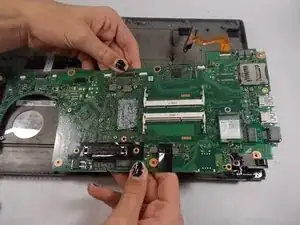
    • Grab the middle of the motherboard with your hands and lift up to remove it from the laptop.

    Comment réparer une problème d'allumage

    Michee Mwamba Kalala -

Conclusion

To reassemble your device, follow these instructions in reverse order.

Luis Juen Baez

Member since: 25/10/21

585 Reputation

0 comments