Introduction
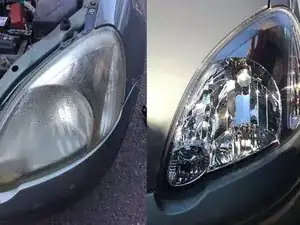
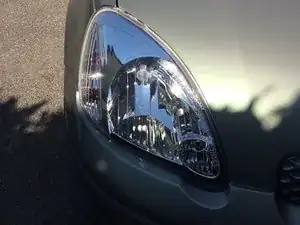
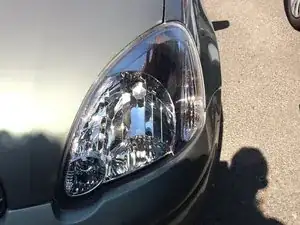
Your optical headlight units are worn, opaque?
Water is starting to seep in and you can see droplets inside?
This guide will show you how to replace those old headlights units with new ones. Your Yaris will look like it's new!
Tools
Parts
-
-
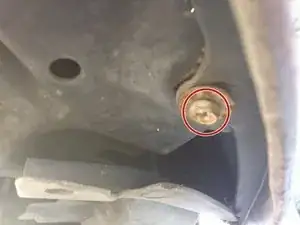
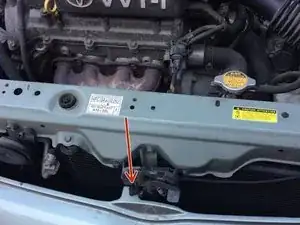
Release the plastic clip which attaches the top of the bumper to the middle of the radiator grill.
-
-
-
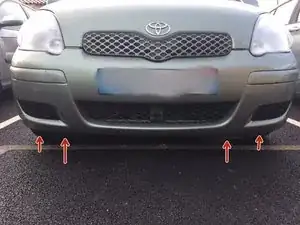
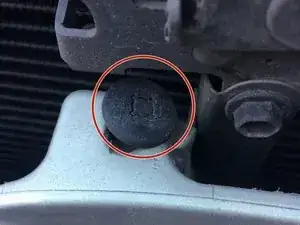
Disengage the the bumper attachment.
-
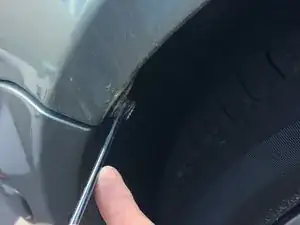
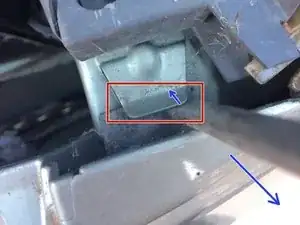
Using a large screwdriver or a small iron bar, lever it as shown until it detaches.
-
There are 2 attachments to release either side of the bonnet lock.
-
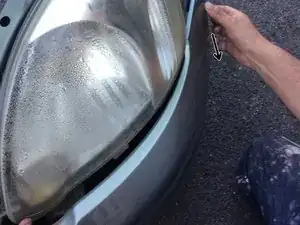
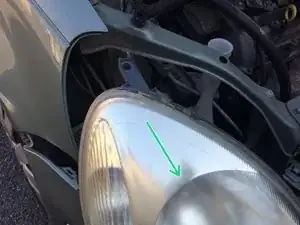
Completely disengage the bumper from around the headlight, pulling it gently outwards.
-
-
-
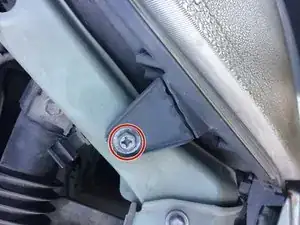
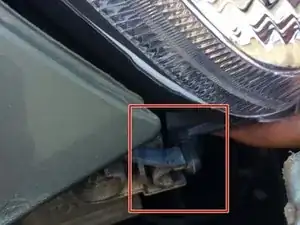
Remove the cross-head screw on the side of the headlight (at the front).
-
Also remove the cross-head screw from the top of the headlight.
-
-
-
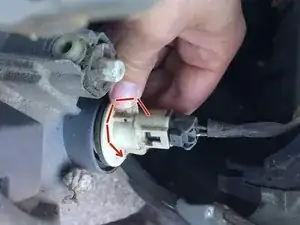
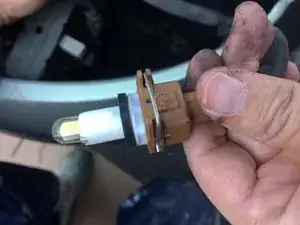
Turn the indicator bulb connector a quarter turn counter-clockwise.
-
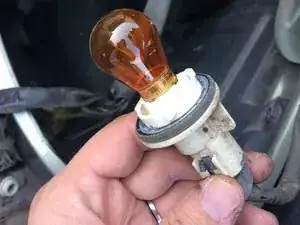
Remove the indicator bulb.
-
-
-
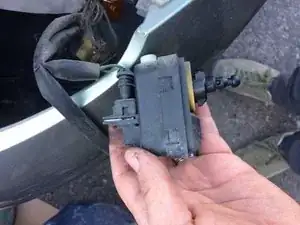
Withdraw the rubber boot on the back of the main beam bulb.
-
Unclip the clip which attaches the main beam bulb and remove the main beam bulb.
-
-
-
To reassemble your headlight, take care to correctly position the headlight, before reassembling the bulbs, dip motor, and screws.
-
Make sure the plastic pin on the side of the headlamp is properly inserted into the bodywork.
-


To reassemble, follow the steps in reverse order.

2 comments
Merci beaucoup pour ce tuto qui nous a bien servi.
Merci pour le tutoriel qui m'a été d'une grande aide !
Une clé plate peut être utile en absence de cric pour élever le véhicule, car le tournevis risque d’être trop long pour passer sous la voiture.
Sevan KEVORKIAN -