Introduction
Trackpad prerequisite that doesn't include reassembly steps.
Some photos in this guide are of the previous model MacBook Pro and may contain slight visual discrepancies, but they won't affect the procedure.
Tools
-
-
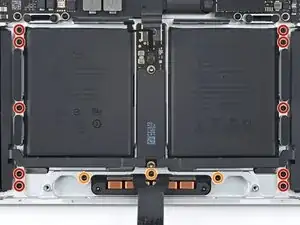
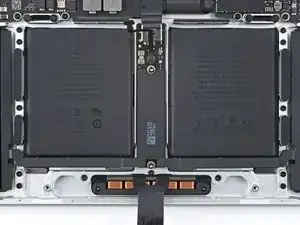
Use a 5IP Torx Plus driver to remove the 13 screws securing the trackpad assembly:
-
Ten 5 mm screws
-
Three 5.8 mm screws
-
-
-
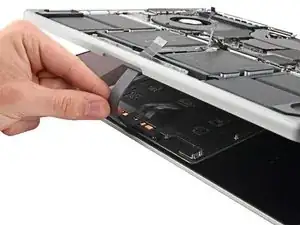
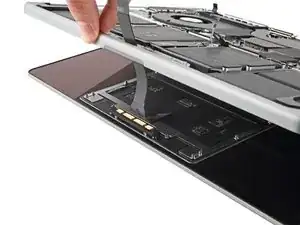
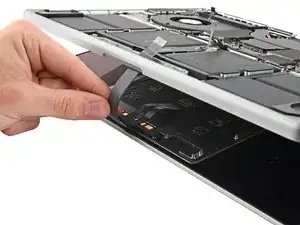
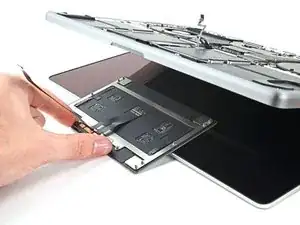
Swing the display open slightly, but keep the MacBook upside-down. The trackpad assembly should separate and lay flat on the display.
-
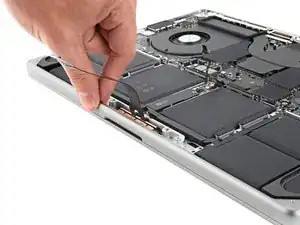
Carefully feed the trackpad's ribbon cable through its slot in the frame.
-
To reassemble your device, follow these instructions in reverse order.
Compare your new replacement part to the original part—you may need to transfer remaining components or remove adhesive backings from the new part before you install it.
Repair didn’t go as planned? Try some basic troubleshooting, or ask our MacBook Pro 16" Late 2023 Answers community for help.
