Introduction

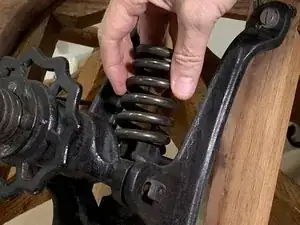
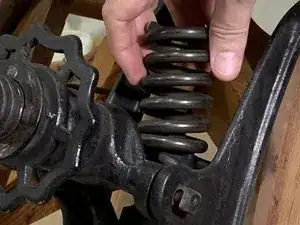
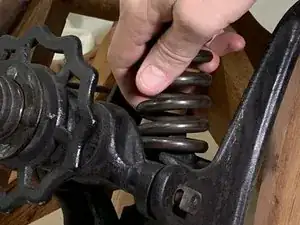
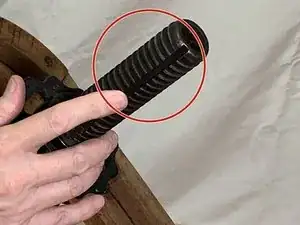
This guide will walk you through the steps for replacing the spring, bolt, and nut of the manual mechanism used for a vintage wooden office chair, also known as a "banker's chair." The chair is equipped with a manual single-spring reclining mechanism. Compressing the spring increases its resistance to tilting. Over time, the spring may lose its rigidity and eventually must be replaced. The chair's manual mechanism in this guide uses a single spring, but with some modifications, these instructions can also be applied to replace a double-spring mechanism.

  1. rAm2MESSf3nekM41
    rAm2MESSf3nekM41
    6USNWp5ieaMPvYVM
    SQdYwFRov2S1qPjf
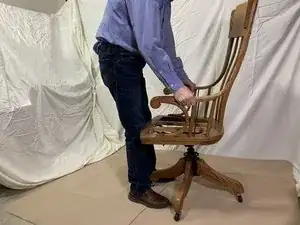
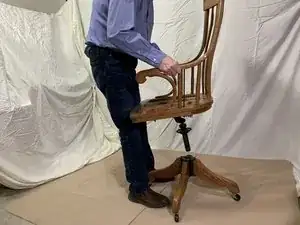
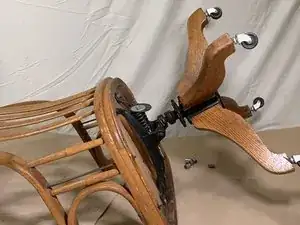
    • Slide the wheeled chair base off the post so that the spring assembly is readily accessible.

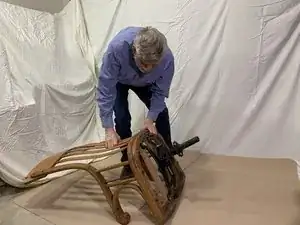
    • Lay the chair forward on its face.

  2. WAVxaeUTAbkd54WM
    WAVxaeUTAbkd54WM
    HlyxwxYDumd6irtm
    5ZEJE1ArNpiUO3lP
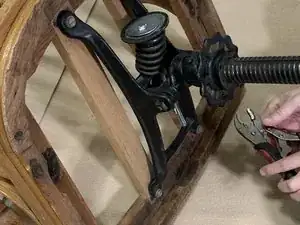
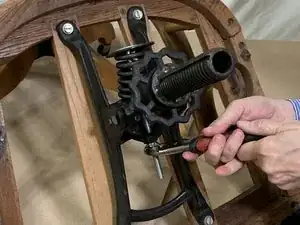
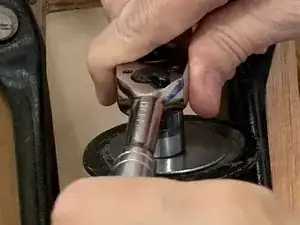
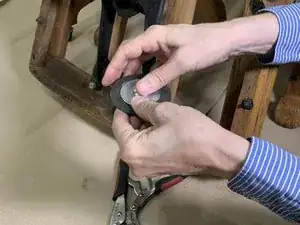
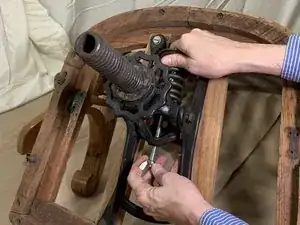
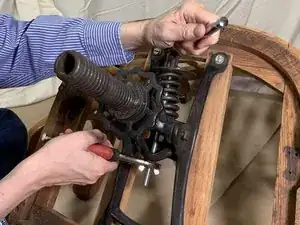
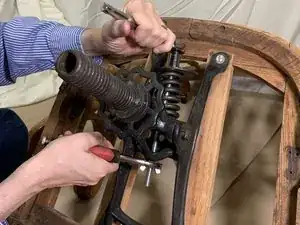
    • Grip the wingnut (or old nut) with the vice grip locking pliers.

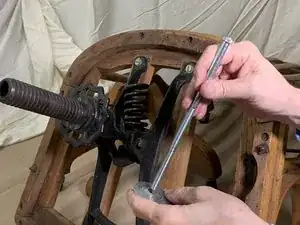
    • Use the socket wrench to turn the bolt.

  3. HxxNCLLoke3jqM6q
    HxxNCLLoke3jqM6q
    KgKvMrJAnEuHRicj
    • Using the 3/4" socket wrench, unscrew the old bolt.

  4. ysWNEe6Ck5tUQsFv
    • Remove the washer and slide the old bolt out.

  5. tBRtgcLSbSkSxLii
    tBRtgcLSbSkSxLii
    MB2UPYtvtFmLAcGW
    • Slide the spring off its mount.

  6. RxeINBvFNJAx52y4
    RxeINBvFNJAx52y4
    pniawcg6e2VtNukO
    eYc5gOOKPMUdkiAY
    • Set the new spring on the spring mount mechanism so that it twists in place.

  7. KHfesQZiXPmcStmn
    KHfesQZiXPmcStmn
    sRkoOiaHxCjBDgtU
    WEGDlrVyPBsSGfrD
    • Slide the bolt through the washer.

    • If the washer appears worn, replace it with a washer of the same outer diameter and hole size diameter that matches the bolt. If you are unable to find the same washer, stack another washer with the correct hole diameter on top of the old washer.

  8. stylMOAQeEAgrC1J
    • Insert the bolt through the washer (or stacked washers as described in step 7).

  9. okALelYseNIUeTio
    okALelYseNIUeTio
    2AJYbeK1fGFjh4Ap
    • Place the bolt and washer through the spring and run the bolt through the spring mount.

  10. weVDLnh2G5VgeilH
    weVDLnh2G5VgeilH
    X5Eiu3SiZBLZdXMl
    52hISM4rugjfwPk5
    • Place the 3/8" wingnut on the bolt and hand tighten.

  11. xtg6KDgpFKeVB6FF
    xtg6KDgpFKeVB6FF
    2RHVgKMKfjTVn5uk
    EDYJtIAtOmXs54KD
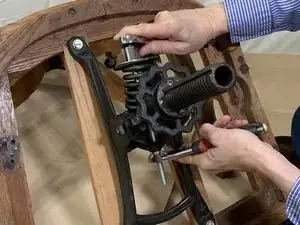
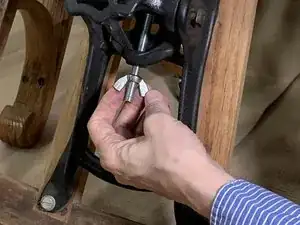
    • Take hold of the wingnut with the vice-grip.

    • Place the 3/4" socket wrench on the head of the bolt.

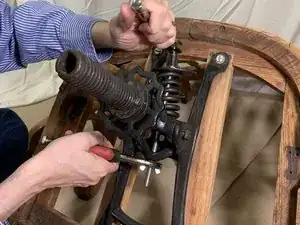
    • Tighten both the bolt and the wingnut.

    • Wear eye protection during this step. As you tighten the bolt on the spring, the spring will be under intense pressure. If the bolt or the wingnut are defective, one or both of them can break.

  12. jSQqcVIqZCMrABa4
    jSQqcVIqZCMrABa4
    dLkMf2mrTmpL3q35
    fhm2eSnhT3kuhpHL
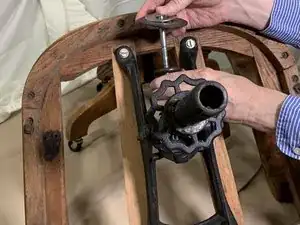
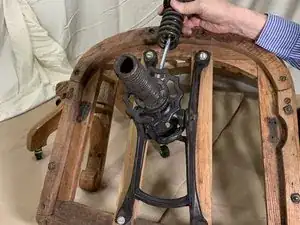
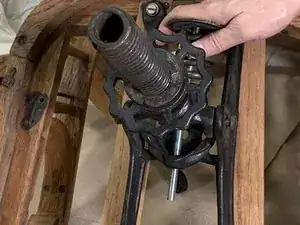
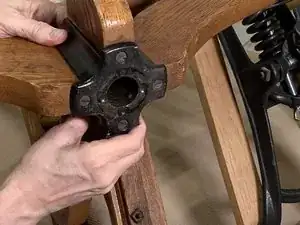
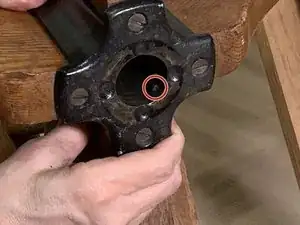
    • Line up the groove of the post with the protrusion on the spring mount mechanism as shown in the photos.

  13. QY2wZAMgvZjUnWPH
    QY2wZAMgvZjUnWPH
    WEvnfLiKMRBeklUr
    • Insert the wheel base through the post.

    • Place the chair upright.

    • Sit in the chair and ensure it does not lean back too much with normal pressure. If it needs further adjustment lay the chair back over and repeat steps 11 and 12.

Conclusion

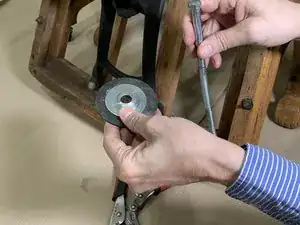
If possible, obtain parts that match those removed. Inspect parts. Wear eye protection during re-assembly.

Rhonda Bayoud-Snyder

Member since: 24/09/24

271 Reputation

0 comments