Introduction
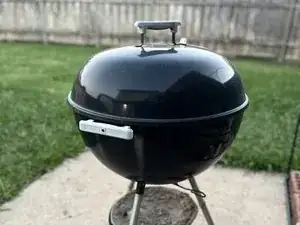
This is a guide on replacing your cleaning system on a Weber Kettle 22-1/2 inch grill. We've constructed this guide to help kettle grill enthusiasts get the maximum useful life from their grill.
It will instruct the user to remove and replace the old unusable cleaning system with the new one.
This part is made from a lighter aluminum than the actual grill so it will deteriorate over time because of exposure to extreme heat and the outdoor elements.
Tools
Parts
-
-
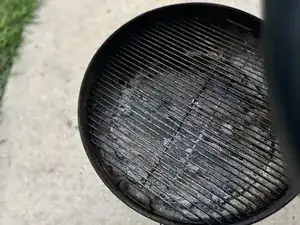
Start with your grill upright and remove any grates that are inside of the grill.
-
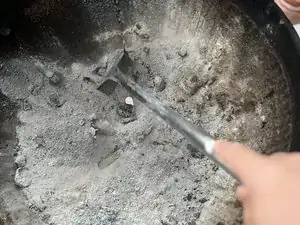
Use a charcoal rake or a small garden shovel to remove excess ash and residue in the grill.
-
Turn the grill on its side and use a pressure washer or hose to clean the inside of it and any extra residue.
-
-
-
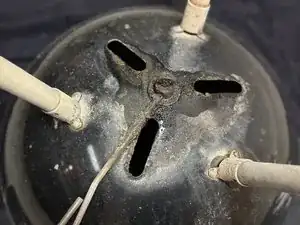
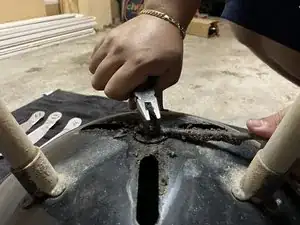
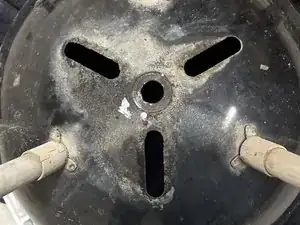
Lay the grill upside down on a flat surface.
-
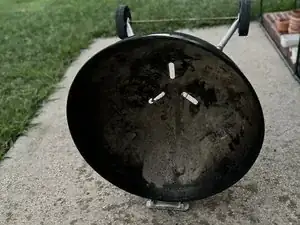
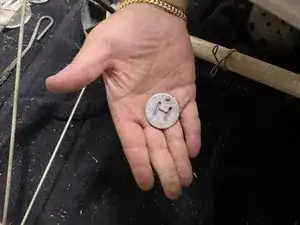
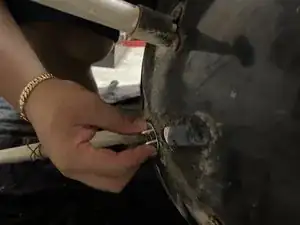
Use a pair of pliers to remove the screw holding the old cleaning system in place. Once the screw is removed the assembly should come apart easily.
-
Turn the grill on its side.
-
-
-
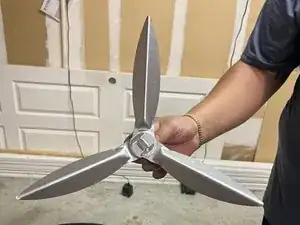
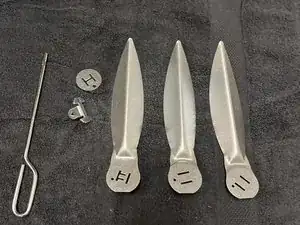
Lay the components of the new assembly on your towel next to your grill.
-
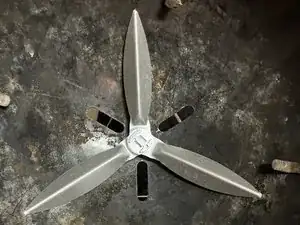
Once you've arranged all parts of your assembly, fit the top pieces of the assembly together. These will go inside of your grill.
-
-
-
With the grill still laying on its side, make sure the assembly fits properly and is able to turn.
-
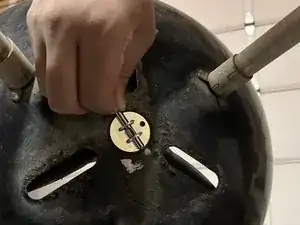
Insert the pin/turning handle through the hole underneath the grill.
-
Turn the grill right side up and assess the construction of your cleaning system assembly.
-
-
-
Use the pin/turning handle to assess whether the assembly turns correctly.
-
Once the assembly is in place and functioning, turn the grill right side up and insert the charcoal and food grates.
-
Finally, add the lid to the grill and enjoy your new grill!
-


To reassemble your device, follow these instructions in reverse order.