Introduction
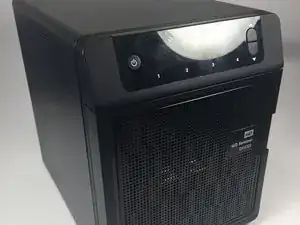
This replacement/teardown only uses 2 types of Phillips screws, and a #1 phillips screwdriver is all you need. Remeber to remove any hard drives before to make handling the unit safer and easier.
Tools
Parts
-
-
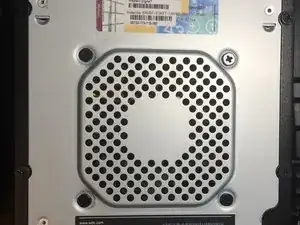
We will start with removing the 5 black phillips screws holdong the sheet metal frame.
-
Make sure you set these 5 screws aside; they're bigger then the rest.
-
-
-
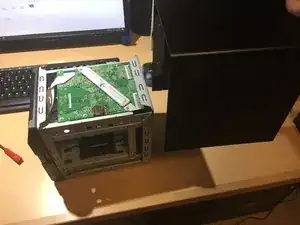
The sheet metal slides towards the rear of the machine about 1-2cm, then lifts directly up.
-
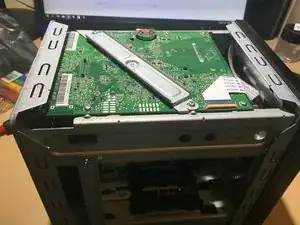
Once the metal is off, we can also get a look at the SATA backplane for connecting the 4 HDDs.
-
-
-
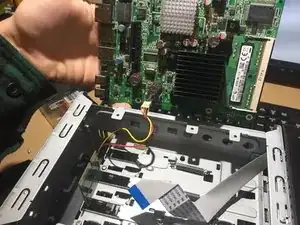
Remove the 6 Phillips screws holding the PCB in place.
-
Carefully flip up the brown ribbon cable connector. These connecters are very fragile.
-
The board will be slightly wedged between 2 bumps in the frame. Don't apply too much force to the front end, because of some connecters on the underside of the board.
-
-
-
Before you have begun to lift the board, make sure the ribbon cable is fully removed. It is also attached using an adhesive pad.
-
Lift the board directly up; there is a PCIe slot connecting the drive daughterboard and the mainboard.
-
Carefully flip the board over the right edge of the case to get access to the fan connector.
-
-
-
We can now put the chassis aside and turn our attention to the board.
-
Unfortunately the Intel Atom D525 only supports up to 4gb of ram over the 2 already installed.
-
Like usual SO-DIMM slots, pull back the 2 arms on the RAM slot to remove tension on the RAM. From here, replace the RAM like any other replacement.
-

To reassemble your device, follow these instructions in reverse order. Remeber to take extra caution to line up the PCIe slot and connector on the mainboard and daughterboard. Also remeber to keep the ribbon cable in a place where it won’t get trapped beneath the mainboard and you have to get it out.

3 comments
Hi, I tried to replace memory of my WD DX4000 with 4GB, like you explained, but no luck. To make sure there is no problem in memory compatibility, I tried with 2 different type of RAM brand: Kingston and Hynix, but the result is the same: never ending “Initializing … “. I installed the original 2Gb Sodimm and everything is ok. I was wondering whether it might be the case that the BIOS stops with some message asking maybe for a keypress just to confirm the new configuration. Any clue how to solve it?
davidoke -
I think you are correct in assuming that it is something to do with the bios. Due to these units having no video output it can be a tad hard to check. Unfortunately I am not entirely sure how to help you (I shelved my unit after doing the RAM upgrade because I needed to change the OS to a more recent, open-source software. I did test it and I found that I also got the “initializing…” screen.) I do plan on getting back to this soon, and if I find out something you’ll be the first to know.
I have not done the memory upgrade yet but did get proxmox 8 installed on the dx4000, its working great so far. I have put a pi-hole lxc and turnkey linux fileserver lxc on the box, so i have cifs shares running to my other proxmox usff desktop.
i used the guide below, i just held the usb-serial on the pins good enough to change the bios settings as in the guide on github, and installed proxmox on a different pc. I had to do blind commands to "cat ip a > file" then look at the nic names and put it in the proxmox network config. then i had access to the webinterface.
https://www.reddit.com/r/homelab/comment...
xxcite81 -