Introduction

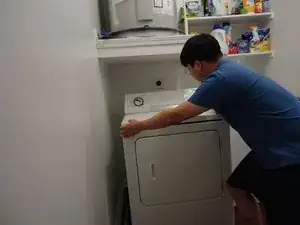
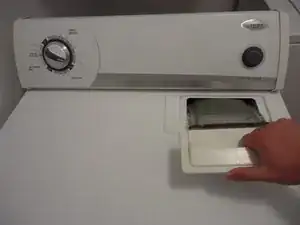
If your Whirlpool dryer (model WED5100VQ1) won't start or continues to operate while the door is open, use this guide to replace the dryer door switch.

Wear and tear from normal use can cause the dryer door switch to fail. When this occurs, the dryer switch will not transmit signals for the dryer to recognize when its door is open, causing it to malfunction.

Before using this guide to repair a dryer that won't start, troubleshoot for other common causes, such as a faulty power source, plug, or cord. Only use this guide if you can confirm the dryer door switch is the cause of the dryer malfunction.

  1. D3VenpxxcETbJ3XP
    D3VenpxxcETbJ3XP
    RZkiiPOqgXCcqcPU
    • Unplug the dryer's power cord.

  2. u5kKLQCX3nR5Ktjh
    • Open and remove the lint screen.

  3. icP3doatsSSOwOVd
    icP3doatsSSOwOVd
    NIPOIv6FY3DJOvEt
    • Remove the screws next to the lint screen opening.

  4. IsXxBwoLOUBZ1NMr
    IsXxBwoLOUBZ1NMr
    xxSGSUg1wlpOFMjQ
    JPoNLukm4bQNDRiP
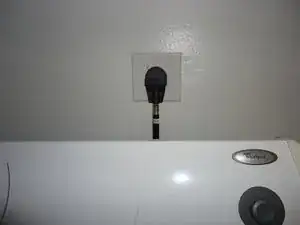
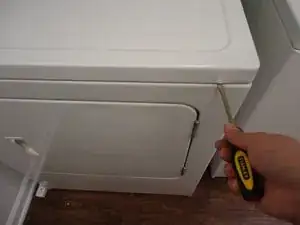
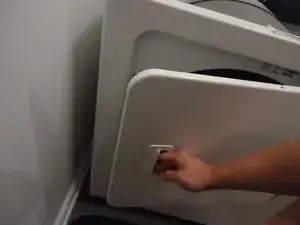
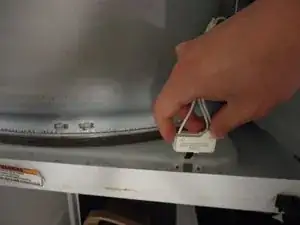
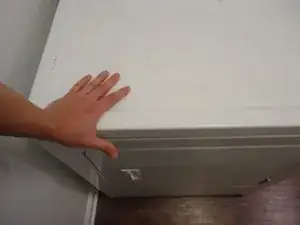
    • From the front of the dryer, insert a prying tool in the seam where the locking tabs are located (about 2 inches away from a corner).

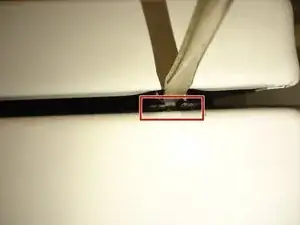
    • Be sure the prying tool sits above the two legs of the locking tab.

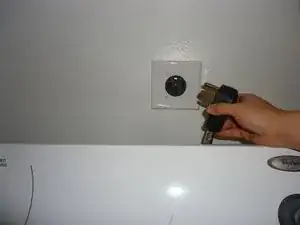
    • Press the tool to release the locking tab.

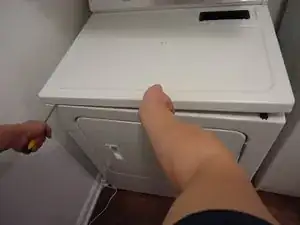
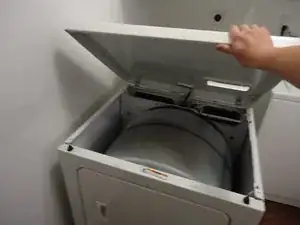
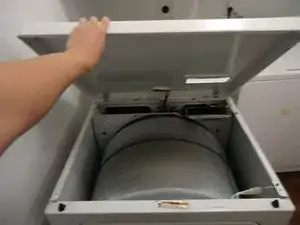
    • Lift the top of the dryer.

    • Caution: Forcing the top of the dryer to lift without fully releasing the locking tab could result in pinching, crushing, or shearing of your fingers and hands.

    • Repeat the step on the opposite corner to fully release the top of the dryer.

  5. 5LVcJvMEjaY1osKf
    5LVcJvMEjaY1osKf
    shXwDnDF2YGw3MEF
    • Lift the top of the dryer 90 degrees to lock it in place.

    • If necessary, pull out the dryer until there's enough space for the top of the dryer to open 90 degrees.

  6. YI2FGJCrGoTWWIZZ
    • Open the dryer door.

  7. ZSKDcZSVSD4uIrIa
    ZSKDcZSVSD4uIrIa
    aDuu2E1Q2PB3gIDG
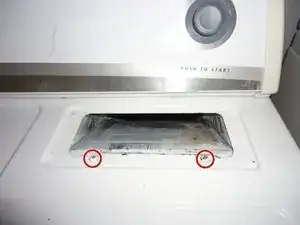
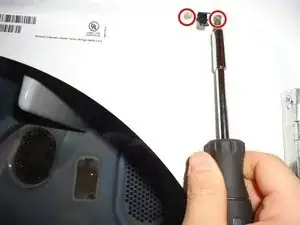
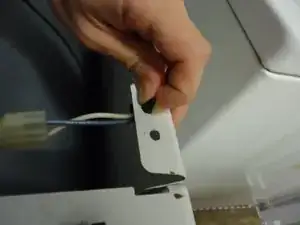
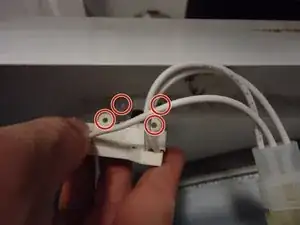
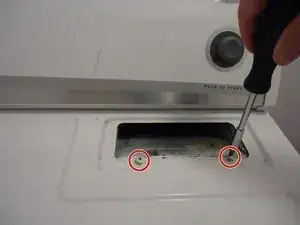
    • Remove the screws next to the door switch.

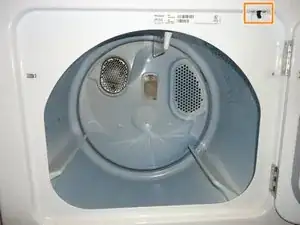
    • The drier door switch should be located at the upper right corner of the door frame.

  8. xYHHhoQhvZmJqPCZ
    xYHHhoQhvZmJqPCZ
    ogXd452OUNHsfQ2U
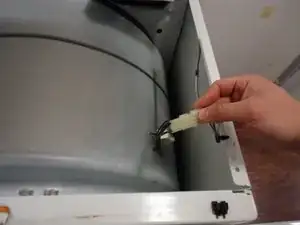
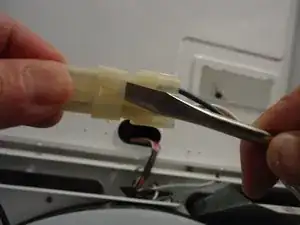
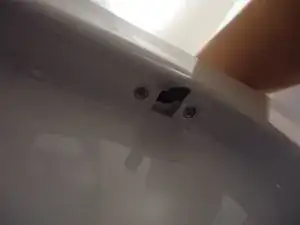
    • From the top of the dryer, pinch and push down on the mounting tabs holding the dryer door switch to unplug them.

  9. lrjJfcIWheZlPk35
    lrjJfcIWheZlPk35
    q6dNfCKFr1BVELOG
    • Pull out and disconnect the door switch.

    • If necessary, insert a prying tool into the door switch’s push-in connector to disconnect.

  10. dRlZ5FqEtC6bZFT3
    dRlZ5FqEtC6bZFT3
    xUb1v5PTEKDUQXrb
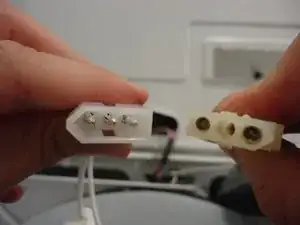
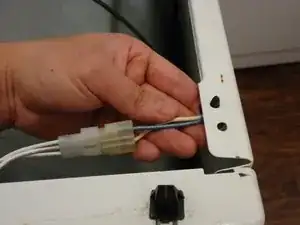
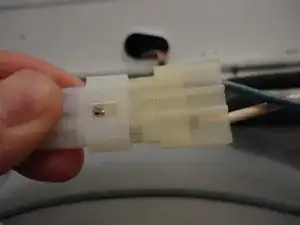
    • Grab and align the new door switch’s connector with the wire harness.

    • Insert the new door switch's connector into the wire harness until snug.

  11. lWL1ARK6K6gdSFuo
    lWL1ARK6K6gdSFuo
    cZgGZmiU4lBLebW1
    • Place the door switch to its original location.

    • Ensure the door switch’s screw sockets align with the dryer's screw holes.

  12. 4QFRLK63HDmCko6M
    4QFRLK63HDmCko6M
    hopId3u4HEYJpFX5
    4YJ6FRjfoGMmdLZa
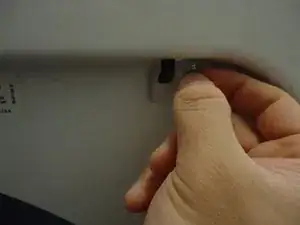
    • From the front, hold the door switch in place

    • Continue to hold the door switch in place until the screws are in place and fully tightened.

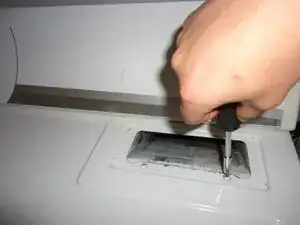
    • Hand-tighten the screws to secure the door switch.

    • Finish tightening the screws using a screwdriver.

  13. VnYx1JICisUFewZG
    • On the top side of the dryer, plug the switch’s mounting tab back in place.

  14. cDT5KoNPsOkjQTHv
    • Close the dryer door.

  15. PFfwKFPXMpuRh4aA
    PFfwKFPXMpuRh4aA
    hQ2nFaH3XTLqaIcT
    • Close the top of the dryer.

    • Press down the top of the dryer to lock it in place.

  16. RWZAnkBnnOKCDaiN
    • On the lint screen opening, put the two screws back in place.

  17. gOY2VTHhfPZs1ARa
    • Close and/or return the lint screen.

  18. xmmjieUetS2vGPUM
    xmmjieUetS2vGPUM
    QnKP1FTxVw2ynr3U
    V2f6gCtxCyytfZPF
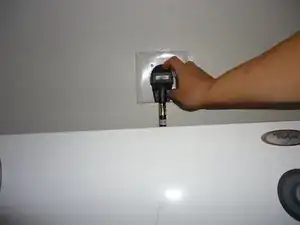
    • Plug the dryer's power cord back in.

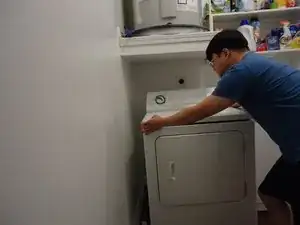
    • If you pulled the dryer out earlier, push it back to the original location first.

    • Adjust the dryer vent as needed to avoid crushing it while pushing back the dryer to its original location.

David

Member since: 20/09/24

277 Reputation

0 comments