Introduction

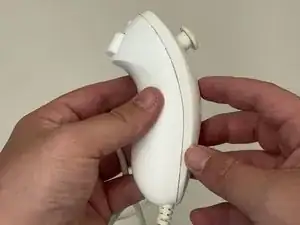
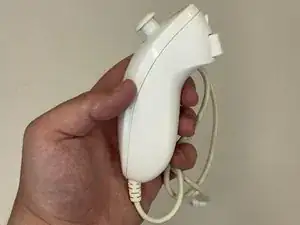
In this simple and straightforward guide we will show you how to disassemble and replace the joystick and buttons of a Wii Nunchuk controller. You may need to replace the buttons and joystick if they stop working or you may just want to give the area a good careful clean with isopropyl alcohol.

  1. 2PQkvyEDpWG4dnu1
    2PQkvyEDpWG4dnu1
    SBctJjqb3OcULICp
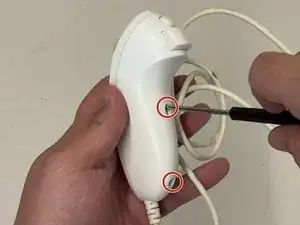
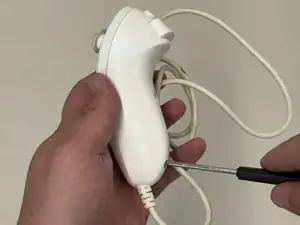
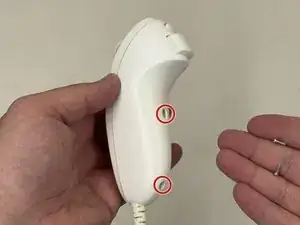
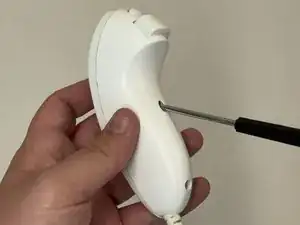
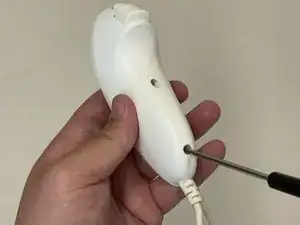
    • Use a Tri-point Y0 screwdriver to remove the two 9.2 mm screws from the back of the controller.

  2. 2yAFTYerDBaOsPMY
    2yAFTYerDBaOsPMY
    dITYd2JUd31JEVJr
    wkUGlAEdlMRMA5MM
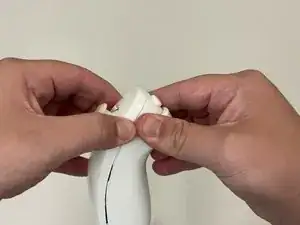
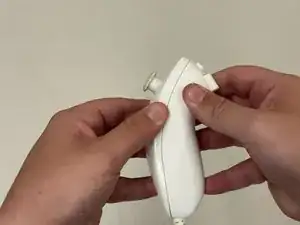
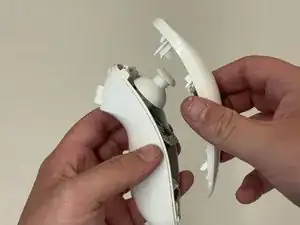
    • Use a spudger or your hands to separate the top case of the Wii Nunchuk.

    • To remove it you will need to apply pressure at the top of the device near the joysick first. Once you apply pressure, gently pry apart the controller.

  3. lYsF6JBgICkLPB21
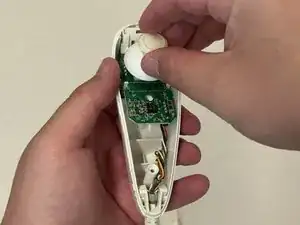
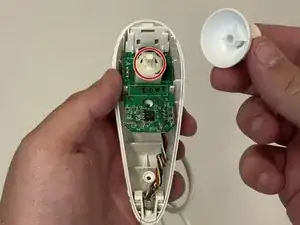
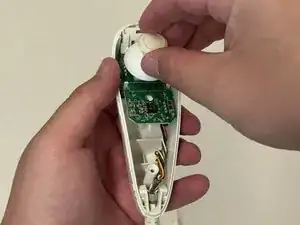
    • Pull the joystick off the attachment on the motherboard.

    • This will also expose the gyroscopic mechanism and allow you to clean off any debris that could be causing issues. Use a lint free cloth and isopropyl alcohol to clean the area. Make sure to let it dry before you reassemble the device.

  4. USEAvTZNTBMwtr6N
    USEAvTZNTBMwtr6N
    JpJlkRXLvoqegtyg
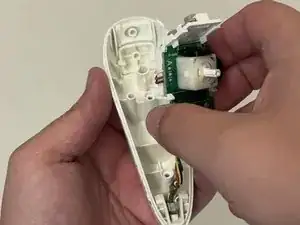
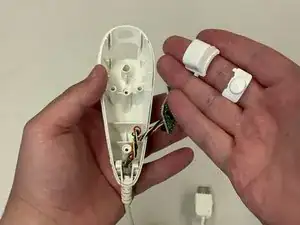
    • Take the motherboard by the edges, and gently lift it out of the shell, exposing the buttons.

  5. wEFpMOwiJRKBl5ag
    wEFpMOwiJRKBl5ag
    QdAMauj5XHPFJC6B
    ZsioPwaHBqEuKfOC
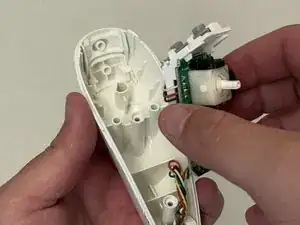
    • Set the motherboard to the side so that it is out of the way.

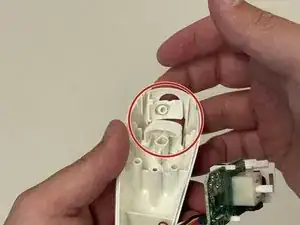
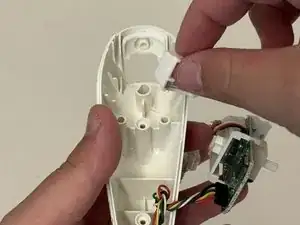
    • Push the buttons in from the outside of the device to pop them out.

    • Set the new buttons into the cutouts of the controller shell, ensuring they sit flush inside the controller.

  6. OVEZmFmOVb1ddMIM
    OVEZmFmOVb1ddMIM
    ZAlEFyLv3HKWBglk
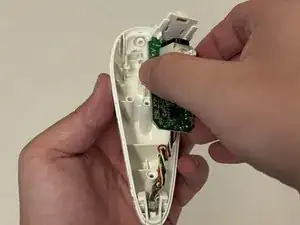
    • Set the motherboard back inside the center of the shell.

    • Ensure that the motherboard is flush inside of the controller.

  7. ygPgN6IfKWsRroON
    ygPgN6IfKWsRroON
    pCUxTDWMPpfs3lMd
    tlLBPEN3BderlyF1
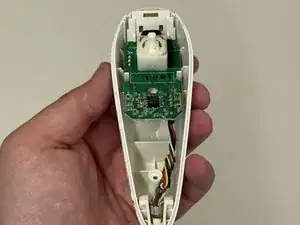
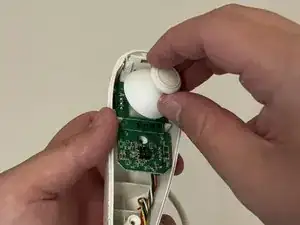
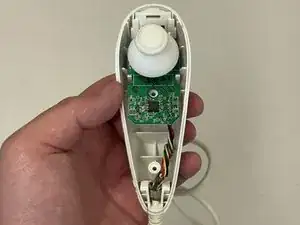
    • Push the new joystick onto the white attachment on the motherboard.

    • Make sure that the notch on the joystick and the notch on the attachment point line up to ensure a secure fit. The joystick may not attach if the notches are not aligned.

  8. r1pj6XALjlCPsIDn
    r1pj6XALjlCPsIDn
    SDIOJoCbCc31md5r
    • Place the top case of the controller on the bottom shell, making sure to align the halves properly.

    • Push them together until you hear a small click, ensuring the controller is assembled securely.

  9. FUFGjMUhdbLrgA5L
    FUFGjMUhdbLrgA5L
    iRZqeXOvudm6NnZA
    Df4L6FnPaBwvbZbW
    • Use a Tri-point Y0 screwdriver to replace the two 9.2 mm screws that secure the back case.

  10. agPfNqMJp3RvYYpn
    • This replacement is now complete.

Conclusion

Take your e-waste to an R2 or e-Stewards certified recycler.
George Barrone

Member since: 05/03/24

181 Reputation

0 comments