Introduction

Between the neck and the body of the guitar, there are connectors called pogo-pins. Over time, the springs in the pins wear out and cause inputs to not be read by the controller. This repair replaces the pogo-pin connection with a DB9 connection allowing for the inputs to be properly read while keeping the ability to do maintenance on the controller in the future.

  1. LCunWrJqjjBIsekm
    LCunWrJqjjBIsekm
    nRsGJacMZiuq1xkN
    AVqqkxHTjQn2TIC6
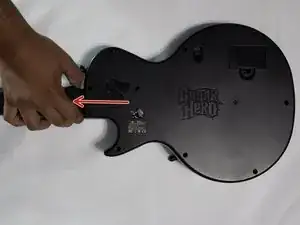
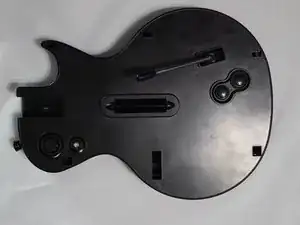
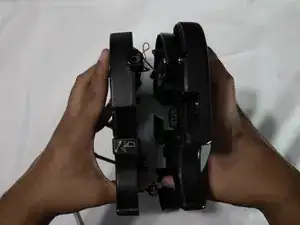
    • Have the controller on its back and separate the neck and body of the guitar. Do this by using the switch on the back and pulling the neck from the body at the same time.

  2. BHxoXoRdENUFZMek
    BHxoXoRdENUFZMek
    lEqyFO6H6aeoxWXX
    KTNObUwrjGALni11
    • Push the switch next to the battery cover.

    • This will release the faceplate on the front of the controller.

  3. RHEioRUQcyfuJYxK
    RHEioRUQcyfuJYxK
    3otcpVYCbMuAWXyx
    F6WDrNH1R4ftVcih
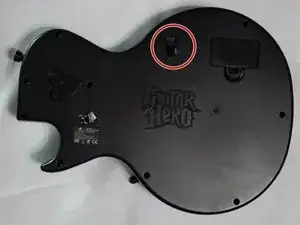
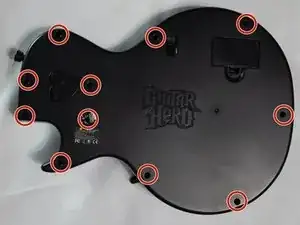
    • Open the body of the guitar by unscrewing 11 10 mm screws from the circled screw holes with a Torx T10 screwdriver.

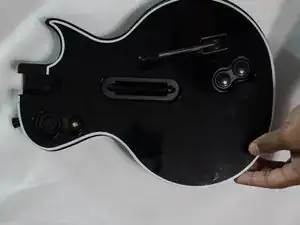
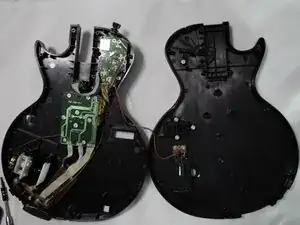
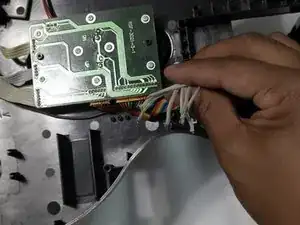
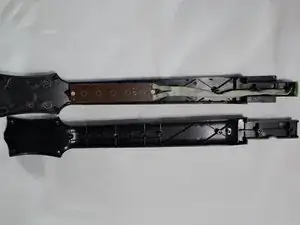
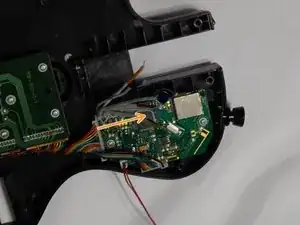
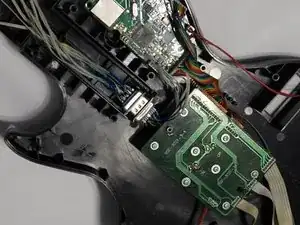
    • Open the body of the guitar so it's laying open as seen in the image.

  4. kOQWALYc14dqfGrA
    kOQWALYc14dqfGrA
    4mXIYtNRiQPOO4XZ
    1ZZAogQImWdikme1
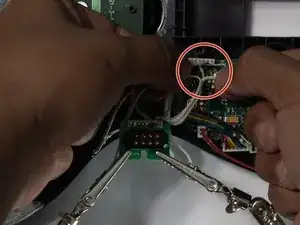
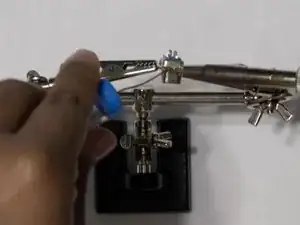
    • Separate the wires by pulling them apart.

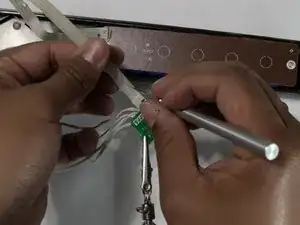
    • De-solder the wires from the connector by pressing the iron against the solder points and then pulling the wire away.

    • Applying flux along the solder points could assist the process of desoldering.

    • Pulling too fast on the wire could damage the wire or any other components it's connected to.

    • Fumes from desoldering can be dangerous, so it's recommended to have a fume extractor next to you while desoldering.

  5. edHLTMkeEo4FwwDM
    edHLTMkeEo4FwwDM
    aoSkgJyXrOjVPQlk
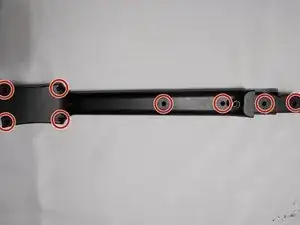
    • Using a Torx T10 screwdriver, unscrew the eight 10 mm screws along the circled screw holes to take the backing off the guitar's neck.

  6. DRh4kTJRCh3h3L4r
    DRh4kTJRCh3h3L4r
    HZ5ulgPLnKJxTqFK
    3LGgC5geDSU42wHE
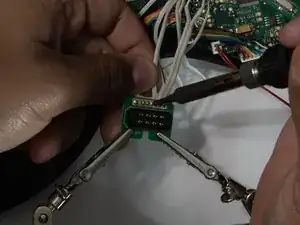
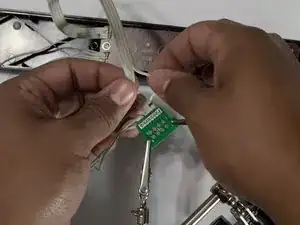
    • Separate the wires using an X-acto knife to cut between the wires and pull to fully separate the wires.

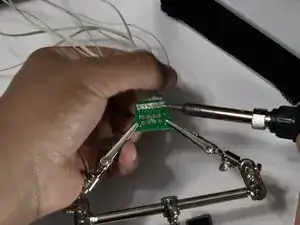
    • Desolder the wires by pressing the iron against the solder points and pull the wires away.

    • Applying flux along the solder points could assist the process of desoldering.

    • Fumes from desoldering can be dangerous, so it's recommended to have a fume extractor next to you.

    • Pulling too fast on the wire could damage the wire or any other components it's connected to.

  7. kwqhLM2ey64FPbdd
    kwqhLM2ey64FPbdd
    ePMaWnMuikBsrdKo
    B5gHEF5AMYDLMVgI
    • In order to use the DB9 connectors, you need to cut the sides off of it so it can fit in the shell of the guitar.

    • Use flux and solder to stitch the two sides of the metal sheet together.

    • Fumes from soldering can be dangerous, so it's recommended to have a fume extractor next to you.

  8. bPvexXRlMpA1BDEQ
    bPvexXRlMpA1BDEQ
    aQMLYCsfrACBI5NA
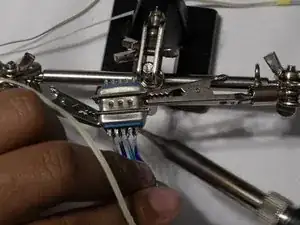
    • Before soldering the wires to the connectors, make sure to color the wires. This makes sure that you are soldering the correct wires to the connectors.

    • The wire colors for the neck are as follows: 1-Green, 2-Dark Blue, 3-Light Blue, 4-Orange, 5-Dark Blue, 6-Yellow, 7-Red, 8-Dark Blue.

    • Looking at the board that's in the neck of the guitar, you can see that the wires are soldered to numbered spots. These are the numbers that will correspond with the colors.

    • The wires on the body of the guitar are labeled 1-8 following the direction of the arrow.

    • The colors for the wires of the guitar are the same as the colors for the wires on the neck.

  9. FvvIQkFZE4huHca6
    FvvIQkFZE4huHca6
    nwvZqrEykUsOac1j
    QPJKILQVOhTDu1pK
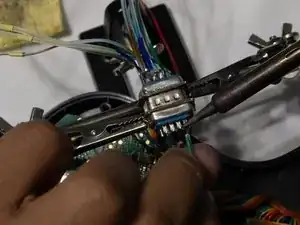
    • Solder the wires to the DB9 connectors leaving the middle pin empty to make it easier to put the connectors in the body.

    • The order you solder the wires doesn't matter as long as the wires are matching on both sides.

    • After the wires are soldered, you can close the guitar and reverse the process of taking apart the controller.

    • Using a desoldering pump/sucker would be useful for any mistakes along the way.

    • Make sure to solder the neck wires to the male connector and the body wires to the female connector.

    • Fumes from soldering can be dangerous, so it's recommended to have a fume extractor next to you.

Conclusion

To reassemble your device, follow these instructions in reverse order.

XanderC

Member since: 25/09/23

172 Reputation

0 comments