Introduction

  1. JmfLUPAhK4iPoKta
    JmfLUPAhK4iPoKta
    jKXjxBr3PUJCN2IC
    ByEIr6FVTymkUBqR
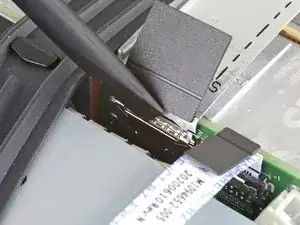
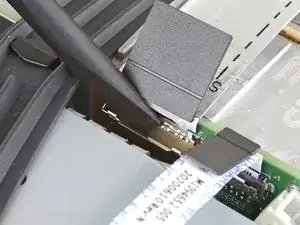
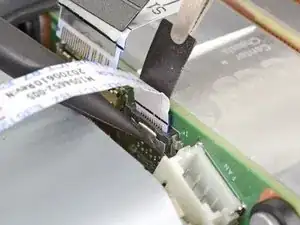
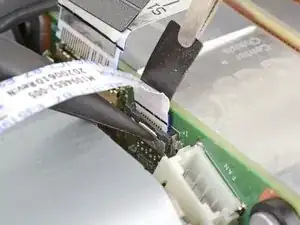
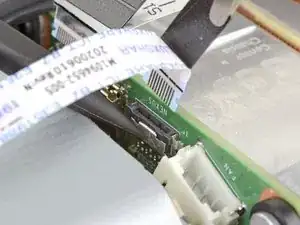
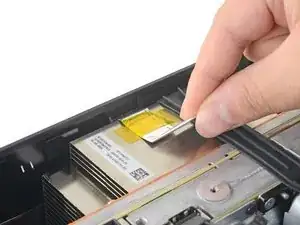
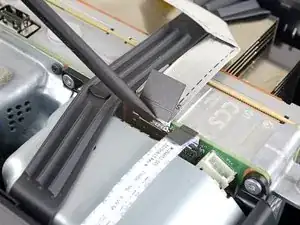
    • The ribbon cables and their connectors are extremely fragile, so always open locking tabs gently and pull cables slowly.

    • Use the flat end of a spudger to flip open the metal locking tab on the USB port ribbon cable.

    • During reassembly, gently snap the metal locking tab back into place once the cable has been inserted.

  2. HRTyZSjqcARt2QUf
    HRTyZSjqcARt2QUf
    j3q6cTvQGhhOFh4P
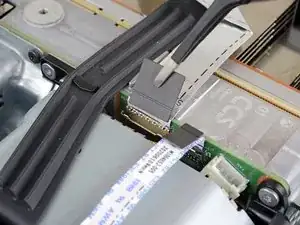
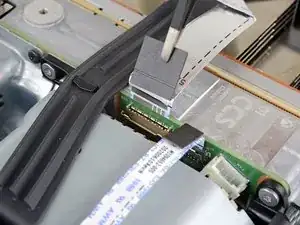
    • Use a pair of tweezers to pull up on the black plastic pull tab to disconnect the USB port cable.

    • Pull only on the pull tab, not the cable itself.

    • If the USB port cable feels adhered to the metal chassis, use an apply an iOpener or hair dryer to heat the cable. Depending on your model of Xbox, you may also need to slide an opening pick under the cable to separate the adhesive.

  3. aWlR2xiWMgjfsOTF
    aWlR2xiWMgjfsOTF
    eYfV56C23IVpqMKH
    qJ6KbLXg6weG2HPT
    • Use the pointed end of a spudger to depress the metal tab on the side of the power button cable's board connector.

    • With the metal tab depressed, use a pair of tweezers to pull up on the pull tab to disconnect the power button cable from the center chassis.

    • Pull only on the pull tab, not the cable itself.

    • Don't pull on the cable without depressing the metal tab, otherwise you risk damaging either the cable or the connector.

    • During reassembly, the cable should lightly "snap" into place when inserted.

  4. LgHlGlnOQJKOZPUm
    LgHlGlnOQJKOZPUm
    c1BPYLSZCmRomSpc
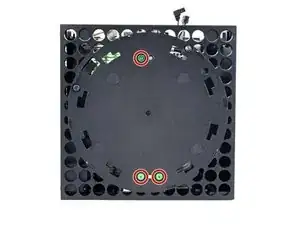
    • Use a T8 Torx driver to remove the three 7.4 mm screws securing the center chassis assembly to the shell.

  5. 2SOxZvDpDAsEMUQc
    2SOxZvDpDAsEMUQc
    CTkfVfWbW1Y1EVtT
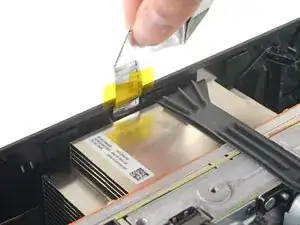
    • Gently peel the taped USB port ribbon cable off of the heatsink.

    • Depending on your model of Xbox, the adhesive may be on the underside of the cable. If so, use an iOpener or hair dryer to heat the cable.

  6. NUPq1y3v3HJLA12r
    NUPq1y3v3HJLA12r
    F6TSUmaPYUqVjQFV
    htXFIk6ExYg4Z5vq
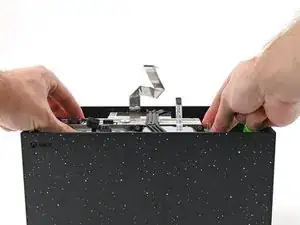
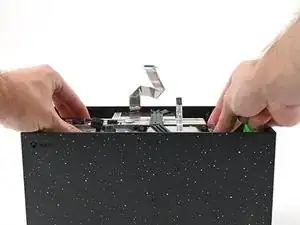
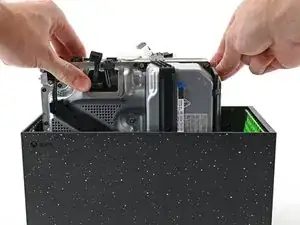
    • The center chassis assembly is aligned to the bottom of the shell with guide pegs. These pegs will need to slide out of their slots to allow the chassis to be lifted out.

    • Grip the chassis and pull it towards the top of the shell, uncoupling the guide pegs from the shell.

    • Use two hands to lift out the chassis to remove it from the shell.

    • During reassembly, make sure neither of the ribbon cables get pinched as you lower the center chassis into the shell.

  7. JEAp2uQcBIxWjprO
    JEAp2uQcBIxWjprO
    JuJdGVbuSIsDtcve
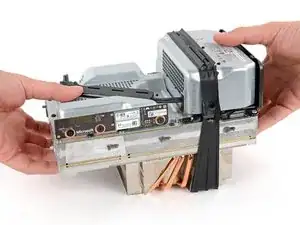
    • Gently place the chassis heatsink-side down on a clean work surface.

    • During reassembly, this is a good point to clean the heatsink fins of any dust, dirt, or debris that may have built up over time. Use a dust blower or compressed air to clear out the fins.

Conclusion

To reassemble your device, follow these instructions in reverse order.
Alex Diaz-Kokaisl

Member since: 16/01/22

163004 Reputation

0 comments