Introduction

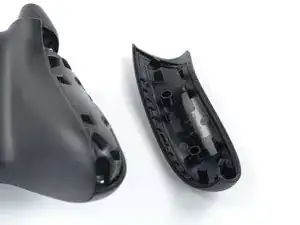
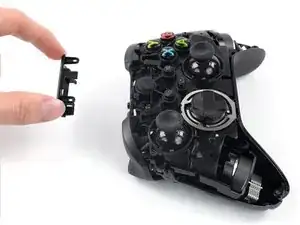
Use this guide to replace a damaged or worn-down bumper cover on your Xbox Series X|S Controller (model 1914).

  1. fGWBOKPHpp5HSnQr
    fGWBOKPHpp5HSnQr
    n4xIYV6MgTJFeT5L
    uG16NxBaI1wQ55wj
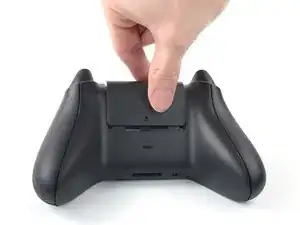
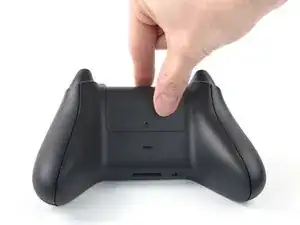
    • Use your fingers to slide up and remove the battery cover.

  2. 41oB3Y5hrGhLowJA
    41oB3Y5hrGhLowJA
    SVRVCSruSUYZgHHu
    ytLV5hMcGPosxwAd
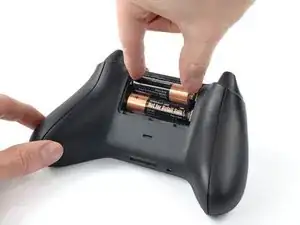
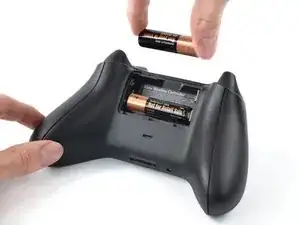
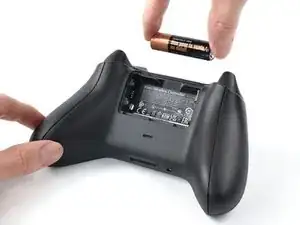
    • Remove the batteries.

    • When re-inserting the batteries, make sure to position them correctly, with their positive (+) and negative (–) ends matching up with the markings on the controller’s battery contacts. If your batteries are starting to corrode, replace them with new batteries.

  3. SKZEdX3QSobavyu3
    SKZEdX3QSobavyu3
    binvfjuvoi62cBwh
    UV2gdW4lFjg22uLB
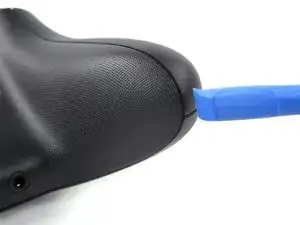
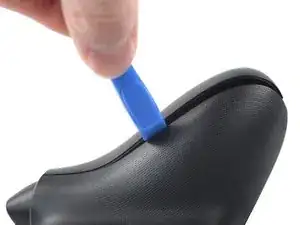
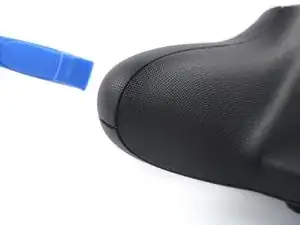
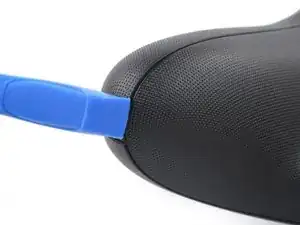
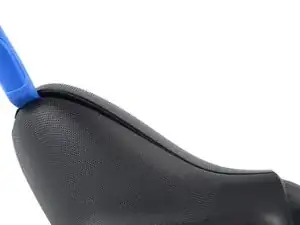
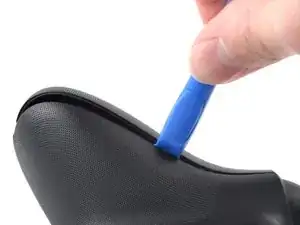
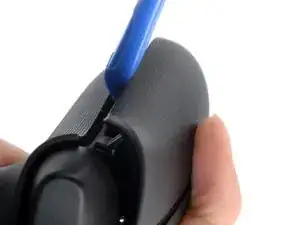
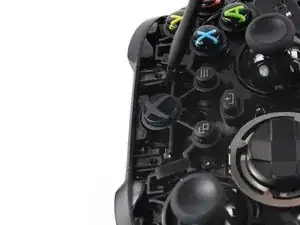
    • Insert an opening tool between the left handle cover and the bottom inner edge of the back housing.

    Before doing this step, it is recommended to clean the edges of the cover

    Violynos -

    Thanks for adding this tip!

    Manuel Haeussermann -

  4. WPfNqN1dPbKCXZIs
    WPfNqN1dPbKCXZIs
    XlvLyUmboPT4JgmW
    v6CYYaJYwHyQsiSP
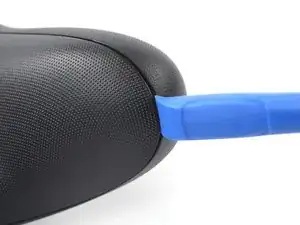
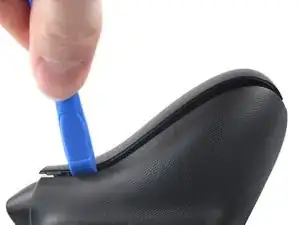
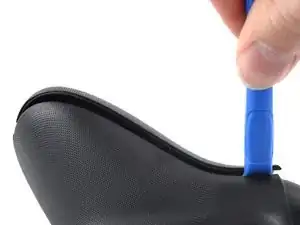
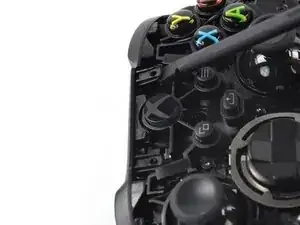
    • Strong plastic clips secure the handle cover. Significant force is required to release them.

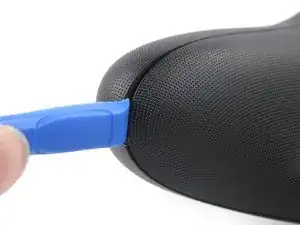
    • Slide the opening tool along the inner edge of the left handle cover and pry intermittently to release the plastic clips.

  5. PYLnCUqAkTPfkfMZ
    PYLnCUqAkTPfkfMZ
    ENNxbJI6gGpP6Ij4
    S5LCNcRyNBUtIKsR
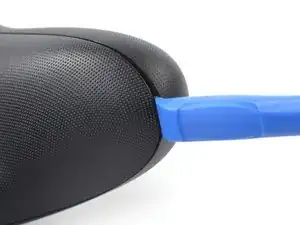
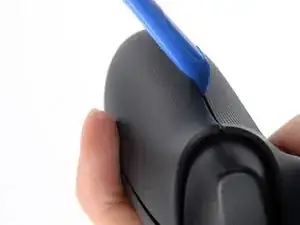
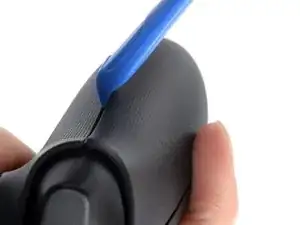
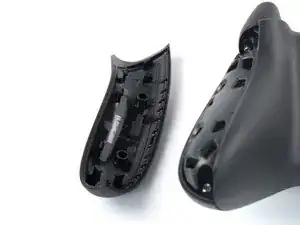
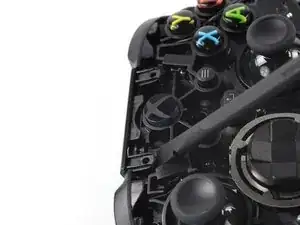
    • The plastic clips on the outer edge make it difficult to slide along it and release the clips. Therefore, prying up on the inner edge is the easier option.

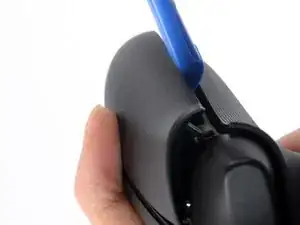
    • Pry up the middle inner edge of the handle cover with the opening tool to release the remaining clips.

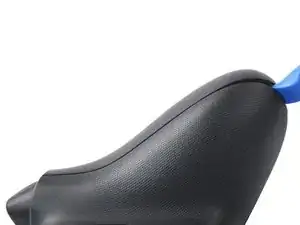
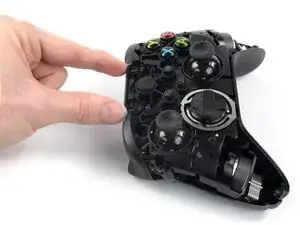
    • Place a finger on top of the handle cover to prevent it from being forcefully ejected.

    • Remove the left handle cover.

    • To reinstall the left handle cover, position it on the back housing and press down firmly along the edges to engage all of the clips.

  6. nc2jnwSRKrtckCcy
    nc2jnwSRKrtckCcy
    2RvcVdnxMAucHZDK
    hNtWlQH2fwXvYkjj
    • Insert an opening tool between the right handle cover and the bottom inner edge of the back housing.

  7. nPeROMGOeOcOLgxm
    nPeROMGOeOcOLgxm
    dJdKQkOnjlsnR4OK
    1oIFaTi6p5fYwJJ4
    • Strong plastic clips secure the handle cover. Significant force is required to release them.

    • Slide the opening tool along the inner edge of the right handle cover and pry intermittently to release the plastic clips.

  8. hRluiJFD65Xvf1oO
    hRluiJFD65Xvf1oO
    jLU4F1WGBaGKVHku
    xJC3GcDk2glqVaud
    • The plastic clips on the outer edge make it difficult to slide along it and release the clips. Therefore, prying up on the inner edge is the easier option.

    • Pry up the middle inner edge of the handle cover with the opening tool to release the remaining clips.

    • Place a finger on top of the handle cover to prevent it from being forcefully ejected.

    • Remove the right handle cover.

    • To reinstall the right handle cover, position it on the back housing and press down firmly along the edges to engage all of the clips.

  9. BQcFXKHL51fKEWJD
    BQcFXKHL51fKEWJD
    HDdlQYkVHHTCT1KW
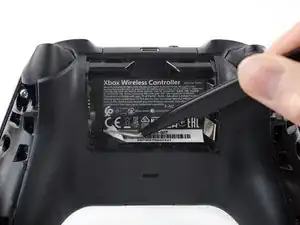
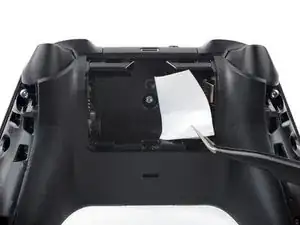
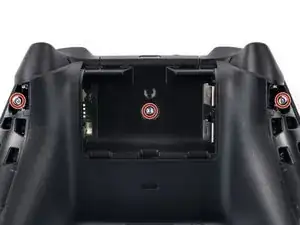
    • The sticker in the battery compartment covers a housing screw. Peel it back or pierce through it with a screwdriver.

    • Use a pair of tweezers or your fingers to peel back the sticker to reveal the screw.

    • You only need to peel this sticker to where you can access the hidden screw. You don't need to pull it completely off.

  10. e1LH5a14nJoEjC4q
    e1LH5a14nJoEjC4q
    FCBvqqV1hmh4XXvA
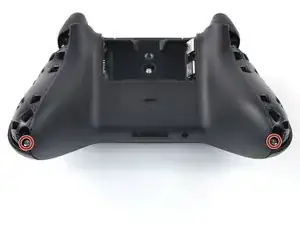
    • Use a Torx T8 Security driver to remove the five 9.3 mm-long screws securing the top housing, three near the top and two at the bottom.

    I found that for me a T8 H screw (the one with a hole in the middle) works better.

    Violynos -

    Hi Violynos, thanks for your comment! The designation Torx T8 security screw is equivalent to Torx T8H.

    Manuel Haeussermann -

  11. M2PiWeABAXUiy1Q2
    M2PiWeABAXUiy1Q2
    C5vyDdF1Mv3prJew
    WILZkeALQ4PDMQOl
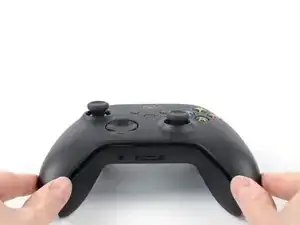
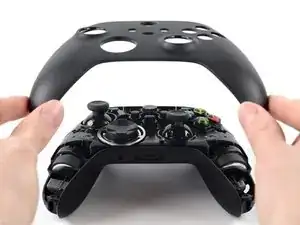
    • Lift the top housing straight up to remove it.

  12. GPh2YnjMD1IRJUbS
    GPh2YnjMD1IRJUbS
    gcHtvjSmZVlR1MTX
    HHhXDcL5xGIeBHjx
    • The USB-C port cover is held in place by two plastic clips.

    • Insert the flat end of a spudger under the right USB-C port cover clip.

    • Pry up with the spudger to release the clip.

    • Repeat the procedure to release the left clip.

  13. aJkTvNOHkE1ixeAj
    aJkTvNOHkE1ixeAj
    DRIVXWna6UpbUka2
    • Remove the USB-C port cover.

  14. 3fFvLlpGbXlcdLFr
    3fFvLlpGbXlcdLFr
    bQfMxJUKH6rABxc4
    YwIKPD2T1GoPSYps
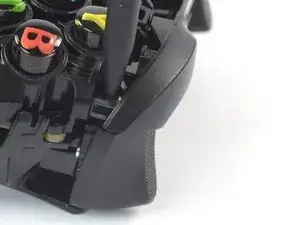
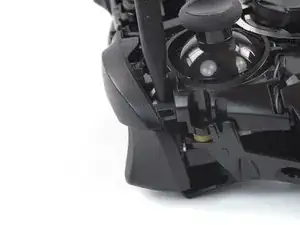
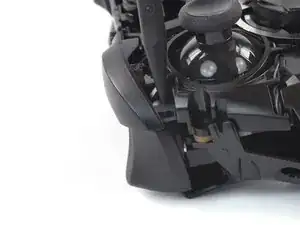
    • Insert the point of a spudger between the clip on the outer edge of the right bumper and the midframe.

    • Pry out with the spudger to release the right side of the bumper cover.

  15. cPExJaGQVyB6Iaym
    cPExJaGQVyB6Iaym
    OtcBaMf1nyYJWFXc
    TNoJK5biSwpI4yUf
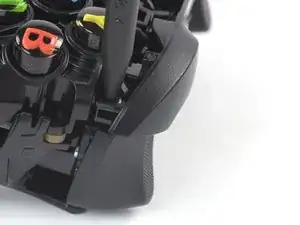
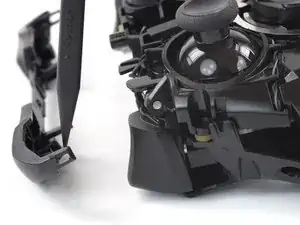
    • Insert the point of a spudger between the clip on the outer edge of the left bumper and the midframe.

    • Pry out with the spudger to release the left side of the bumper cover.

  16. lrSTNWVcWmMnX5Fw
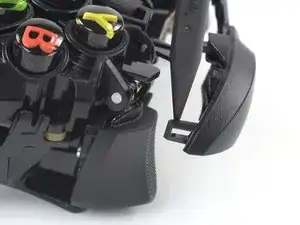
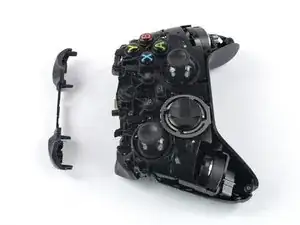
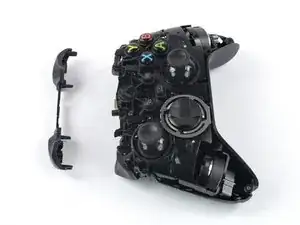
    • Remove the bumper cover.

Conclusion

To reassemble your device, follow these instructions in reverse order.

Repair didn’t go as planned? Try some basic troubleshooting, or ask our Answers community for help.

Manuel Haeussermann

Member since: 13/07/22

19515 Reputation

4 comments

The left bumper button broke for me. The plastic post that presses the button just snapped. This helped me replace the bumper. Good guide.

Jordan Cooper -

Removing the handle covers was the hardest part, largely because I was afraid I would break them if I asserted too much pressure. Once I got those off, it was pretty easy. The opening tool and spudger recommended in the tools section were useful--they did their jobs very well--but I suspect this could have been accomplished with any kind of replacement tool(s) you might have on hand; however, since I bought them I'm sure they'll come in handy in future projects. I would argue the TR8 Torx Security Screwdriver is really the only piece of equipment that is specifically required.

Russ Looney -

£50 for a new controller, cost but £26 for the tools and spare part, took maybe 10 minutes, and you cannot tell one bit that my controller has been tampered with or fixed

feel truly accomplished, saved money - and now i have the tools for the next challenge, be it my own, or a friends'
Haydn Buchanan -

I just broke the bumper cover while following steps 14 and 15 - the guide failed to mention the little plastic posts that actually press the RB/LB buttons are easily snapped while using the spudger to pry the bumper clips. The posts are visible in the picture for step 16 - the long protruding parts nearest the centre of the cover. Maybe consider adding a warning. I'm going to try to glue the posts back on but otherwise will have to just buy a replacement bumper cover part. Excellent guide otherwise.

owwynn -