Introduction
One of the bigger items on the list to repair is the screen. This display takes up much of the real estate of the monitor and thus is important to have in good working order. Fortunately, it is a straightforward repair, involving only the use of a screwdriver, to separate and replace the screen from its housing.
-
-
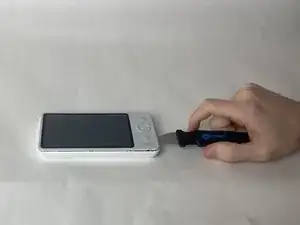
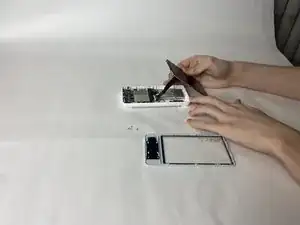
Use an opening tool to press into the opening notches built into the lower portion of the display.
-
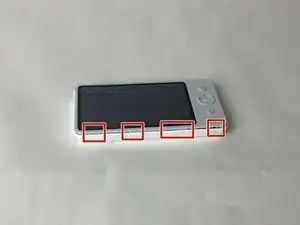
The sides of the display each have two notches, while the top has 3 notches, and the bottom has 4 respectively.
-
Using the given tools, ensure that the tool enters the space of the opening notches, and apply force downwards, prying that specific part up and away from the housing.
-
Repeat for all sides and notches, until the display is completely detached from the rest of the monitor.
-
-
-
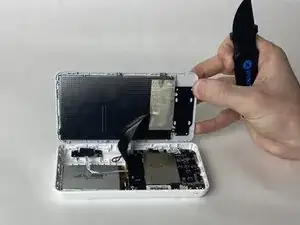
Lay the display face down on a table, to expose the back of the screen.
-
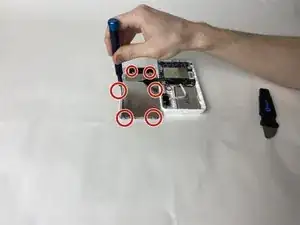
Use Phillips #00 screwdriver to unscrew each of the six screws that hold the display in place.
-
-
-
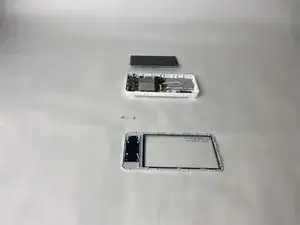
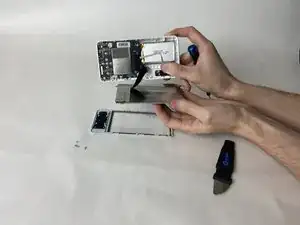
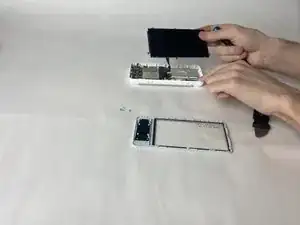
Gently lift the display housing, and set it aside.
-
The housing is ready to have the new display installed.
-
To reassemble your device, follow these instructions in reverse order.
