Introduction

This guide is an internal private guide that serves as a prereq.

  1. JSvFgxgqHvTtSHS1
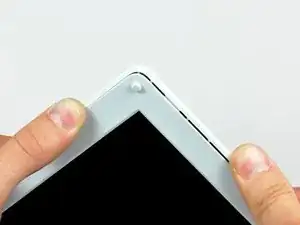
    • Use a 1.5mm hex screwdriver to remove the two hex screws on either side of the display (four screws total).

    • If you don't have a 1.5mm hex driver, you can probably get these screws out with a T6 Torx screwdriver. However, if you use a T6 Torx driver you'll be more likely to strip the screws.

  2. PxWSDdmtVDHiGKgU
    • Use your thumbs to slightly separate the rear bezel from the front bezel.

    • It is helpful to hold the opposing corner of the display stationary to aid in flexing the rear bezel away from the display.

  3. 2o2GnRwk2xNoEbv6
    2o2GnRwk2xNoEbv6
    vdnZEYsHFUg5wQ3c
    mBq6AJ44bmmVEVwK
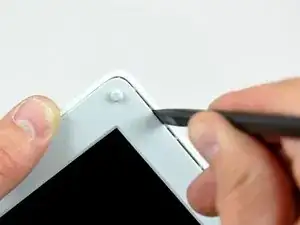
    • Insert the flat end of a spudger into the gap between the front and rear bezels.

    • Rotate your spudger until it is parallel to the front face of the display.

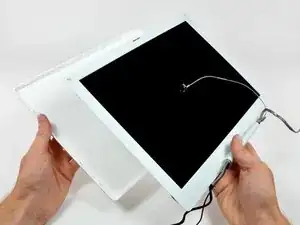
    • Run the spudger around the perimeter of the display to separate the rear bezel from its retaining clips.

  4. YnwxwkFfyFsBspAK
    • Lift the rear bezel off the display.

    Here is your chance to clean the edges! Lots of gunk accumulates here.

    tommalschaert -

Conclusion

To reassemble your device, follow these instructions in reverse order.

Andrew Bookholt

592004 Reputation

0 comments