Introduction
For the official iFixit repair guides for the iPad Air Wi-Fi model, click here.
For the official iFixit repair guides for the iPad Air LTE model, click here.
This guide has been archived for historical purposes.
Did your family or friends break your iPad air screen? Well looks like they're buying you a new screen to replace the broken one. In this guide you're about to read I will go through the steps required to buy the right screen and how to replace that screen with a new one.
Tools
Parts
-
-
Take your hair dryer and slowly move it back and forth on the the edges of the screen. This heats up the glue that is holding the screen together allowing you to be able to pry it open.
-
-
-
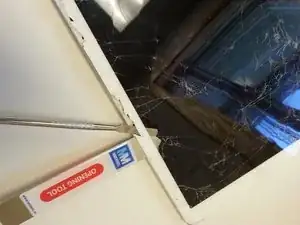
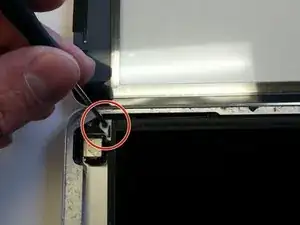
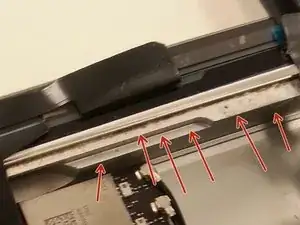
Once the screen is fairly heated up take your prying tool and find the little crack between the frame of the iPad and the iPad's screen. Once you've located the crack place your tool between the crack and press down to cut through the glue.
-
-
-
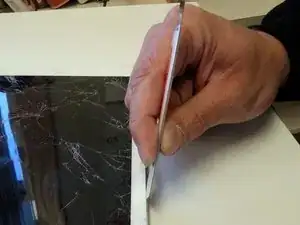
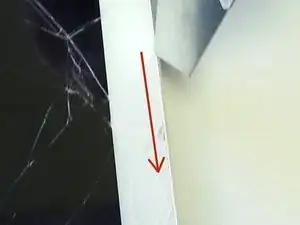
After you've gone through follow the crack to loosen up the rest of the glue. Make sure when you are cutting around the iPad that you don't open it up just yet.
-
-
-
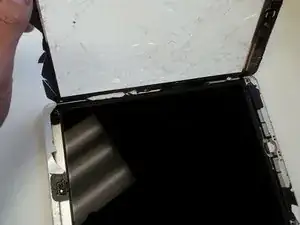
When you have all the edges lossened up take the right side of the iPad screen and open it like a book.
-
-
-
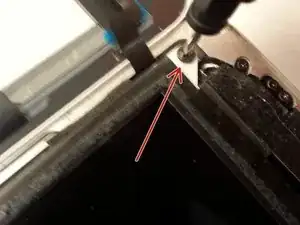
Once you've opened up the screen you will see a screw on each corner of the iPad. Take those out and remove the black screen out of the way for now.
-
-
-
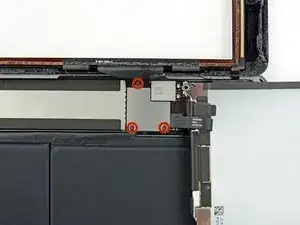
After you've lifted up the black screen you should notice in the upper right corner a plate that has two screws on the bottom and one screw on the top of it holding it in place. Take your Philip screw driver and take that apart.
-
-
-
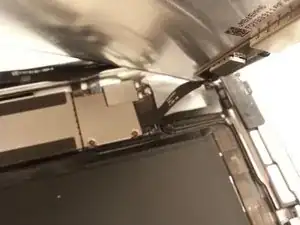
Underneath their should be three wires take those apart and you should have the old screen completely taken off now
-
-
-
Connect the wires back into their slots with the new screen and screw back on the protective cover.
-
-
-
Once you've put the black screen into place take your 4 screws and screw back the screen into the frame.
-
-
-
Now to make sure your new screen stays on the frame of your iPad take some Elmer's clear glue and put a little glue on the sides of the iPad to ensure your screen doesn't fall off when in use.
-
-
-
After you've put the glue on put back the new screen and take a heavy object to lay on the screen while it drys. Wait about 30-50 minutes for the glue to dry up and you should have a new screen on your iPad air!
-


To reassemble your device, follow these instructions in reverse order.