Introduction

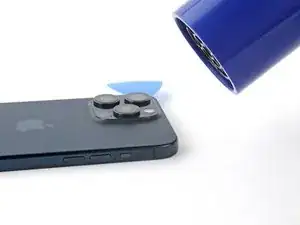
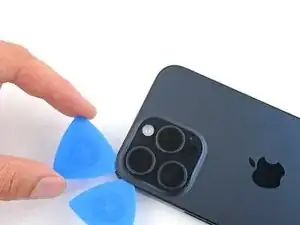
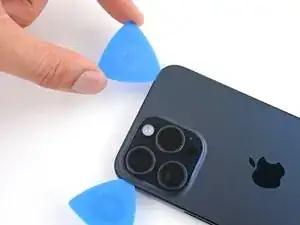
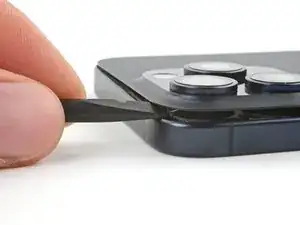
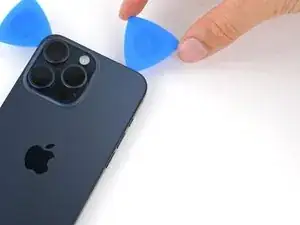
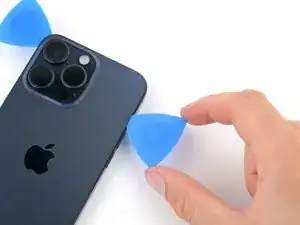
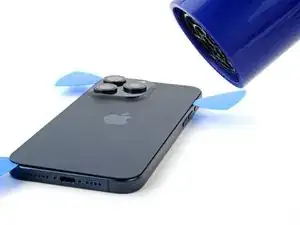
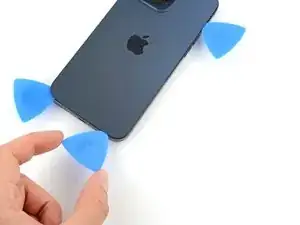
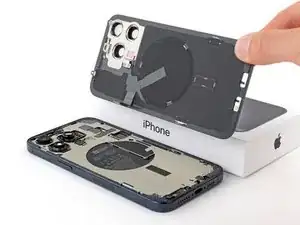
Use this guide to remove or replace a cracked or broken back glass on your iPhone 15 Pro.

Note: On iOS 18 and newer, you can pair new, genuine rear glass parts using Apple's Repair Assistant.

You'll need replacement back glass adhesive to complete this repair.

  1. GPjUf5bCeCl2fQML
    GPjUf5bCeCl2fQML
    DVGCEHIRKUn3F1KO
    • Let your phone's battery drain below 25% before starting this repair—a charged lithium‑ion battery may catch fire if damaged.

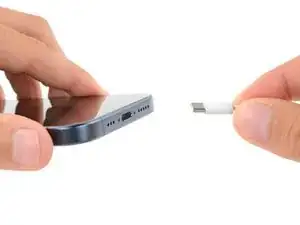
    • Unplug all cables from your phone.

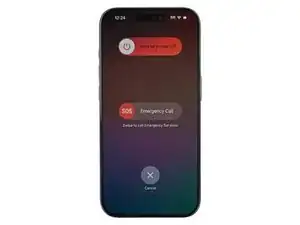
    • Hold the power and either volume button and slide to power off your phone.

  2. OpNJOhTFkDYCHrEB
    OpNJOhTFkDYCHrEB
    LVYhGAoFZdRWcZm3
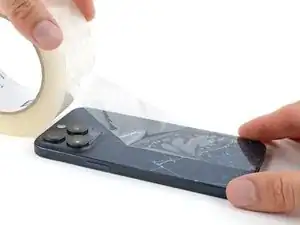
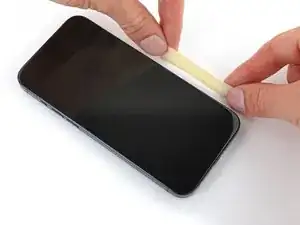
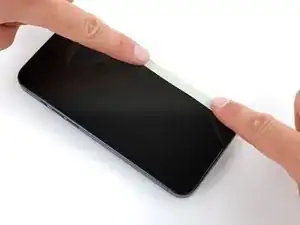
    • If your screen or back glass is cracked, lay overlapping strips of packing tape over the glass to protect yourself and make disassembly easier.

    • Make sure there's a smooth area near the bottom edge that's big enough for a suction cup to stick to.

  3. 6UPwoloGBO4tmVoS
    6UPwoloGBO4tmVoS
    BmSYPJmOy6dbHipF
    3EOdQPAGOmiuhoKU
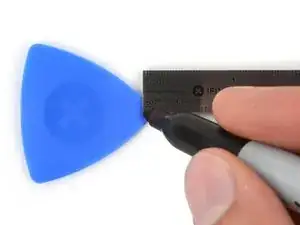
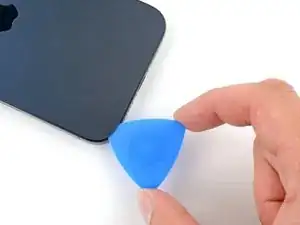
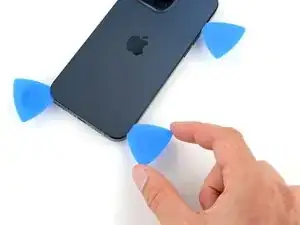
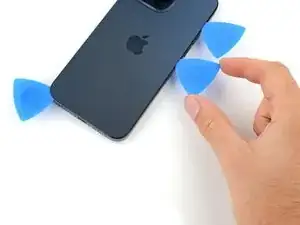
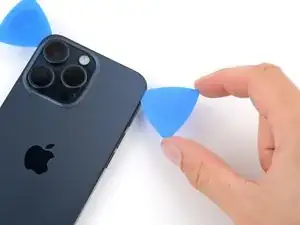
    • If inserted too far, an opening pick can damage your device. Follow this step to mark your pick and prevent damage.

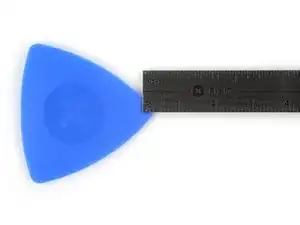
    • Measure 3 mm from the tip and mark the opening pick with a permanent marker.

    • You can also mark the other corners of the pick with different measurements.

    • Alternatively, tape a coin to a pick 3 mm from the tip.

    Got to step 2 and realized the fix kit doesn't include an opening pick! Looks like a guitar pick, and I have those lying around. Is that expected? Looks like the pick is used in many steps below. There's a little blue crowbar that isn't mentioned in the instructions. Perhaps that replaces the opening pick?

    Sloan Looney -

    Hi! I can't see which guide you were using when writing this comment. Can you reply here with which guide and fix kit you used?

    Clay Eickemeyer -

    I see you posted this in Meta. I hope it's resolved soon! In the meantime, a guitar pick may work well enough for your repair.

    Clay Eickemeyer -

    what fix kit?

    Meow Purr -

    My fix kit didn't include an opening pick either

    WILLIAM HARRIS -

    Make sure you check inside the black boxes after emptying them. My pick was stuck inside one of the boxes.

    AndyF -

    My AliExpress refurbished screen came with a pick that has a coin-like circle that pops out, so no modification was necessary

    Gijs Leegwater -

    the picture shows 3 cm but the description says 3 mm's. Which one is it?

    John Pena -

    That is a misunderstanding. It is a ruler with a scale for cm, it shows 0.3 cm, i.e. 3 mm.

    VauWeh -

    Oh, come ON!

    Big Ed -

    It will ALWAYS be millimeters on a phone, but this step is ridiculous, skip it!

    Leif DeWolf -

    It's not an Ifixit KIT if it doesn't include everything. You'll need to order the opening pic separately. Or head to Walmart like myself and look for guitar pics. Hopefully, this will work just as well.

    Jaleeljb97@icloud.com -

    No pick in mine as well. It’s really not clear that you have to order this separately when ordering an IPhone SE 202/2022 screen repair kit. Is this the case?

    Jackson Castiglione -

    Frustrated, I ordered a compact package where everything was encapsulated. Useless suction tools could not separate the screen. If it is unable to decouple the screen, then why sucking suction tools you have provided.

    Shourob Datta -

    For my kit the triangle pick was stuck inside the box with the screen not with the other tools maybe it's also there for you

    Henry Scheibehenne -

    Y’all are getting far, FAR too detailed with some of this stuff…. Measuring and marking the pick that you won’t actually use to open the device?!? lol that’s kinda funny. Just heat it up, grab a spudger, and the back just pops right off! The iFixit tech need to stick to the KISS method more often, you know KEEP IT SIMPLE STUPID!!! Like l, for reals, I’ve been doing this stuff for YEARS and using iFixit guides regularly and this is just ridiculous at this point!

    Leif DeWolf -

    Will the phone still work if the sensor assembly on the back of the screen is damaged?

    Mutshidzi Rambau -

  4. QPTbnWBQNTI2Pu4C
    QPTbnWBQNTI2Pu4C
    jr4eZ4rgl2xDRCZJ
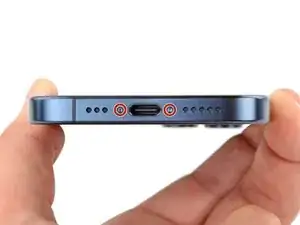
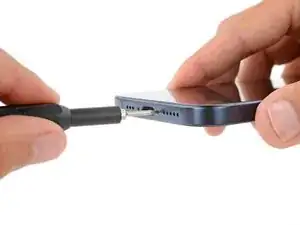
    • Use a P2 pentalobe screwdriver to remove the two 7 mm‑long screws on either side of the charging port.

  5. FUPh6JAEs5LDQOJ3
    FUPh6JAEs5LDQOJ3
    UNCHyvbMYGH1XcNQ
    T2E2ONwDwGHCMyVG
    • The next four steps demonstrate the Anti-Clamp, a tool we designed to make the opening procedure easier. If you aren't using the Anti-Clamp, skip down four steps for an alternate method.

    • For complete instructions on how to use the Anti-Clamp, check out this guide.

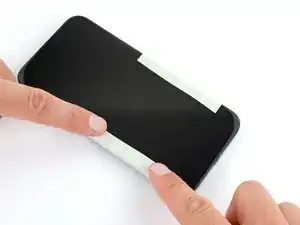
    • The Anti-Clamp applies suction to both the screen and the back glass. To open only the back glass, you need to secure the screen with tape. You can also check out the full instructions on how to use this tape.

    • Cut two strips of tape, apply them along the long edges of the phone, and fold them over the screen to secure it.

  6. cZXImvtRtWAAoQMF
    cZXImvtRtWAAoQMF
    ZtBvf2NsSsN6qJFx
    yLQR2jMiZaQOQyJR
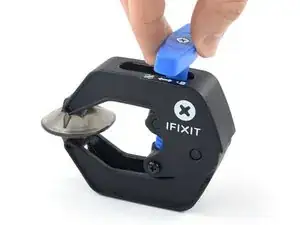
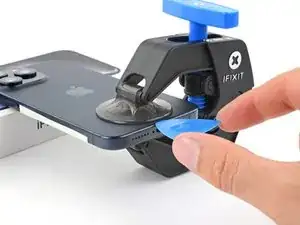
    • Pull the Anti-Clamp's blue handle backward to unlock the arms.

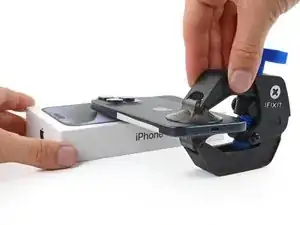
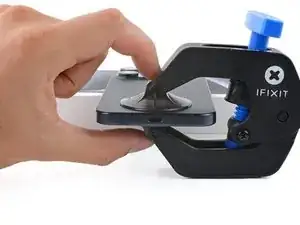
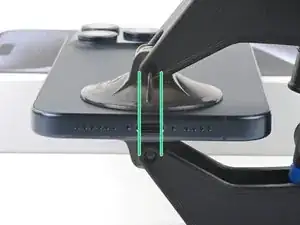
    • With the back glass facing up, slide the arms over the right edge of your phone, with one suction cup on the back glass and the other on the screen. Center the suction cups near the bottom edge.

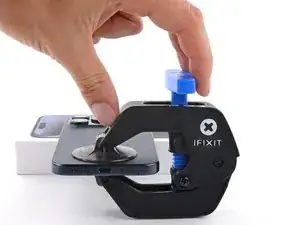
    • Support your phone so it rests level while between the Anti-Clamp's arms—a small box works well.

    • Squeeze the cups together to create suction.

    • If you find that the surface of your phone is too slippery for the Anti-Clamp to hold onto, use tape to create a grippier surface.

  7. 5JWqZyDeCwcOBCQc
    5JWqZyDeCwcOBCQc
    XtHOCXUreR2JciAt
    AdsO2Naj26rnakji
    • Pull the blue handle forward to lock the arms.

    • Turn the handle one full turn (360 degrees) or until the cups start to stretch.

    • As the cups stretch, make sure they stay vertically aligned with each other. If they keep slipping, remove the Anti-Clamp and apply tape for the cups to stick to.

    • If you don't have tape, you may use your hands to clean the suction cups and warm them up to help them stick.

  8. wL6R3flelKj2NRxT
    wL6R3flelKj2NRxT
    QDYjPhGUHUSYKTeG
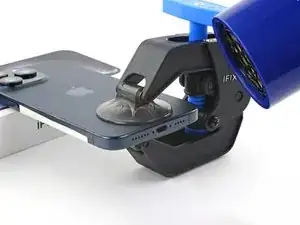
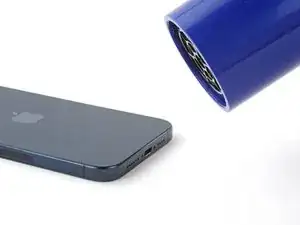
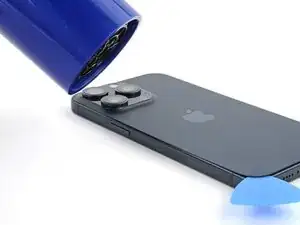
    • Use a hair dryer or heat gun to heat the bottom edge of the back glass until it's hot to the touch.

    • Be careful not to heat the phone hotter than this—the battery is susceptible to heat damage.

    • Wait up to a minute for the adhesive to separate and a gap to form between the back glass and the frame.

    • If a gap doesn't appear after one minute, apply more heat and rotate the handle a quarter turn. Let the Anti-Clamp and time do the work for you.

    • Insert an opening pick into the gap.

    • Remove the Anti-Clamp using the pull tabs on the suction cups.

    • Skip the next two steps.

  9. 1DtTW1SY5Xgj6Kcj
    • Use a hair dryer or heat gun to heat the bottom edge of the back glass until it's hot to the touch.

    • Be careful not to heat the phone hotter than this—the battery is susceptible to heat damage.

  10. MEWygUSEsWiFP2C5
    MEWygUSEsWiFP2C5
    nLJZPJEsyVGVhLmm
    GlP2bgKT6uLlRME4
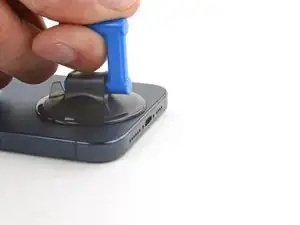
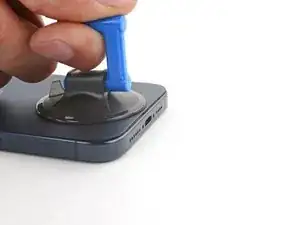
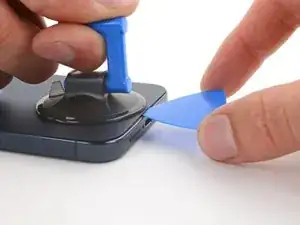
    • Apply a suction handle to the bottom edge of the back glass.

    • Pull up on the handle with a strong, steady force to create a gap between the back glass and the frame.

    • Insert the tip of an opening pick into the gap.

  11. rFtBXiWS1YohfXwV
    • As you slice the adhesive securing the back glass in the next steps, be careful of the wireless charging cable near the volume buttons.

  12. OIdEvJmW2AXhoFHP
    OIdEvJmW2AXhoFHP
    fmjyluxTn1InGJgG
    mUUK4GobwHfGgWhv
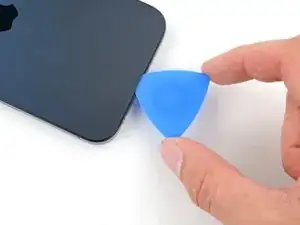
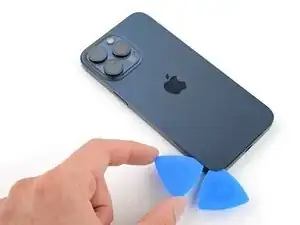
    • Don't insert your opening pick deeper than 5 mm along the bottom edge.

    • Slide your pick back and forth along the bottom edge to separate the adhesive.

    • Leave your pick inserted in the bottom left corner to prevent the adhesive from re-sealing.

  13. bWm55ilNlCEyjSdZ
    • Heat the left edge of the back glass until it's hot to the touch.

  14. BkvNsTMqYpAhcnBT
    BkvNsTMqYpAhcnBT
    XtTKn46giuiapvO3
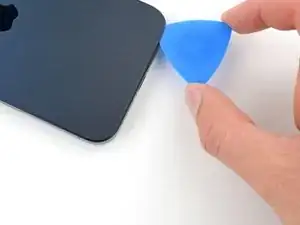
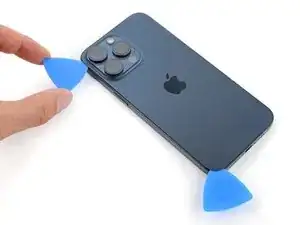
    • Don't insert your pick deeper than 5 mm along the left edge.

    • Insert a second opening pick to the left of the first one.

    • Slide this pick to the top left corner of the back glass to separate the left edge adhesive.

    • Leave this pick inserted to prevent the adhesive from resealing.

  15. dcGVtJ32vViLxYCl
    • Heat the top edge of the back glass until it's hot to the touch.

  16. OuKKbJXDBaSfZqWq
    OuKKbJXDBaSfZqWq
    mf5SXbumiGEphOlw
    F5kd43LESvnd4YVh
    • Don't insert your pick deeper than 5 mm along the top edge.

    • Insert a third opening pick in the top left corner of the back glass.

    • Slide your pick to the top right corner to separate the top edge adhesive.

    • If the top edge of the back glass doesn't separate, the top clips may be stuck. Use the flat end of a spudger to press the clips inward until they release.

  17. sOUETLQNUQUDKRtV
    sOUETLQNUQUDKRtV
    FPZHDPQWehRJoZpP
    ROL2D5fQEeOWAYZp
    • Don't slide your pick past the volume up button to avoid slicing the wireless charging cable.

    • Rotate your pick around the top right corner of the back glass.

    • Slide your pick to the volume up button.

    • Leave this pick in place to prevent the adhesive from resealing.

  18. HTyaTMEBNgY2cgn6
    • Heat the right edge of the back glass until it's hot to the touch.

  19. GM2L2YHxl3h2Z3gG
    GM2L2YHxl3h2Z3gG
    2NG1IZTXegDTfI1Z
    ZWBTYmloID1eOb5j
    • Don't slide your pick past the volume down button to avoid slicing the wireless charging cable.

    • Insert a fourth opening pick at the bottom edge of the back glass.

    • Rotate your pick around the bottom right corner of the back glass.

    • Slide your pick to the volume down button.

  20. eWO2xOYOAtBfKsfC
    eWO2xOYOAtBfKsfC
    BxwRNQUTy34cvvXQ
    CGWREp1yEKVuAYND
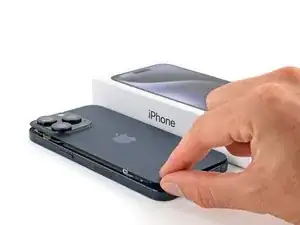
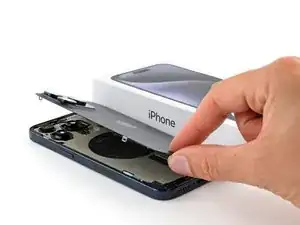
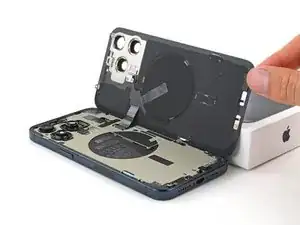
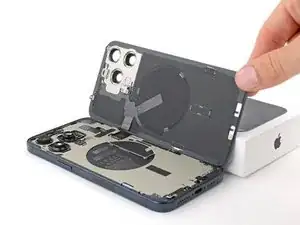
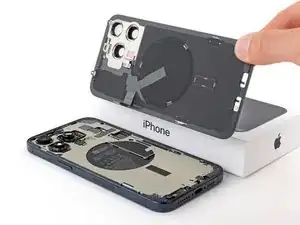
    • Gently swing open the back glass over the right edge of the phone.

    • If the back glass feels stuck, go back around the perimeter to check for missed sections of adhesive or stuck clips.

    • Rest the back glass against a box or similar object so it doesn't strain the cable.

  21. XeM1ubnEYDvGPYyI
    XeM1ubnEYDvGPYyI
    L6mgTaLJW2fFaB1G
    jJyHBEE4XgeGLLoO
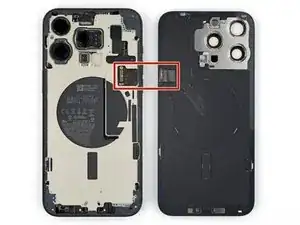
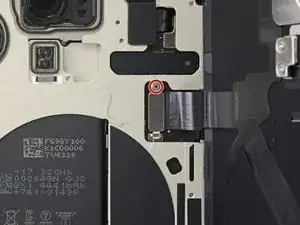
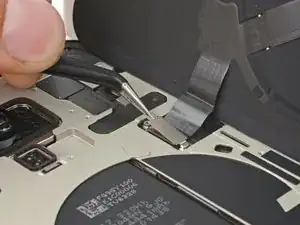
    • Use a tri-point Y000 driver to remove the 1.0 mm screw securing the wireless charging connector cover.

    • Use tweezers to slide the cover out of its slot on the logic board and remove it.

  22. qoRTBCjRbkkjdbEw
    qoRTBCjRbkkjdbEw
    jKT2Am6mDIiVhBJB
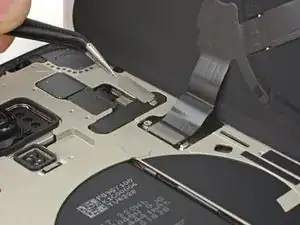
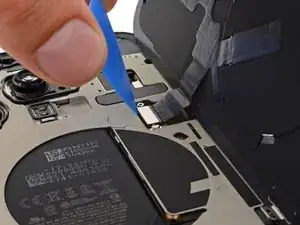
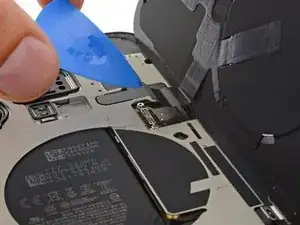
    • Use the tip of an opening pick to pry up and disconnect the wireless charging coil press connector.

    • To reconnect a press connector, align it over its socket and gently press down on one side until it clicks into place, then press down on the other side.

    nerhaba arkadaşlar aaaaaaaaaaaaaaaaaaaaaaaaaaaaaaaaaaaaaaaaaaaaaaaaaaaaaaaaaaaaaaaaaaaaaaaaa

    özgür cankaya -

  23. OB6RHlMG1yCNCgMX
    OB6RHlMG1yCNCgMX
    bLouBA5kaieVowgJ
    • Remove the back glass.

    • During reassembly, use this guide to reapply adhesive and install your back glass.

Conclusion

To reassemble your iPhone, follow this guide to apply adhesive and install your back glass.

After your repair, depending on the replacement part, you may be able to calibrate it using Apple's Repair Assistant, available as of iOS 18. Update your device, navigate to Settings General About Parts & Service History, tap Restart & Finish Repair, and follow the onscreen prompts.

Take your e-waste to an R2 or e-Stewards certified recycler.

Repair didn’t go as planned? Try some basic troubleshooting, or ask our Answers community for help.

Spencer Day

Member since: 14/09/22

95583 Reputation

8 comments

Dont understand why Apple used all-glueed back glass earlier.

Oleksandr Ivanov -

Is the flash camera still tied to the motherboard?

Duck -

The flash unit is glued to the back glass, along with the wireless charging coil. The rear cameras are accessible by entering through the screen.

Clay Eickemeyer -

Wo bekomme ich denn eine solche Rückseite her?
Kim Riedel -

does ifixit sell parts for this?

Meow Purr -

Hello does anyone know if I replace the back glass assembly with the charging coil, flashlight and microphone get me an error? I know this is a thing with the cameras, batteries and what not, but not sure if those components are locked to the motherboard on the 15
Dimitar Dobrev -

I’m wondering about the same thing. I guess the only way we can find out is to buy aftermarket back glass with wireless flex cable and check if it pairs with iPhone. If not, you can always remove wireless flex from old back glass, only if cables aren’t damaged.

Mate -

I have found a video from a guy that swapped back glass with charging coil and flash flex cable. Seems to be working fine, also iOS 18.2 supposedly makes it easier and even possible to pair parts, even not OEM ones.

Mate -