Introduction
Installation steps for installing a logic board for the iPhone 16 Pro Max.
-
-
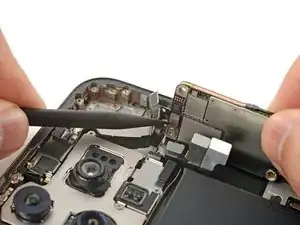
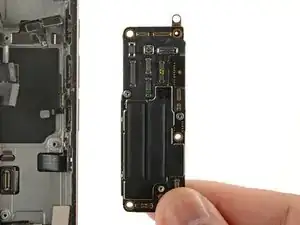
Hold the logic board so that the front sensor cable is close to its connector.
-
Align the front sensor cable connector carefully over its logic board socket.
-
Use the point of a spudger or your finger to press the connector until it clicks into place.
-
-
-
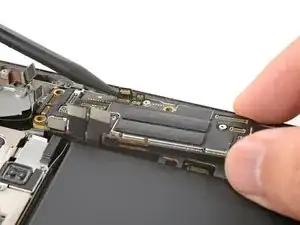
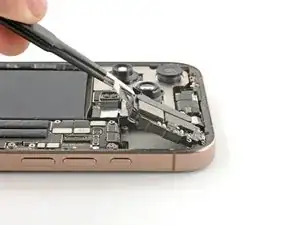
Gently bend all the loose press connectors out of the way so you can lay the logic board in place.
-
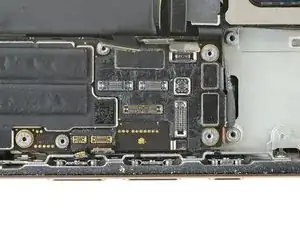
Lay the logic board in its recess.
-
-
-
Make sure the logic board rests in place against its screw posts. The posts will properly align the board to the display connector underneath it.
-
-
-
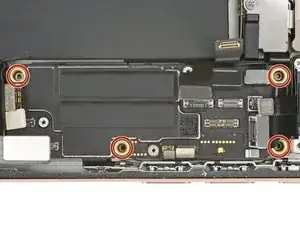
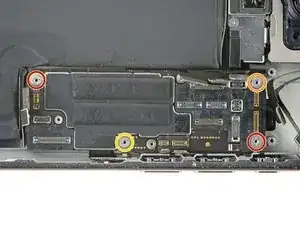
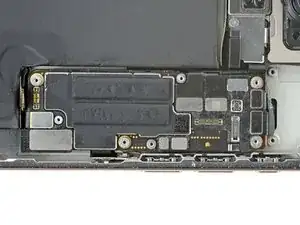
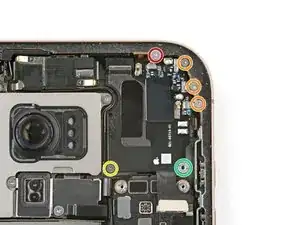
Use a standoff driver to install the four screws securing the logic board:
-
Two 4.5 mm‑long screws
-
One 3.4 mm‑long screw
-
One 4.2 mm‑long screw
-
-
-
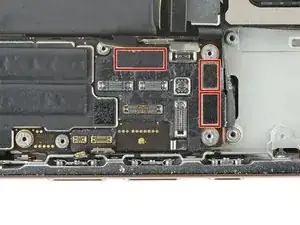
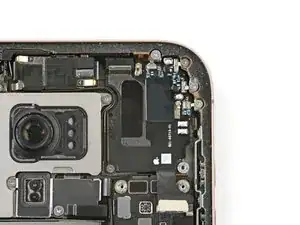
Use your finger or a spudger to press and connect the three black press connectors onto the logic board.
-
-
-
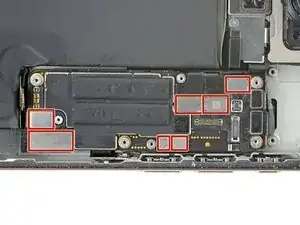
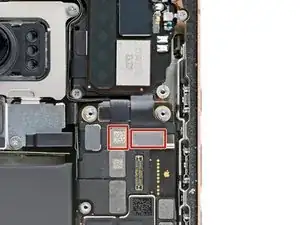
Use your finger or a spudger to press and connect the seven silver press connectors onto the logic board.
-
-
-
Align the top edge of the earpiece speaker with the top edge of the frame.
-
Lay the earpiece speaker into its recess.
-
-
-
Install the six screws securing the earpiece speaker:
-
One 2.4 mm‑long Phillips screw
-
Three 1.3 mm‑long Phillips screws
-
One 1.6 mm‑long Phillips screw
-
One 3.3 mm‑long standoff screw
-
-
-
Use your finger or a spudger to press and connect the earpiece speaker and the mmWave connectors onto the logic board.
-