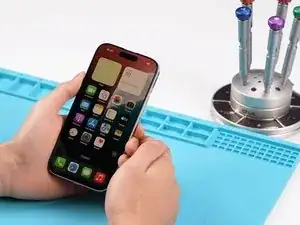
Introduction
Refurbishing the iPhone 16 Pro screen is not just a cost-effective solution; it's often necessary when dealing with a cracked or damaged display. While many technicians find this task challenging, with the right tools and techniques, you can achieve a professional finish without cutting wires. In this guide, we'll walk you through the step-by-step process of refurbishing your iPhone 16 Pro screen, from start to finish.
Tools
Parts
-
-
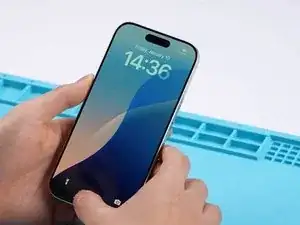
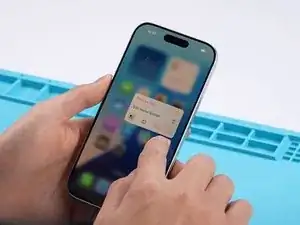
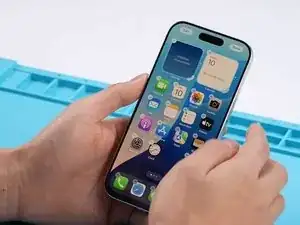
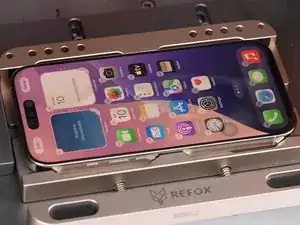
Verify the iPhone 16 Pro's touch and display functions.
-
If everything checks out, proceed to disassemble the screen.
-
-
-
Make sure the phone is turned off before disassembling it.
-
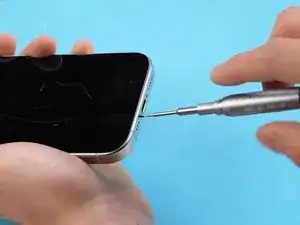
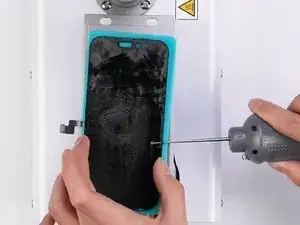
Use a Pentalobe Screwdriver to unscrew the bottom screws.
-
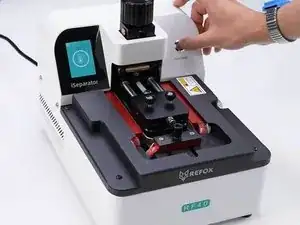
We use the REFOX RF40 iSeparator to separate the screen quickly.
-
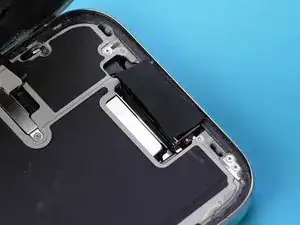
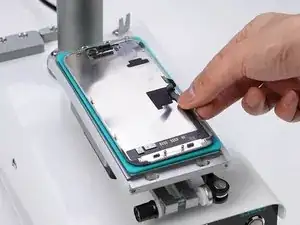
Cover the front camera with a sticker to protect it from the laser machine.
-
-
-
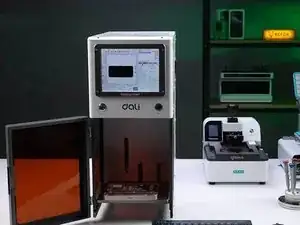
Use a UV laser machine, such as the DALI K300, for treating the screen.
-
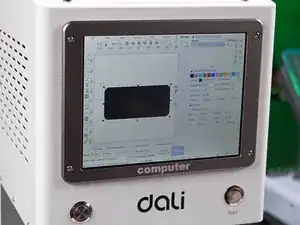
Select the appropriate diagram or pattern on the UV laser machine to ensure the entire screen is treated evenly.
-
-
-
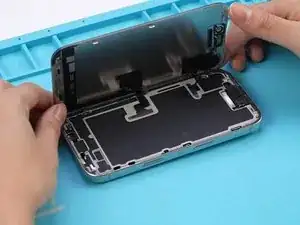
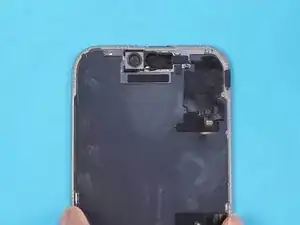
Flip the screen and detach it from the iPhone 16 Pro.
-
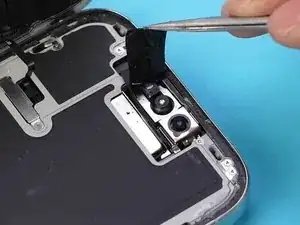
Remove the cover from the camera.
-
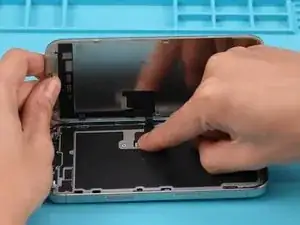
Remove the front sensor assembly.
-
-
-
Ensure that the screen is aligned with the glass separating machine and push downward suction.
-
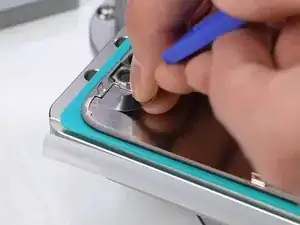
Using a soft pry knife, guide your way around the frame bezel with some alcohol.
-
Once the frame is removed, clean the adhesive residue thoroughly.
-
-
-
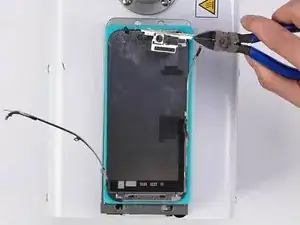
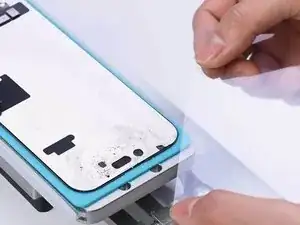
Use a protective film instead of cutting a wire, as it is easier and safer.
-
Remove glue/OCA residue using an electric glue remover or other methods.
-
-
-
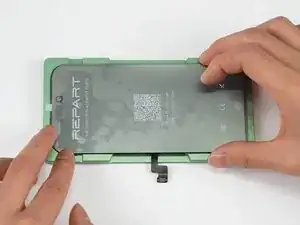
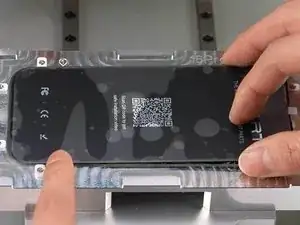
Use alignment mold for precise alignment and to reduce the risk of air bubbles caused by operational errors.
-
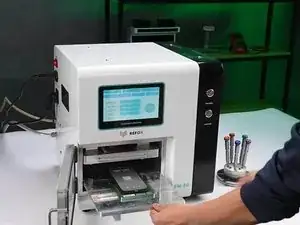
Place the screen into a laminating machine to laminate it.
-
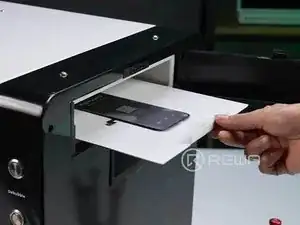
Transfer the screen to a debubbling chamber to remove any air bubbles that may have formed during the process.
-
-
-
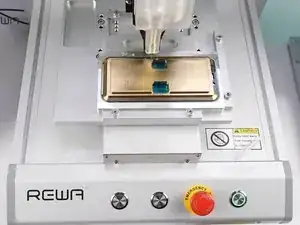
Use an automatic glue dispenser to apply adhesive precisely and evenly. This ensures consistent bonding and reduces manual errors. Alternatively, you can apply glue manually.
-
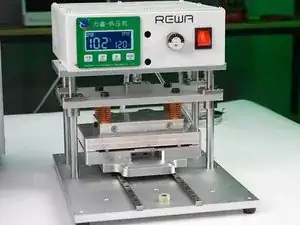
Use a heat press machine to press and secure the frame.
-
-
-
Connect the screen with the phone and remove the sticker.
-
Check the screen to ensure it is working properly.
-
Now assemble the iPhone 16 Pro, as you have successfully refurbished it.
-
