Introduction

prerequisite

  1. 3w4oq1BNuYsVfxQs
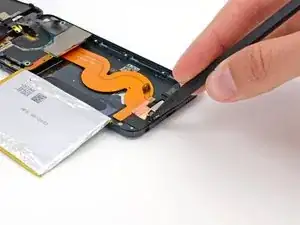
    • Use the tip of a spudger to peel back a small piece of tape covering a screw on the left side of the headphone jack.

  2. EVDO1Li4QJUdfQjO
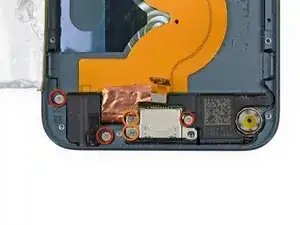
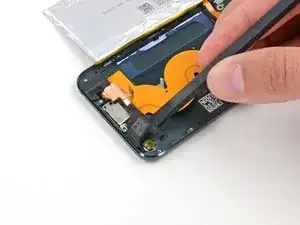
    • Remove the following screws securing the headphone jack, Lightning connector, and speaker.

    • Three 2.6 mm #000 Phillips screws

    • Two 2.0 mm #000 Phillips screws

    The screw on the right that goes into the headphone jack is a little reluctant to come out

    Zach Heaton -

    NOT NECESSARY: check other guides on Youtube

    Aerosmite -

  3. DZxyZN2OZunRbQgr
    • Use the flat end of a spudger to pry the speaker up from the rear case.

    • Do not try to remove the speaker, as it is soldered to the Lightning connector assembly.

    NOT NECESSARY: check other guides on Youtube

    Aerosmite -

  4. 5oGU1cRr2koYODBG
    5oGU1cRr2koYODBG
    yIEmPNJsRe6MMc26
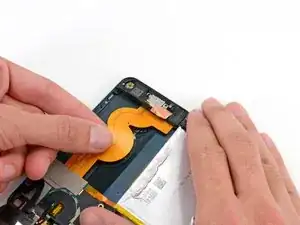
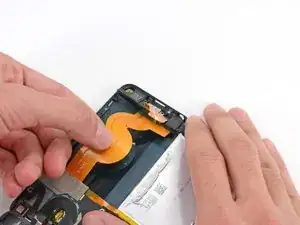
    • Grasping the large ribbon cable, gently pull the Lightning connector assembly out of the bottom of the case.

    NOT NECESSARY: check other guides on Youtube

    Aerosmite -

Conclusion

To reassemble your device, follow these instructions in reverse order.

Andrew Optimus Goldheart

Member since: 17/10/09

508817 Reputation

0 comments