Introduction
This guide will show you how to tear down an iyashi footrest and replace the front plastic panels.
-
-
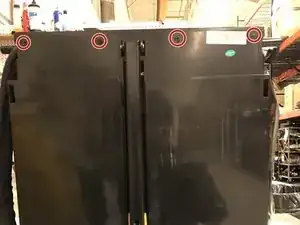
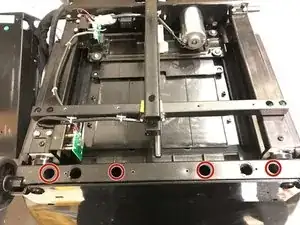
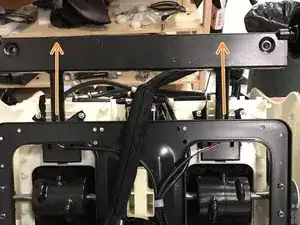
remove the 4 screws on the top and the bottom of the plastic cover .
-
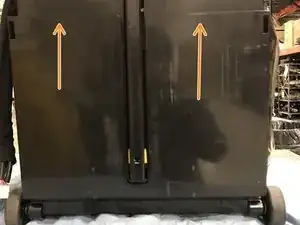
This half front panel will need to be removed by sliding it up and off . BE CAREFUL AS THIS PANEL IS EASY TO BREAK.
-
-
-
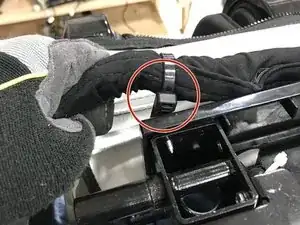
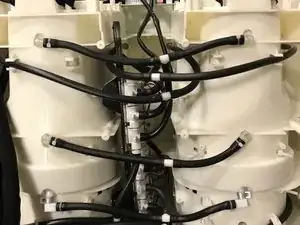
remove the wire harness by unscrewing the zip tie . DO NOT CUT THIS ZIP TIE
-
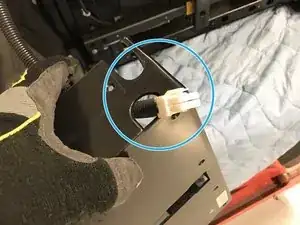
separate this cable from the harness.
-
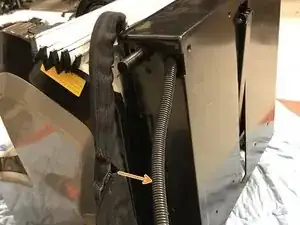
When removing the rest of the back cover you need to thread this wire through the marked opening .
-
-
-
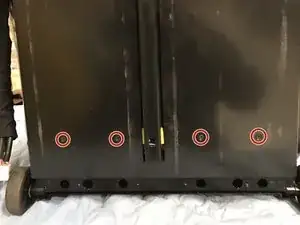
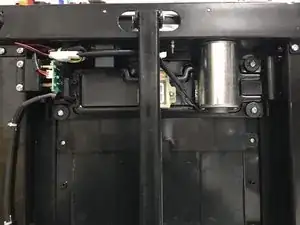
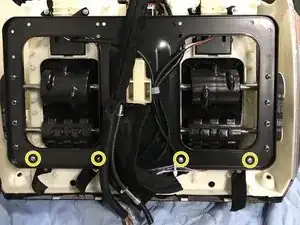
Remove the 4 bolts with their metal and rubber washers.
-
The top left bolt may be cover by the sensor. To move the sensor , remove the 2 screws marked.
-
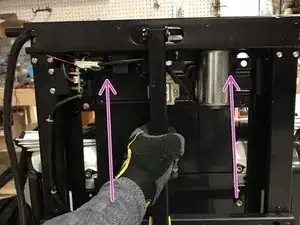
Grab the support bar and Motor track . Lift UP until clear of the plastic plate. Alternatively you can grab and lift by using the axle pins .
-
-
-
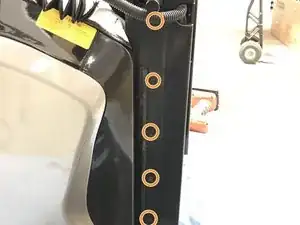
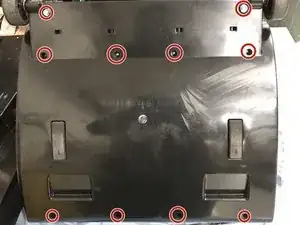
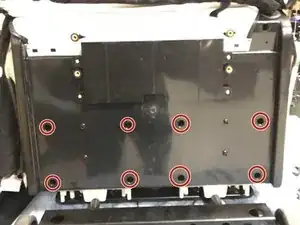
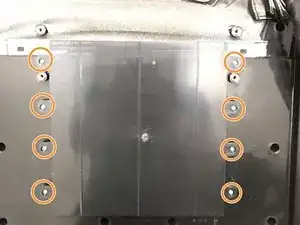
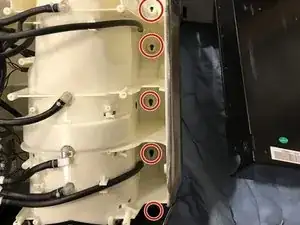
Remove all 8 screws .
-
This image is another iteration of the panel, if you see this panel remove the 8 screws marked
-
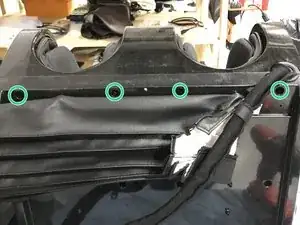
Fold leather piece down and remove the 4 screws.
-
-
-
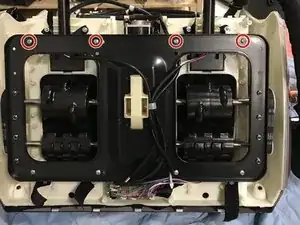
Remove the top 4 screws
-
Slide Axle piece up to remove. PLEASE NOTE ITS POSITION as this will need to be remember during reassembly.
-
Now remove the 4 bottom screws .
-


To reassemble your device, follow these instructions in reverse order.