Introduction

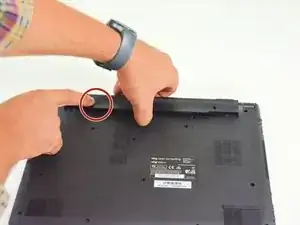
  1. oWZXYSZydykU13AA
    oWZXYSZydykU13AA
    owClZZr5jXYwXYOB
    • Start by unlocking the right locking latch.

    • Then, by simultaneously unlocking the left latch, lift the battery out of its socket.

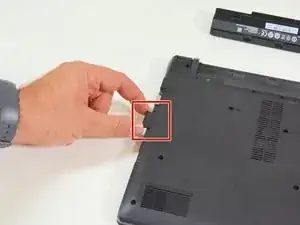
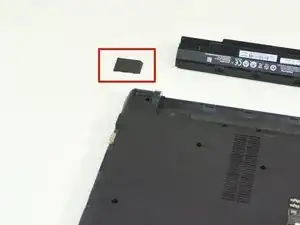
  2. 2e3elDx1XyBDJjTy
    2e3elDx1XyBDJjTy
    cvwdW1OuPhXtrYV2
    • Begin by spotting the dummy memory card.

    • Then, remove it and put it on your workplan.

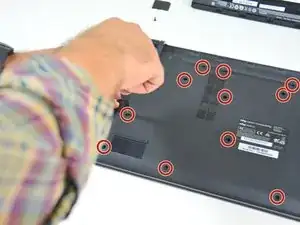
  3. St1ClPjGw3naYO5o
    St1ClPjGw3naYO5o
    wbLs5MRPrleLjDrC
    2XTP32uvfOm1CxbC
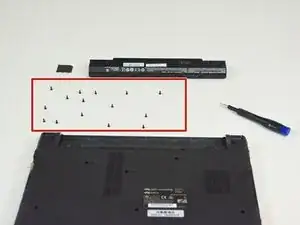
    • Locate the 15 screws that hold the bottom cover of the device in place.

    • Unscrew them and place them on your work surface.

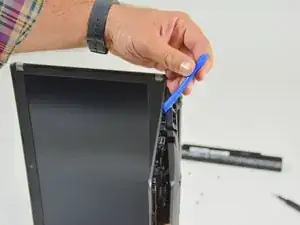
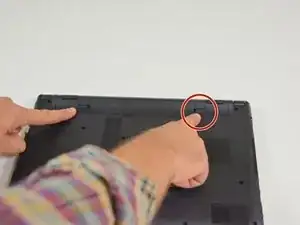
    • Then, un-clip the bottom cover, starting with the side shown in the third picture.

  4. Hv2mLCfRLRK2ZyKr
    Hv2mLCfRLRK2ZyKr
    XkDEDHbt4ZfVWwUn
    FEXGwUlb2CCoJdld
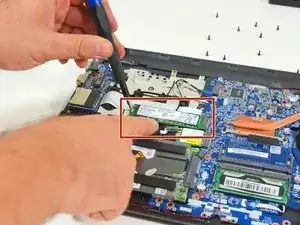
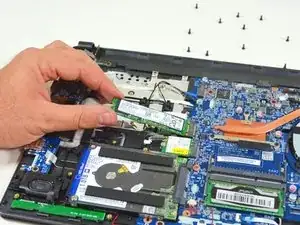
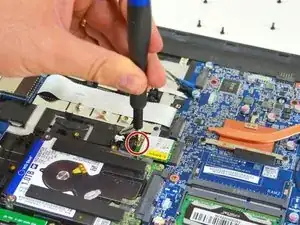
    • Locate the M.2 SSD in its slot.

    • Unscrew the fastening screw of the latter.

    • Lift and remove the SSD M.2 drive from its connector.

  5. kNJAbGEXNRhZZBdH
    kNJAbGEXNRhZZBdH
    dVuDirW11tMXjEXa
    VmF6FCcDI2F1hWh5
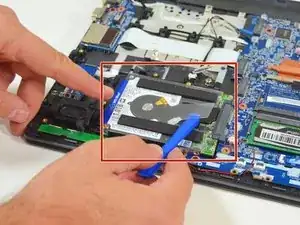
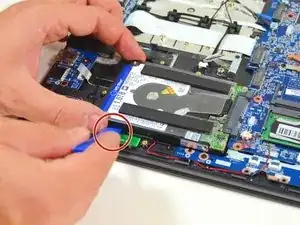
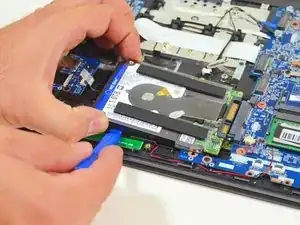
    • Locate the hard drive in its location.

    • Lift it slightly.

    • Finally remove it from its SATA connector.

  6. lKsecfHslN55m2YO
    lKsecfHslN55m2YO
    HmcBlxWFNrqTPxYZ
    • To reassemble your device, follow the instructions in reverse order.
    • Lift it gently and take it out of its place.

  7. MfuYdSUlsX1npoWY
    MfuYdSUlsX1npoWY
    gPdepIJMamyuB3xI
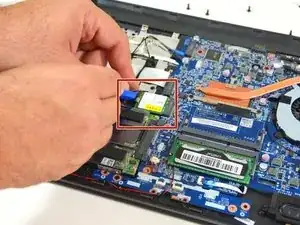
    • Carefully unplug the MAIN and AUX antennas.

    • Unscrew the fixing screw with the Philips # 0 screwdriver. Then lift the chipset slightly and remove it from the connector.

  8. xIjaVkyKsY3LJUjF
    xIjaVkyKsY3LJUjF
    odrZbZFvekwWnQId
    rE5EeuSdTPxVpDem
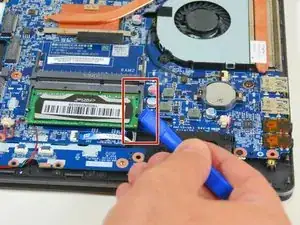
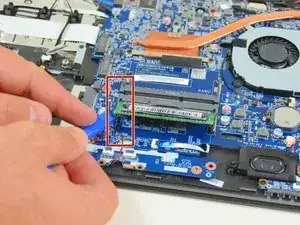
    • Find and separate the spring blades that maintain the memory module in place (right).

    • Find and separate the spring blades that maintain the memory module in place (left).

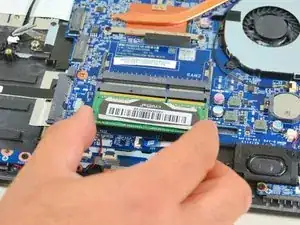
    • Remove the memory module (RAM) from its connector.

  9. Jp4BdBJBabBkSoAQ
    Jp4BdBJBabBkSoAQ
    SODQukmdMGVMBofZ
    ZXq3eYd1l2cy4Hu5
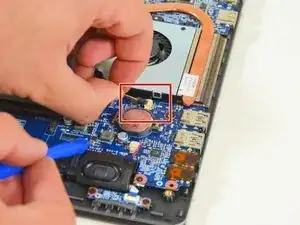
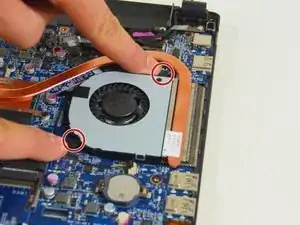
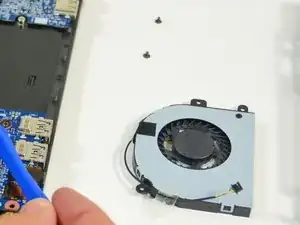
    • Remove the power cable from the fan.

    • Unscrew the two screws securing the fan.

    • Finally remove the fan and place it on your worktop.

  10. tLcemoZlaePG13gi
    tLcemoZlaePG13gi
    GCCOsArHFjWxZlPE
    6uZ6cOhNWBGU6trg
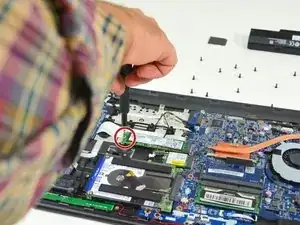
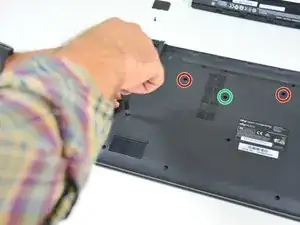
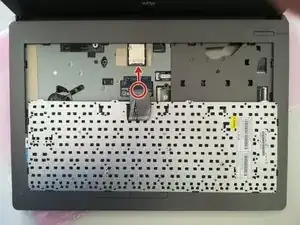
    • Unscrew the circled screws in green and red

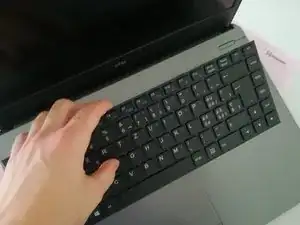
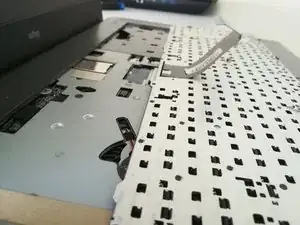
    • Put the computer in the position of the second image while pushing a paper clip into the hole of the screw circled in green until you hear a click

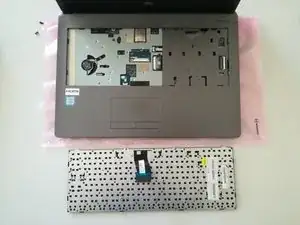
    • Lift the keyboard

    Dans l'image, le capot inférieur est encore en place, mais dans la réalité, il aura été enlevé avant, pour laisser accès libre aux vis de fixation, en appuyant doucement au centre, cela va d'éclipser le clavier.

    Pascal Kotté (PaKo) -

    Bonjour,

    Sur ce modèle il n'est pas nécessaire d'enlever le capot inférieur pour enlever le clavier.

    Felice Suglia -

  11. qyiAmHEFYnaRrjiU
    qyiAmHEFYnaRrjiU
    ILs4Whkvwvv5KrOu
    5Mp6J3wc5COKWrBL
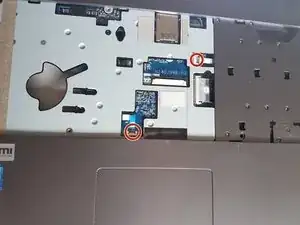
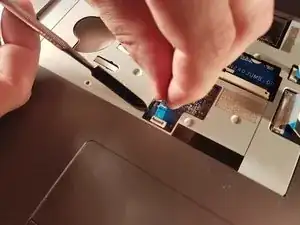
    • Disconnect the connector circled in red in the direction of the arrow

    La clavier se remet en posant sur l'avant les 2 cales (côté utilisateur) en premier, puis pivoter la clavier depuis l'avant pour abaisser l'arrière, et clipper sur la partie arrière et les côtés.

    Pascal Kotté (PaKo) -

  12. qexIbD6VckIENXj6
    qexIbD6VckIENXj6
    DJYhydRZi4mvnOdH
    X56NTCjURVxfUkyC
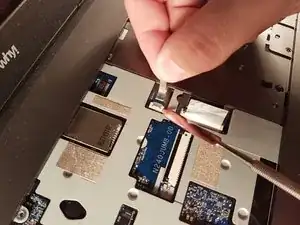
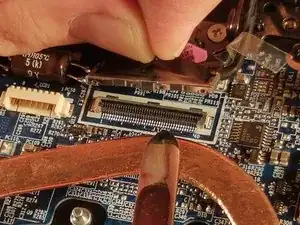
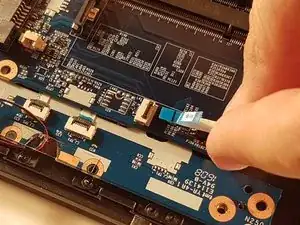
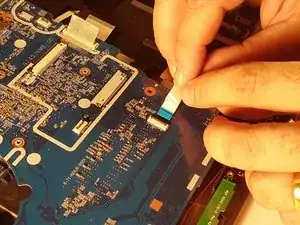
    • Locate the two flat cables and remove them carefully.

  13. BtjDxvfSbZEWFywf
    BtjDxvfSbZEWFywf
    ZfIRRwCxCXHZH3GH
    sUkXhOwvHa4lMp4p
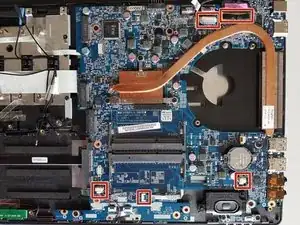
    • Locate the five connectors on the motherboard

    • Unplug all connectors

  14. yGDhIcydaVBLlm11
    yGDhIcydaVBLlm11
    5uEIa5PCPU2PMgY6
    PCayaSb5XApspFwL
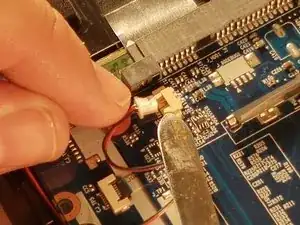
    • Unplug all connectors

  15. cof1faNLgWKsIw42
    cof1faNLgWKsIw42
    OnDuByd4EO4GkLvt
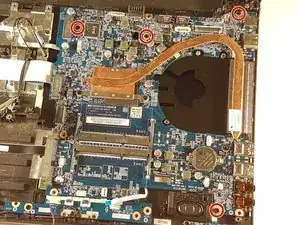
    • Unscrew the four screws circled in red

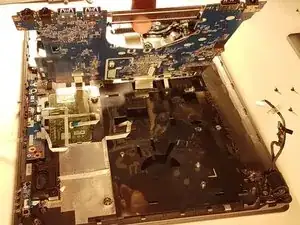
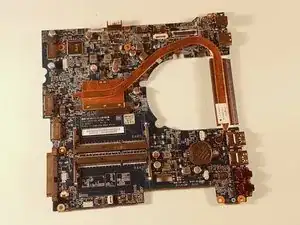
    • Lift the motherboard by taking it through the radiator

  16. uHDxrSrfbJZMwPIN
    uHDxrSrfbJZMwPIN
    ZdTV5sxMcrih2vST
    USYRXIJNceLmddGR
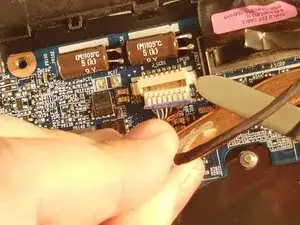
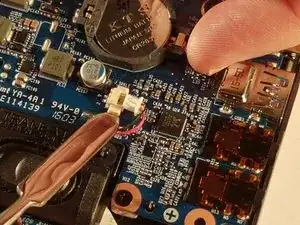
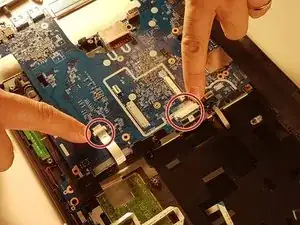
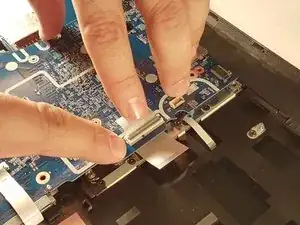
    • Disconnect the two connectors circled in red

Conclusion

To reassemble your device, follow the instructions in reverse order.
Felice Suglia

Member since: 15/06/13

31564 Reputation

0 comments