Introduction
-
-
Open the latch of the accumulator on the left side.
-
Open the battery latch on the right side.
-
Remove the accumulator by simultaneously holding the right-hand latch open.
-
-
-
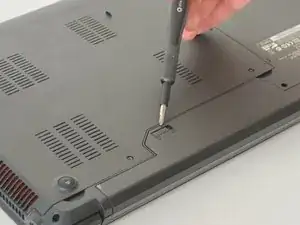
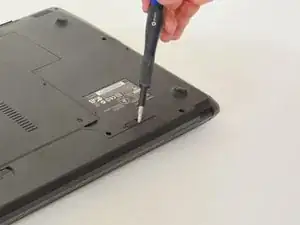
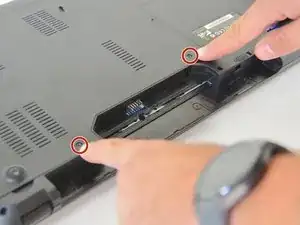
Use the Philips screwdriver to remove the two screws at the bottom of the cover.
-
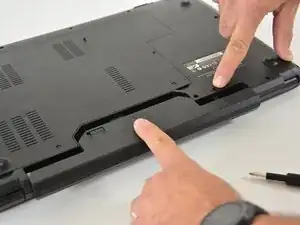
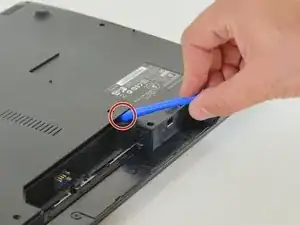
Lift the cover at the bottom right with the iFixit Opening Tool
-
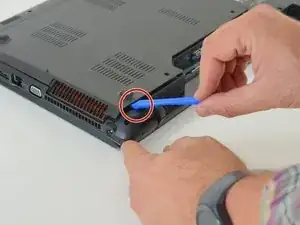
Lift the cover at the bottom left with the iFixit Opening Tool
-
Finally, remove the cover to gain access to the most important components.
-
-
-
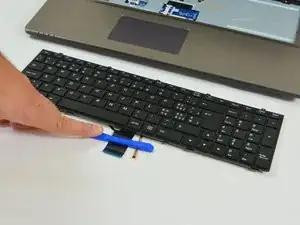
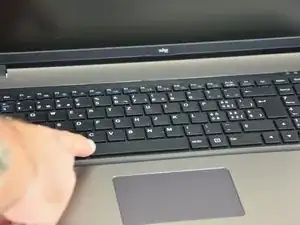
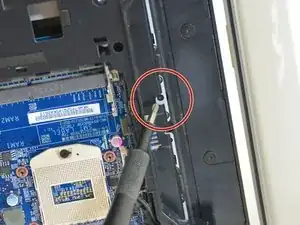
Once the bottom cover is removed you can start disassembling the keyboard.
-
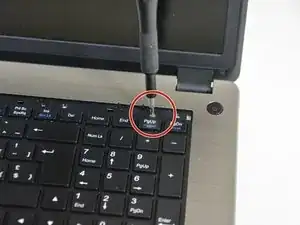
First, invert the calculator and then loosen the screw as shown in picture 2 of this step.
-
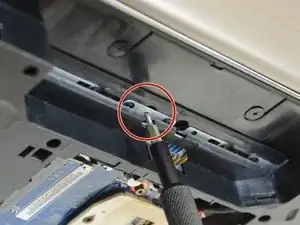
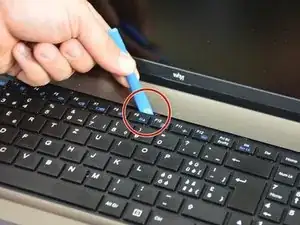
Then unzip the keyboard screw cover strip.
-
-
-
After the cover strip is removed, you can see the tip of the screwdriver.
-
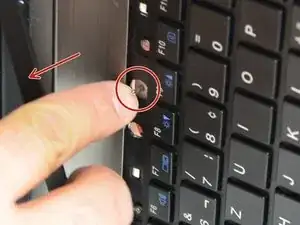
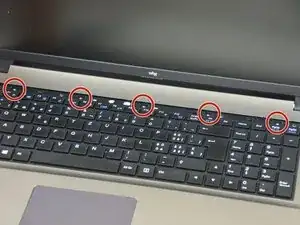
Now locate the five fastening screws of the keyboard.
-
Loosen these five screws.
-
-
-
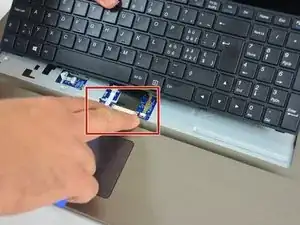
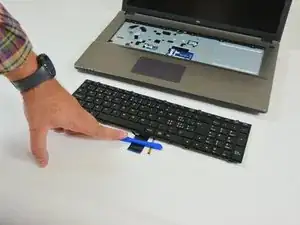
Lift the keyboard slightly and pull it slightly backwards.
-
The connection cables are now visible.
-
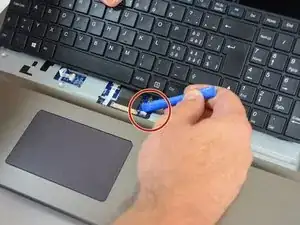
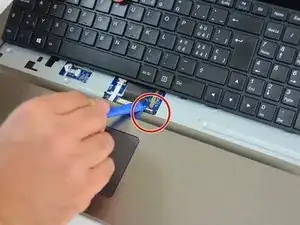
Now release the right lock on the plug of the keyboard light cable.
-
-
-
Then the left lock.
-
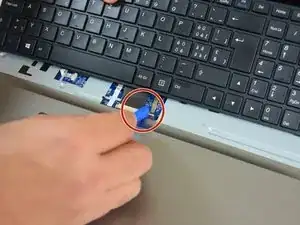
Now apply the same procedure to the plug of the main cable (left lock)
-
Right lock.
-

Repeat the steps in order to reassemble your device.