Introduction

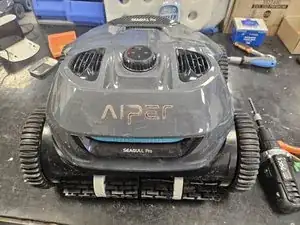
This is just a general teardown guide for the cordless robotic pool cleaner Aiper Seagull Pro.

  1. HURUSwLggjwTZre5
    HURUSwLggjwTZre5
    6sBEFmySCF2RWhrn
    • Start by removing the trash bin from the robot.

  2. uOoIJyiNFPxANYXf
    uOoIJyiNFPxANYXf
    WUwkd6cltZSwtXlY
    mltFHtcSTADUyvZC
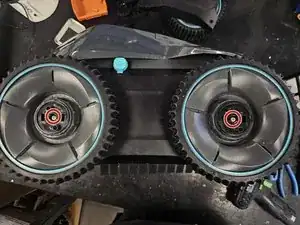
    • Put it on its side, then pry off the black plastic cap from the wheels.

    • Should be able to do this with your hand, but you could use a flathead screwdriver for some extra leverage.

    • Once the cap is removed, remove the screw.

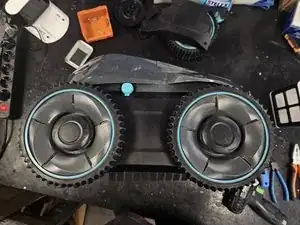
    • Then remove the wheels.

  3. ithK1IEmrOPWI6V2
    ithK1IEmrOPWI6V2
    OgkLMJuauYU4JBEG
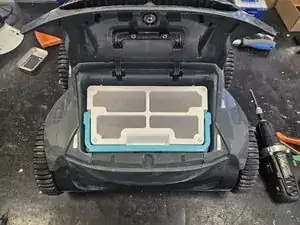
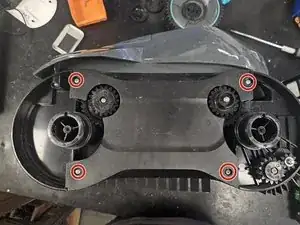
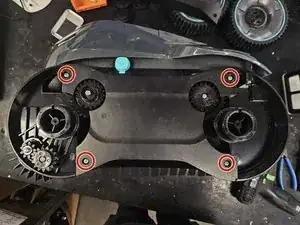
    • Remove the screws, then remove the plastic cover.

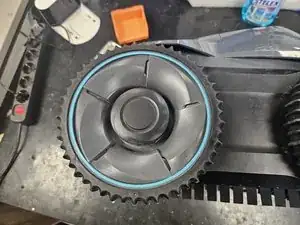
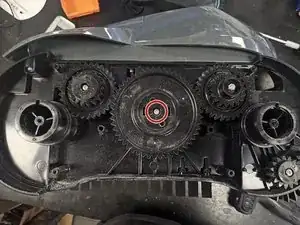
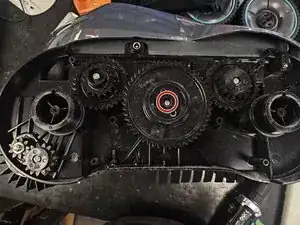
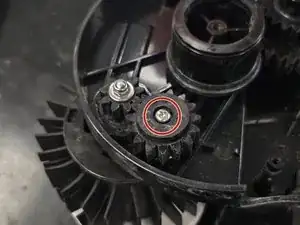
    • Remove the screw from the middle cog, then remove the cog.

  4. 5tyrO1J1c13xfy1t
    5tyrO1J1c13xfy1t
    wHghTRKLMFQ6rrv2
    • Remove the screws holding the chassis together.

    • I recommend a looong PH2 screwdriver for this task.

  5. R6xjWaqooT1GQkAU
    R6xjWaqooT1GQkAU
    EQFdiWKGFSbxdvVy
    5pDswyaDDJqxt5h6
    • Flip it over and remove the wheels.

    • Then remove the side cover screws.

  6. rJOMWRDeNnbIlKlV
    rJOMWRDeNnbIlKlV
    ruJBnFCbCUDKWvZJ
    p6O5Ag4NfHXxQFwi
    • Make sure to open the charging port cover, so that it doesn't stop you from remove the side cover.

    • Remove the side cover and the middle cog.

    • Remove the 2 screws holding the chassis together.

  7. kfXZZdFxZhdOcQru
    kfXZZdFxZhdOcQru
    hcJV4AMtp2aTgOby
    Hcdnymf5LXfiIowx
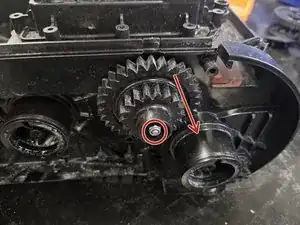
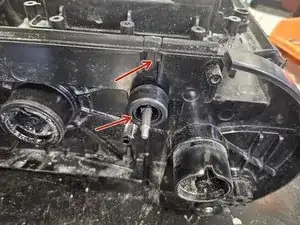
    • Remove the screw holding the side cog in place.

    • Use some leverage to remove the cog. It usually gets stuck in place due to limescale buildup.

    • Flip it on its back.

  8. cs4KInH1mUhIscjW
    cs4KInH1mUhIscjW
    LRkPxprEwb2tBmfs
    QwLWdXoPGMuXZui2
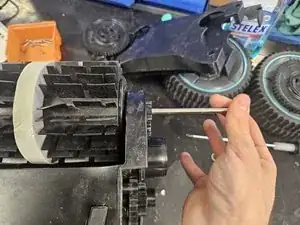
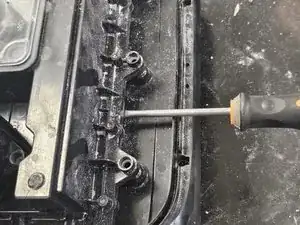
    • Use 2x 7mm wrenches to loosen the bolts on the rod going through the front brushes.

    • Remove the rod.

    • Do not lose the washers. One is on each side.

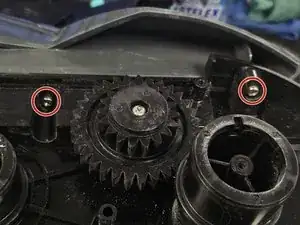
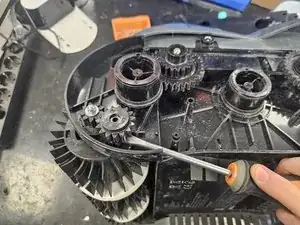
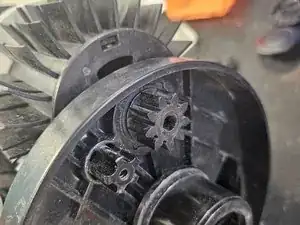
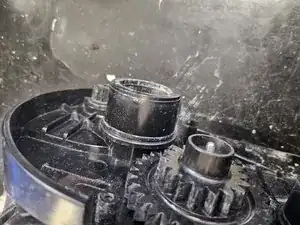
    • On the side that you removed the other cog, remove the now removable cog.

  9. tahimgOHJVVIVBiG
    tahimgOHJVVIVBiG
    dPOoXW3WruDjHKUH
    oKTUaOvetKJOfA1U
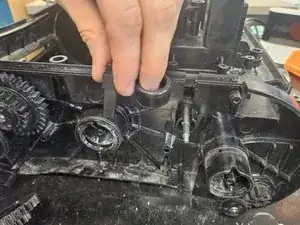
    • Remove the brushes by tilting them up on one side, then pulling them off.

    • If this is too difficult or the brushes are too tight due to wear, remove the 2 cogs on the other side and the brushes should just fall off.

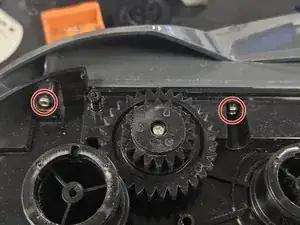
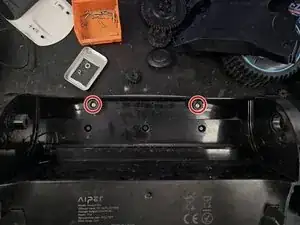
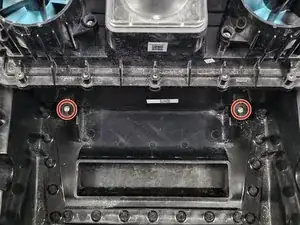
    • Remove the 2 screws that were covered by the brushes.

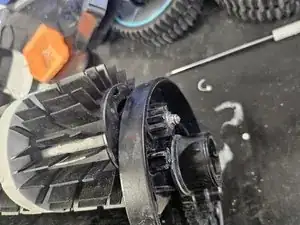
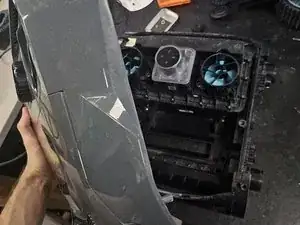
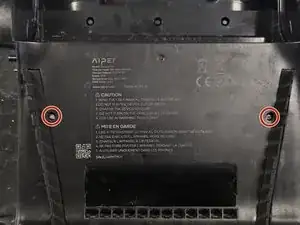
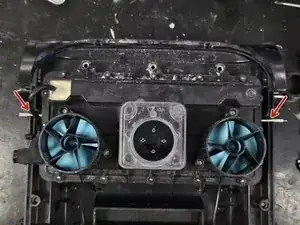
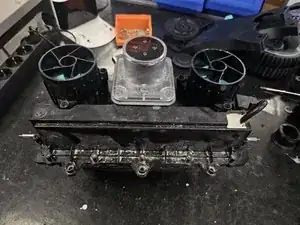
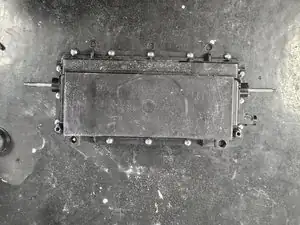
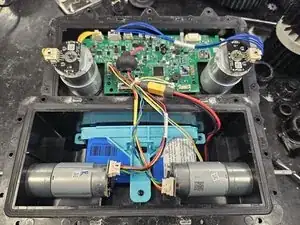
    • Remove the top half of the chassis.

  10. unVvTOxPaiyWYXFp
    • Under the box, of course.

  11. jcBgGEh4lnRTesDb
    jcBgGEh4lnRTesDb
    OSWnNVCBSO2ngMPl
    bcAbOOUyaDa6pLnZ
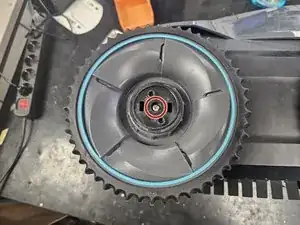
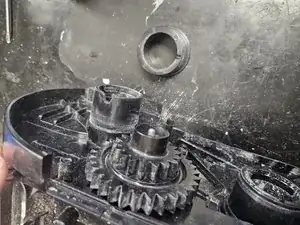
    • Use a 7mm wrench (or other tool) to remove this nut from the cog.

    • Then remove the plastic circle thing, as it covers it and prevents you from removing the cog.

    • Then remove the cog.

  12. CRtkWT4aWVJYU2xa
    CRtkWT4aWVJYU2xa
    yJcWafTsxe4ijA2E
    • Remove the plastic circle and tab.

    • The tab may be a bit stuck. I usually help myself with some pliers.

    • Repeat this and the previous step on the other side as well.

  13. EypYeIn4E1EV4hLN
    EypYeIn4E1EV4hLN
    XcYKC3KeDRkkbDfH
    FARJ6NcNAeVqPt5g
    • Remove all of the marked screws.

  14. P1JYWuQhHgUMHosK
    P1JYWuQhHgUMHosK
    iZPRQIWFcPQCpN63
    YHvFQT4LjdZvDvJI
    • Pull on the 2 rods to remove the assembly from the chassis.

    • If the assembly is stuck to the chassis, use some frontal or side leverage to get it free.

    • It can get stuck due to limescale, dirt, sand buildup. And it can stick like glue.

  15. RYWquxquvmRAmTeg
    RYWquxquvmRAmTeg
    3oCyJMnnCT2crOyx
    • Unscrew all of the screws in the assembly, and voila!

    • It's open.

    Thank you sir !

    My unit no longer charging, most likely due to corrosion on the plug. Thanks for taking the time to do this. Good to see that battery is easily replaceable RC type

    Paul Gordon -

DegenFixer

Member since: 18/09/24

4477 Reputation

0 comments