Introduction
This teardown is just a quick look into the device. It was as far as I was willing to go without risking breaking it. Once I move on to a different model I will do a full teardown
-
-
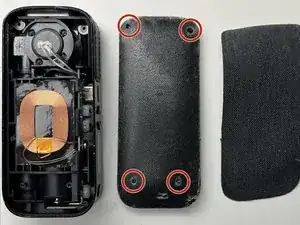
Remove the top cloth material with heat
-
Remove four Phillips head screws
-
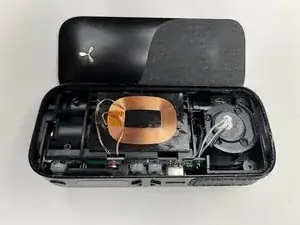
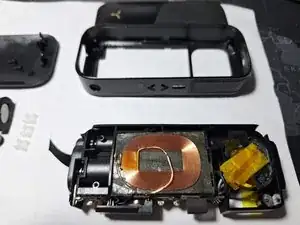
Use a spudger to lift off the plastic panel
-
-
-
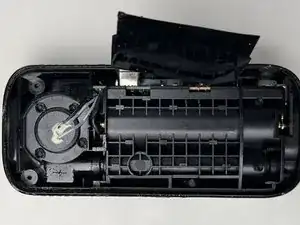
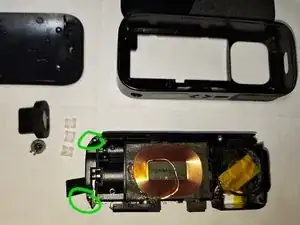
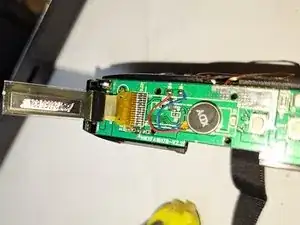
Loose the two screws and gently tear appart the internal plastic body from the external metal case
-
4 comments
Looking forward to seeing this continue!
nothing more with the teardown?
seedy53 -
I think on FC he mentioned this was still his primary device and until he replaces it, he won’t do a further tear down.
Yeah, that is all for now. Like Andy said I'm still using this device and will do a full destructive teardown when I replace it. I'll update the introduction with that information.