Introduction

  1. ZnkYT5wUtOWg15J2
    ZnkYT5wUtOWg15J2
    u3AC5uTR6twvagUt
    dBkcRXnjBAHO2gw6
    • Remove the 9 volt battery and unplug the alarm clock

  2. RUOMlIvcg1ksDGCP
    RUOMlIvcg1ksDGCP
    AWd3KSLZVTyunoCA
    • Remove the 4 screws and seperate the two halves

  3. YOlDIORZfntUOEwo
    YOlDIORZfntUOEwo
    iqABiGBCjaWkRAOt
    2F2vDwYVUkCSBj2V
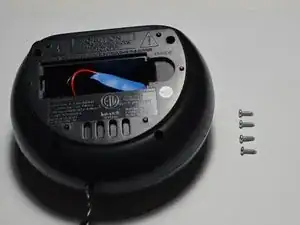
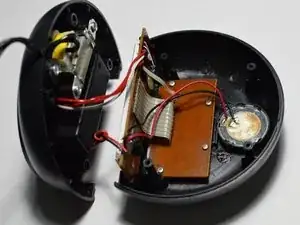
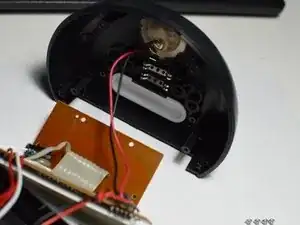
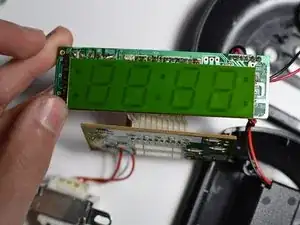
    • 4 screws are removed to release the top PCB, the screen and top PCB can then be removed. The speaker is permanently installed in the top and cannot be removed without unsoldering it and removing the glue.

  4. qGydLT6OA12bIhiZ
    qGydLT6OA12bIhiZ
    TJle1dyCkMP6JtoQ
    ZjOXXMdHS6HZgjA4
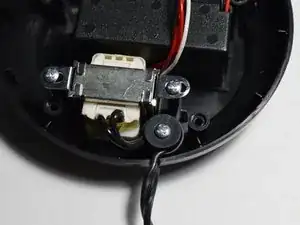
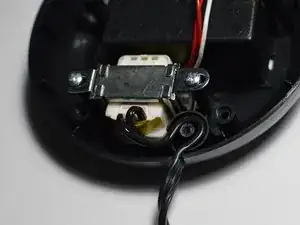
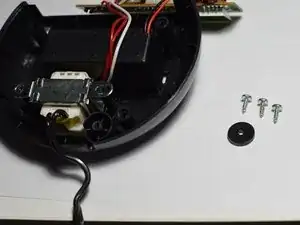
    • Transformer and wire strain relief are held in by 3 screws, when removed each part can be lifted out.

  5. RWj2DZBAwT1ligSB
    RWj2DZBAwT1ligSB
    DwnaMQltwrcCF4Hv
    G5iXsEOKcAneDU52
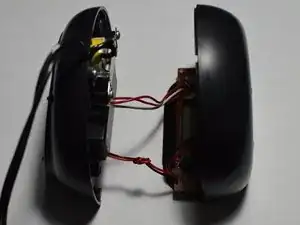
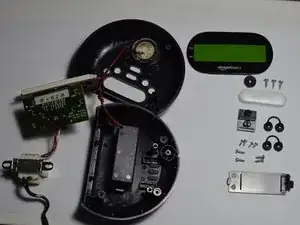
    • All buttons from top case lift out completing the disassembly. Without de-soldering the 9v battery connector and the speaker the top and bottom case halves are still connected.

Wieli

Member since: 09/01/23

2141 Reputation

0 comments