Introduction
This guide is limited to steps without soldering required, giving you access to auxiliary input, speakers, and internal wiring. The upper, over head, assembly will require a separate guide.
Tools
-
-
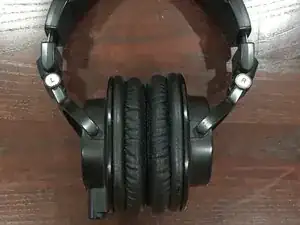
Unfold the headphones face up for easy access to the Foam Earpads.
-
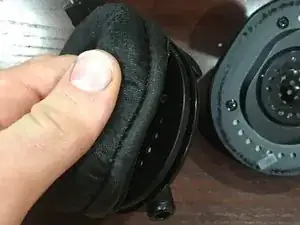
Insert index finger underneath foam, pinch foam between thumb and index and slowly ease the compression fitting out of its track.
-
Repeat same process for right Earpad.
-
-
-
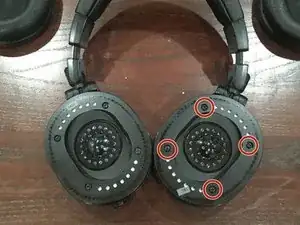
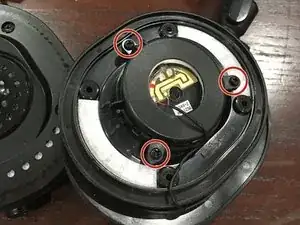
Remove four J1 screws.
-
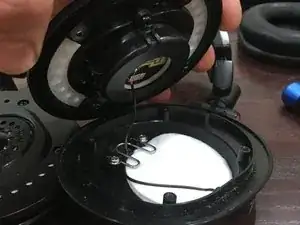
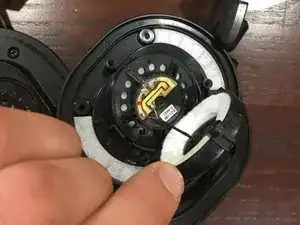
Carefully lift plate to avoid putting any strain on the internal wiring. Note that connections are soldered.
-
Make sure to free the speaker wire from W shaped spring before setting the Speaker plate next to the headphone assembly.
-
-
-
Unscrew the three remaining J1 screws.
-
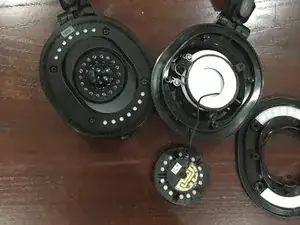
Lift speaker retainer away from speaker.
-
The speaker now comes away easily from the speaker plate.
-