Introduction
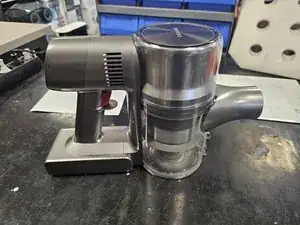
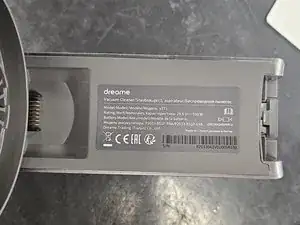
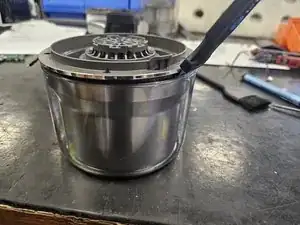
This is a teardown guide for the handheld battery-operated vacuum cleaner Dreame T30.
-
-
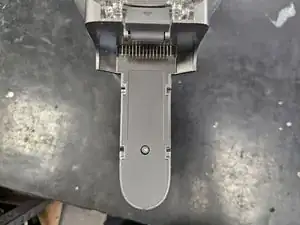
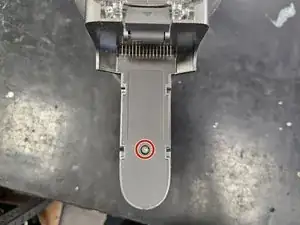
Use a T10 torx screwdriver to remove the screw.
-
Then use a prying tool of some sort (Jimmy) to loosen the latches.
-
Finally, remove it.
-
-
-
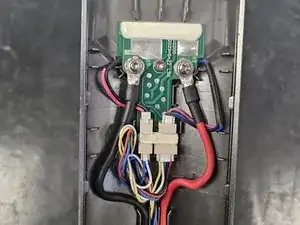
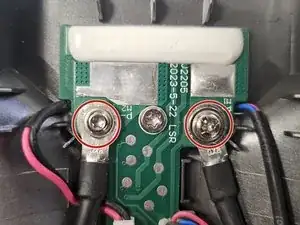
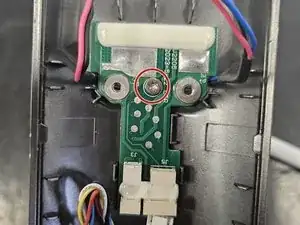
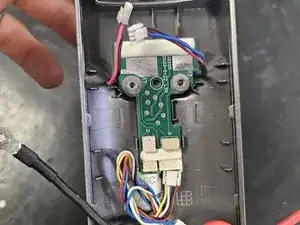
Disconnect the rest of the cables and remove the middle screw.
-
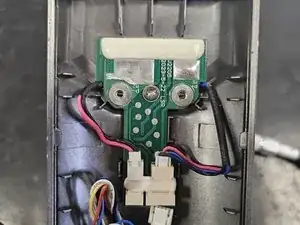
Once the screw is removed, push the PCBA out. Simply push on the battery connector.
-
-
-
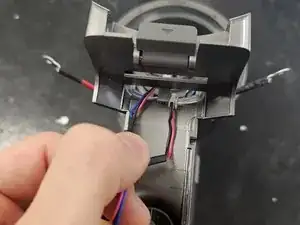
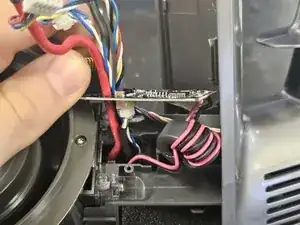
Back up top, pull the 2 top wires through the gap.
-
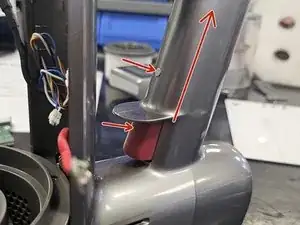
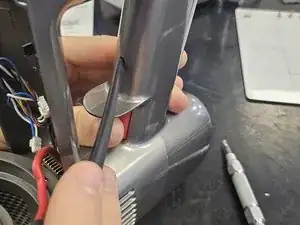
You will now have to push the little grey button and the red trigger button in while applying some upwards pressure to loosen the handle.
-
-
-
Now, simply pull the handle out.
-
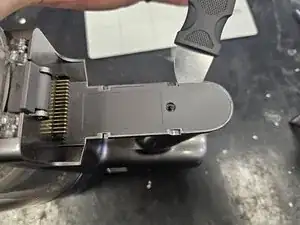
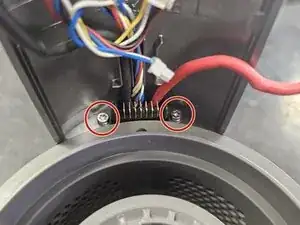
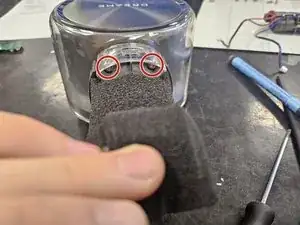
Rotate back to the front and remove the 2 marked screws. They're T10 Torx.
-
-
-
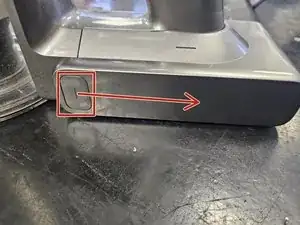
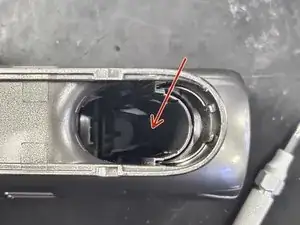
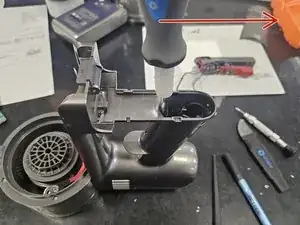
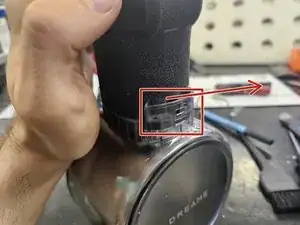
To remove the handle chassis, insert a prying tool into the marked gap.
-
Then, simply apply adequate force in the direction of the arrow.
-
-
-
Now, pull the chassis off, but only enough to expose the pcba and not any more.
-
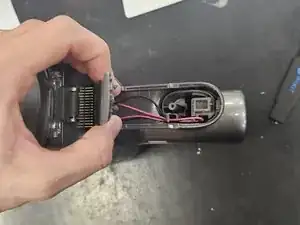
Remove the small screw from the PCBA. It is a Torx T6.
-
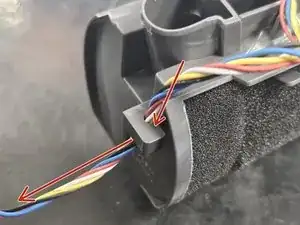
Disconnect the cable from the PCBA, then pull the other cables through the gap in the PCBA.
-
-
-
Remove the marked screws, then flip it over.
-
Unfold the foam filter out of the way, then remove the other 2 screws.
-
-
-
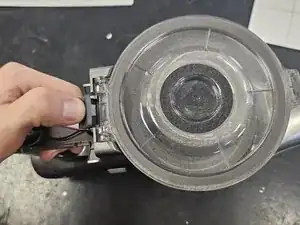
Remove the chassis by bending the transparent plastic out of the way, and unlatching the latches.
-
Then pull it off.
-
-
-
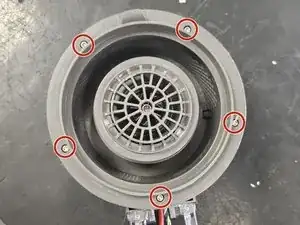
Remove the 5 screws.
-
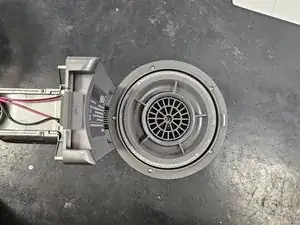
There is still a latch holding it together at the front. Use a prying tool to unlatch it.
-
-
-
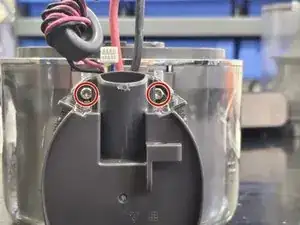
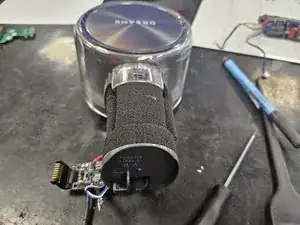
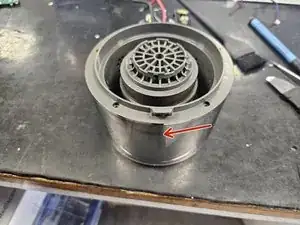
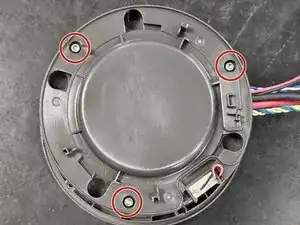
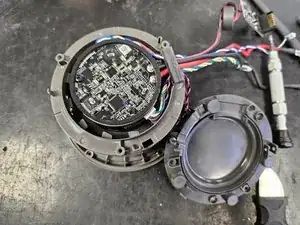
Once you remove the suction fan assembly, you can disassemble it by taking these 3 screws off.
-
-
-
All of the screws are sorted by steps and have the sizes written next to them. Use this as a reference during reassembly if needed.
-


2 comments
Great thanks! My power button was stuck, with your guide I quickly took the handle apart and sanded down the power button around the top part (It looks like there was a small friction groove from use, which caught the power button from time to time). Now it's back together and working perfectly, great guide, thanks a lot stranger!
I also had to perform work on the power button. Steps 1-8 worked perfectly to get access on my T20 model - light sanding to the red power button, and some padding behind the button.